
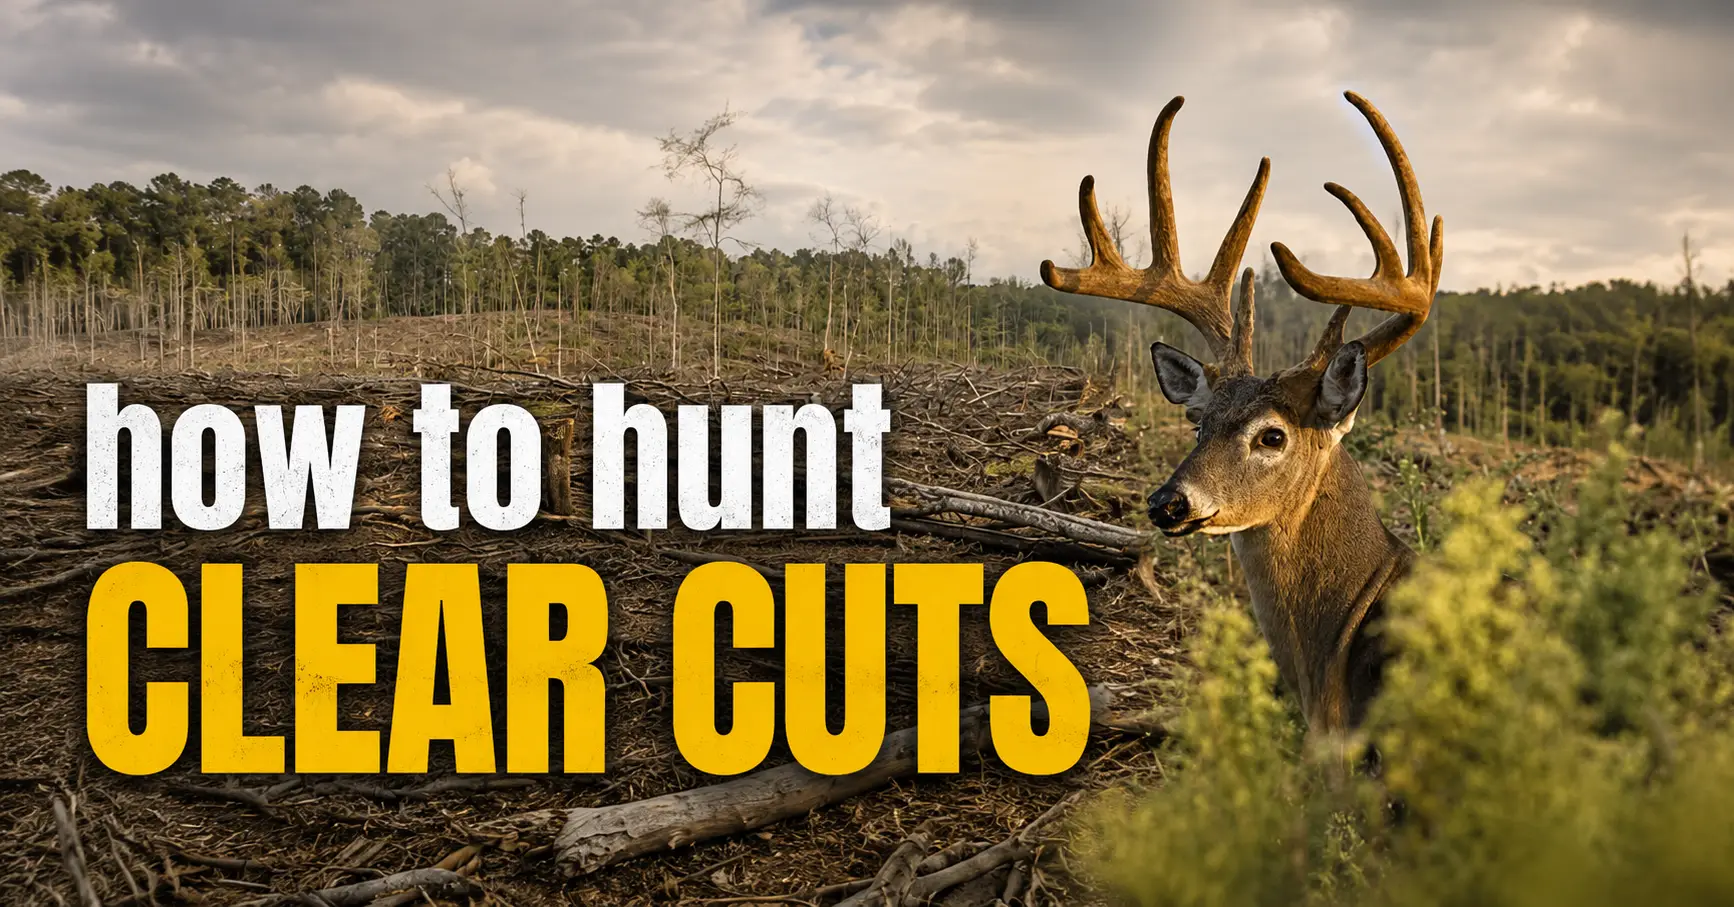

Learning how to hunt clear cuts starts with understanding why recently logged and regenerating timber can attract deer and other legal game. Sunlight encourages grasses, shrubs, seedlings, and browse, while nearby mature timber may provide bedding cover and secure travel routes.
This guide explains how to evaluate a clear cut, scout its edges, plan for wind and access, choose a safe setup, and make responsible decisions in the field. Success is never guaranteed, but careful preparation, patience, legal compliance, and ethical shot discipline can make your hunt safer and more effective.
Quick Answer
To hunt clear cuts effectively, first confirm that hunting and access are legal, then scout the edges for fresh trails, browse, bedding cover, and terrain funnels. Set up where the wind carries your scent away from expected movement, use cover to hide your outline, and watch the transition between young growth and mature timber. Take only a clearly identified, legal shot with a safe background and within your practiced ability.
Important Legal and Safety Notice Before You Hunt
Hunting regulations vary by country, state, province, county, species, season, land type, and weapon. Check the current rules published by the official wildlife agency responsible for the area before entering the field.
- Carry the required hunting license, permits, tags, and identification.
- Confirm season dates, legal hunting hours, bag limits, and harvest-reporting rules.
- Verify legal firearms, bows, ammunition, broadheads, and transport requirements.
- Confirm public access or obtain clear private-land permission.
- Wear blaze orange or other visibility clothing when required.
- Treat every firearm as loaded and keep the muzzle pointed in a safe direction.
- Identify the target and everything beyond it before considering a shot.
- Never shoot toward roads, homes, people, vehicles, livestock, equipment, trails, or unclear movement.
- Carry navigation, weather, hydration, first aid, and emergency communication equipment.
- Complete hunter education and hunt with an experienced, ethical mentor when possible.
Understanding Clear-Cut Habitat
A clear cut changes quickly. A newly logged opening may provide long views but limited cover. As grasses, forbs, shrubs, and saplings return, the area may become more attractive as feeding and escape habitat. Eventually, thick regeneration can make visibility difficult while providing secure bedding cover.
The highest-value locations are often habitat transitions rather than the open center. Study inside corners, timber points, brushy fingers, creek crossings, benches, logging-road junctions, uncut islands, and narrow strips of mature trees. These features can guide movement and make animal travel more predictable.
Signs Worth Scouting
- Fresh tracks and droppings
- Recently browsed leaves, twigs, and stems
- Game trails entering and leaving thick regrowth
- Rubs, scrapes, beds, or hair on crossings when relevant to the species
- Funnels created by steep terrain, water, slash piles, or dense cover
- Low-pressure access routes away from obvious parking areas
What You Need Before You Start
- Valid license, permits, tags, and a current regulation summary
- A legal hunting weapon suited to your practiced ability
- Required visibility clothing and weather-appropriate layers
- Sturdy boots with traction for slash, mud, rocks, and logging roads
- Binoculars for safe observation and target identification
- Paper map plus compass, GPS, or a hunting map application
- First aid kit, water, food, headlamp, whistle, and emergency communication
- Rangefinder if legal and useful for judging distance
- Approved full-body harness and fall-arrest equipment for tree-stand hunting
- Clean gloves, game bags, cooler, and legal transport supplies for harvest care
How to Hunt Clear Cuts: Step-by-Step Guide
Step 1: Verify Current Laws and Access
Confirm the species, season, legal hours, license, tags, weapon rules, reporting requirements, and land status. Verify whether logging roads are open to vehicles, foot travel, or neither. Do not assume a road shown on a map provides legal access.
Step 2: Study Maps Before Walking In
Use topographic, aerial, and property-boundary maps to identify edges, inside corners, drainages, saddles, benches, timber points, and secluded access routes. Mark homes, roads, trails, neighboring parcels, and other areas that could create unsafe shooting directions.
Step 3: Determine the Age and Structure of the Cut
Observe whether the cut is bare, grassy, brushy, or filled with head-high regeneration. Open cuts favor long-distance glassing, while older cuts may offer more food and security but shorter visibility. Match your strategy to what the vegetation allows.
Step 4: Scout the Perimeter First
Walk the edge rather than crossing the center immediately. Check trails that connect mature timber to new growth. Give extra attention to inside corners, narrow timber strips, creek crossings, logging-road bends, and changes in elevation.
Step 5: Confirm Current Use
Prioritize fresh evidence. Old tracks or rubs prove that animals used the area at some point, but fresh tracks, damp droppings, new browsing, and recently disturbed leaves are better indicators of current activity.
Step 6: Plan Wind, Thermals, and Entry
Choose an approach that keeps your scent away from likely bedding cover and travel routes. In hilly terrain, remember that warming air can rise and cooling air can settle, causing scent to drift differently from the general wind forecast.
Step 7: Select a Safe Observation Position
Use a ground blind, tree stand, natural cover, or stable ground position only where legal. Avoid skylining yourself on a ridge. Your setup should provide concealment, a clear view, a safe backstop, and an exit route that does not force you through the main activity area.
Step 8: Arrive Early and Settle In Quietly
Allow enough time to reach the setup without rushing. Minimize light, noise, and unnecessary movement. Keep equipment organized so you do not have to search through a pack when animals appear.
Step 9: Glass Before Handling the Weapon
Use binoculars to inspect edges, pockets of cover, and distant movement. Never use a riflescope as a substitute for binoculars. Identify other hunters, hikers, livestock, and vehicles before an opportunity develops.
Step 10: Wait for a Safe, Ethical Opportunity
Confirm the species, sex or age class when legally required, and the safety of the background. Stay within your practiced range. Do not shoot through thick brush, toward a road, at a skyline, or at movement you cannot clearly identify.
Step 11: Follow Recovery, Tagging, and Reporting Rules
After a legal harvest, follow the required recovery process, attach or validate the tag as directed, and complete any mandatory reporting. Respect property boundaries during recovery and seek permission before entering land you do not have a legal right to access.
Step 12: Handle the Harvest Responsibly
Use clean tools and gloves, cool the meat promptly, follow transport rules, and avoid waste. Keep any required proof of species or sex attached as directed by local regulations.
Best Time, Place, and Conditions for Hunting Clear Cuts
| Factor | What to Look For | Why It Matters |
|---|---|---|
| Time of day | Early morning, late afternoon, and season-specific movement periods | Animals often move between secure cover and feeding habitat during lower-light periods. |
| Wind | Crosswind or slightly favorable wind relative to expected travel | Reduces the chance that scent reaches animals before they enter view. |
| Vegetation | Fresh browse next to secure cover | Combines food with nearby escape and bedding habitat. |
| Terrain | Inside corners, points, benches, saddles, creek crossings, and narrow timber strips | These features may concentrate travel. |
| Pressure | Areas away from obvious parking and easy overlooks | Animals may shift toward less disturbed edges and secondary routes. |
| Weather | Safe, stable conditions with manageable wind and visibility | Improves comfort, observation, and safe decision-making. |
Helpful Tips for Better Results
- Scout from a distance first so you do not contaminate the best edge with scent.
- Mark several backup setups for different wind directions.
- Use binoculars to study small pockets of cover before assuming the cut is empty.
- Keep your silhouette below the skyline when approaching an overlook.
- Focus on fresh sign rather than the most dramatic old sign.
- Expect pressure to change animal movement throughout the season.
- Record wind, weather, sightings, tracks, and access conditions after every hunt.
Common Mistakes to Avoid
- Entering without checking current regulations or property boundaries
- Walking through the center and alerting animals before the hunt begins
- Ignoring thermals on slopes and drainages
- Setting up where the expected wind blows directly into cover
- Watching only the open center and overlooking shaded edges
- Using a scope to scan unidentified movement
- Taking a long, rushed, obstructed, or unsafe shot
- Failing to account for workers, equipment, hikers, roads, or neighboring homes
- Using a tree stand without a full-body harness
- Having no plan for recovery, reporting, transport, or meat cooling
Troubleshooting Common Problems
| Problem | Possible Cause | What to Do |
|---|---|---|
| No animals appear | Old sign, poor timing, pressure, bad wind, or inactive food source | Re-scout for fresh sign, change edges, and try a legal setup for a different wind or time period. |
| Animals stop before entering the opening | Your scent, noise, silhouette, or blind placement is exposed | Move farther downwind, improve concealment, and use a quieter access route. |
| Visibility is too limited | The regeneration is older or denser than expected | Focus on roads, trails, corners, high points, and small openings rather than the whole cut. |
| Too many hunters use the area | Easy access or a popular overlook | Choose another legal area, hunt a less obvious edge, or adjust timing while maintaining safe separation. |
| Boundary is unclear | Maps conflict or signs are missing | Stop and verify ownership with official records or the land manager before continuing. |
| Wind changes after setup | Weather shift or changing thermals | Move to a prepared backup location or leave without crossing the active area. |
| Weather becomes unsafe | Storms, fog, ice, heat, or high wind | Unload or secure equipment as appropriate and leave by the safest planned route. |
Ethical Hunting and Conservation
Ethical hunting means obeying seasons and limits, respecting wildlife, using legal methods, practicing before the season, and passing any shot that is unsafe or beyond your ability. It also means respecting landowners, forestry workers, other hunters, hikers, and nearby communities.
Use the harvest responsibly, report it when required, avoid damaging young trees or roads, pack out trash, and leave gates and access points as you found them. License and permit revenue often supports wildlife management, but conservation also depends on responsible conduct in the field.
When to Get More Training or Professional Guidance
Seek instruction from an official hunter education program, certified instructor, wildlife agency, or experienced ethical mentor when you are unfamiliar with firearms, bows, tree stands, navigation, property boundaries, recovery, or meat care. Do not use the field as the place to learn basic weapon handling.
After the Hunt: Gear Care and Learning
- Unload, clean, transport, and store firearms or bows according to law and manufacturer guidance.
- Dry clothing, inspect boots, and replace used first aid or emergency supplies.
- Record wind, weather, access, sign, sightings, and pressure.
- Complete required harvest reports and retain legal records.
- Review what worked and update backup setups before the next trip.
Frequently Asked Questions: How to Hunt Clear Cuts
1. What does “hunting clear cuts” mean?
It means hunting recently logged or regenerating timber areas where new grasses, shrubs, saplings, and edge cover may attract deer and other legal game. The most productive area is often not the bare center, but the transition between young growth and mature timber.
2. Are clear cuts good places to hunt deer?
They can be. Young vegetation may provide browse, while nearby timber supplies bedding cover and secure travel routes. Results depend on the age of the cut, hunting pressure, season, weather, and local deer patterns.
3. What age clear cut is usually best for deer hunting?
There is no universal best age. Very fresh cuts may be open and easy to glass, while cuts with several years of regrowth often provide better food and security cover. Scout multiple age classes and look for current sign.
4. Should I hunt the middle or the edge of a clear cut?
Beginners usually do better focusing on edges, inside corners, points of timber, creek crossings, benches, logging-road intersections, and narrow strips of cover. These features often concentrate movement and provide safer, more predictable observation lanes.
5. What time of day is best for hunting a clear cut?
Early morning and late afternoon are common movement periods, but local pressure and weather can shift activity. During the rut or on cool, overcast days, deer may move through openings later in the morning or earlier in the afternoon.
6. How does wind direction affect a clear-cut setup?
Set up so the expected travel route is crosswind or slightly upwind of you. Avoid allowing your scent to blow into bedding cover, feeding areas, or the main trail you expect deer to use.
7. How far should I sit from the edge?
The correct distance depends on visibility, your legal hunting method, terrain, and practiced shooting range. Choose a position that keeps you concealed while allowing clear target identification and a safe background.
8. Is a tree stand useful around a clear cut?
Yes, where legal and where a suitable tree provides a safe view of an edge or travel corridor. Always use a full-body harness, a lifeline or approved fall-arrest system, and a safe method for raising and lowering equipment.
9. Can I use a ground blind in a clear cut?
Yes, if blinds are legal on the property and placed without blocking roads or trails. Brush it in early when possible, keep the interior dark, and orient openings toward safe shooting lanes.
10. How do I scout a clear cut before the season?
Walk the perimeter, logging roads, creek crossings, benches, points, and strips of uncut timber. Look for tracks, droppings, browsed plants, rubs, scrapes, beds, and trails entering or leaving the cut.
11. What signs show deer are using a clear cut now?
Fresh tracks, moist droppings, recently browsed stems, new rubs, active scrapes, beds in nearby cover, and clearly used trails are stronger evidence than old sign.
12. Do deer bed inside clear cuts?
They may bed in thick regrowth, slash piles, brushy fingers, or isolated cover, especially when vegetation is tall enough to provide security. Avoid walking through likely bedding cover unless your plan specifically calls for it.
13. How should I enter a clear-cut hunting area?
Use a quiet route that avoids the main feeding edge and likely bedding cover. Consider wind, thermals, road noise, visibility, and other hunters before choosing your approach.
14. What are thermals and why do they matter?
Thermals are air currents created by temperature changes. Air often rises as slopes warm and settles as they cool. In hilly clear cuts, these currents can carry scent differently from the forecasted wind.
15. What weather is best for hunting clear cuts?
Cool, stable weather often supports comfortable movement, while light rain can reduce noise and refresh tracks. Strong winds, fog, ice, extreme heat, or storms may reduce visibility or create unsafe conditions.
16. How do I hunt a clear cut during high hunting pressure?
Move away from the most obvious parking areas and easy overlooks while staying within legal access. Focus on overlooked cover, back corners, steep edges, secondary trails, and routes leading toward secure timber.
17. Should I glass a clear cut from far away?
Glassing can be effective where terrain and vegetation allow it. Use binoculars to identify animals before handling a firearm or drawing a bow, and never use a riflescope as a general observation tool.
18. Can I still-hunt through a clear cut?
You can where legal, but movement is often noisy and exposed. Move slowly, pause often, watch the wind, avoid skylining yourself, and confirm that no people, roads, homes, or equipment are in the direction of travel or any potential shot.
19. What gear is most useful for hunting clear cuts?
Useful basics include legal licenses and tags, required visibility clothing, binoculars, map and compass or GPS, weatherproof clothing, sturdy boots, first aid supplies, water, communication gear, and legal harvest-care equipment.
20. Do I need camouflage?
Camouflage may help break up your outline, but remaining still, using available cover, controlling noise, and following required blaze-orange rules are more important.
21. How can I avoid being seen on an open cut?
Set up against cover, avoid the skyline, limit movement, keep reflective items concealed, and use vegetation or terrain to break up your outline without obstructing a safe field of view.
22. How do I choose a safe shooting lane?
Select a lane with a clearly identified legal target, a reliable backstop, and no roads, homes, livestock, people, vehicles, trails, or unclear movement beyond the target.
23. What is an ethical shot opportunity?
It is a legal shot at a clearly identified animal, within your practiced ability, with a safe background and a high likelihood of a quick recovery. Passing on uncertain shots is responsible hunting.
24. What should I do if an animal crosses the clear cut too quickly?
Do not rush. Keep the muzzle or bow pointed safely, confirm the animal is legal, and take a shot only if it stops or presents a safe opportunity within your practiced range.
25. Can I hunt a clear cut on public land?
Often yes, but rules vary. Confirm that the parcel is open to hunting, verify boundaries and access, follow parking and equipment rules, and respect other hunters and recreational users.
26. Can I cross private land to reach a public clear cut?
Not without legal access or the landowner’s permission. A public parcel does not automatically grant a right to cross surrounding private property.
27. How can I reduce conflicts with other hunters?
Park responsibly, avoid crowding another setup, communicate politely, wear required visibility clothing, never stalk sounds or movement, and choose a different area when safe separation is uncertain.
28. What should I do after a successful harvest?
Follow local rules for tagging, reporting, recovery, transport, and proof of sex or species. Use clean tools and gloves, cool the meat promptly, and avoid waste.
29. What if I am unsure about the property boundary?
Do not continue until you can verify it using an official map, posted signs, coordinates, a land-management office, or the landowner. Mapping apps are helpful but should not be your only source.
30. When should a beginner seek more training?
Get additional help if you are new to firearms or bows, have not completed hunter education, are unsure about local regulations, cannot read maps confidently, or need guidance on recovery and meat care.