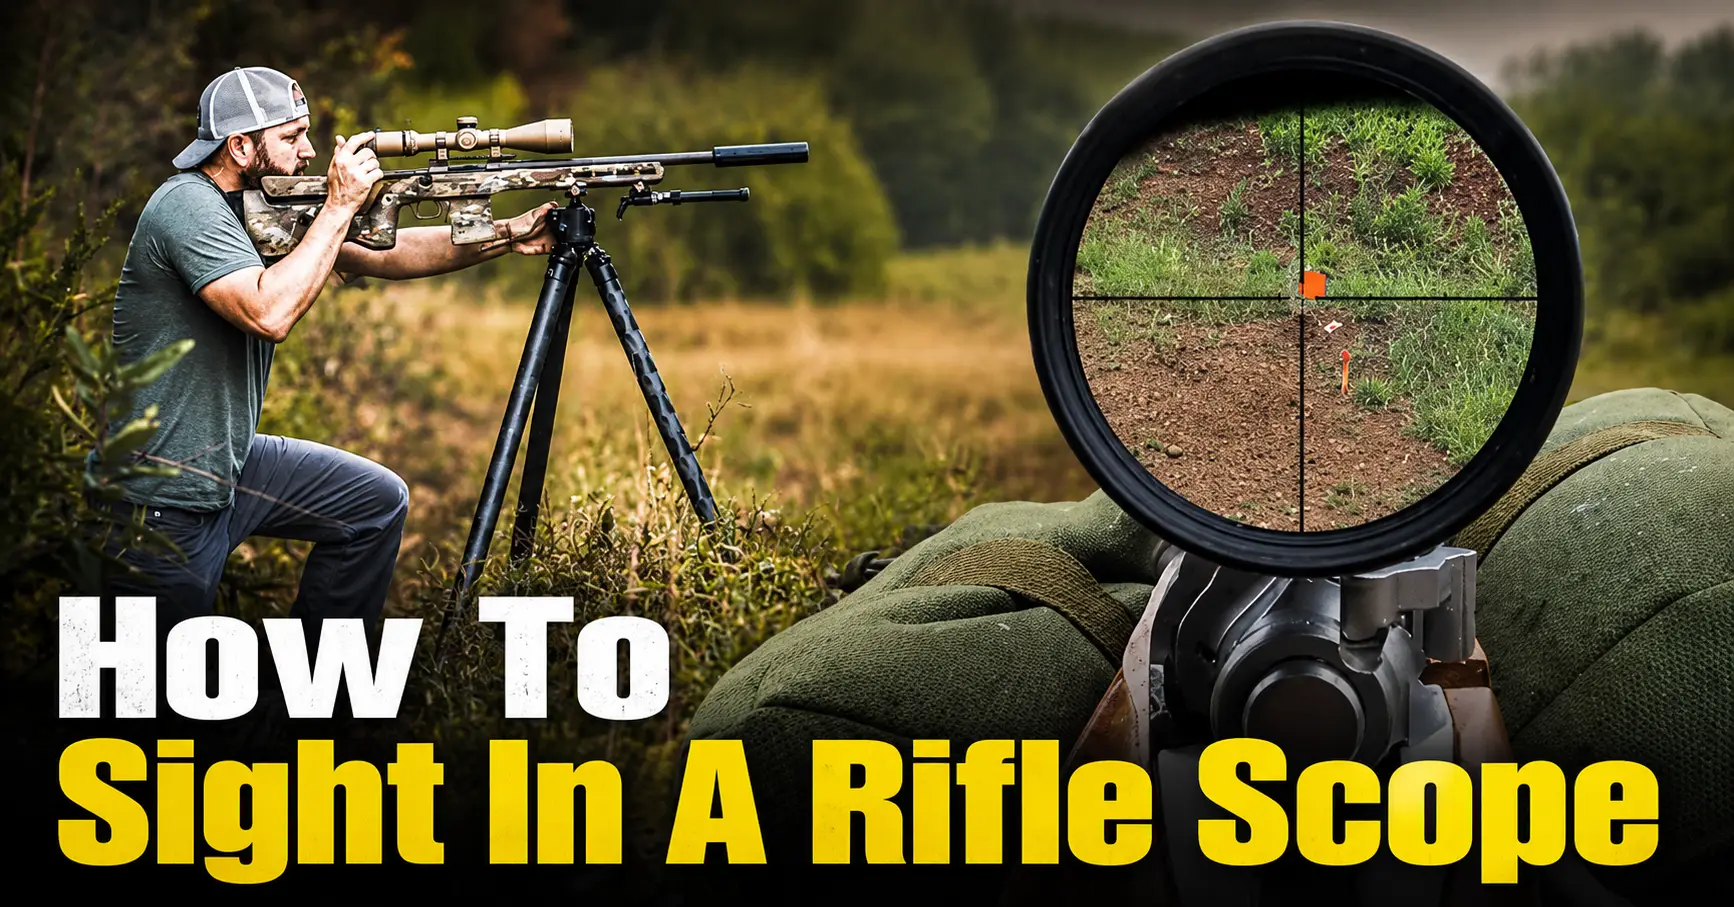

This guide is written for beginners. It explains safe preparation, scope terminology, bore sighting, group measurement, turret adjustments, final verification, and common
problems. It does not replace the manuals for your firearm, scope, mounts, or ammunition, and it does not replace supervised instruction.
The goal is not to make the rifle appear accurate after one lucky shot. The goal is to create a documented, repeatable zero while following every range command and firearm safety rule.
Quick Answer
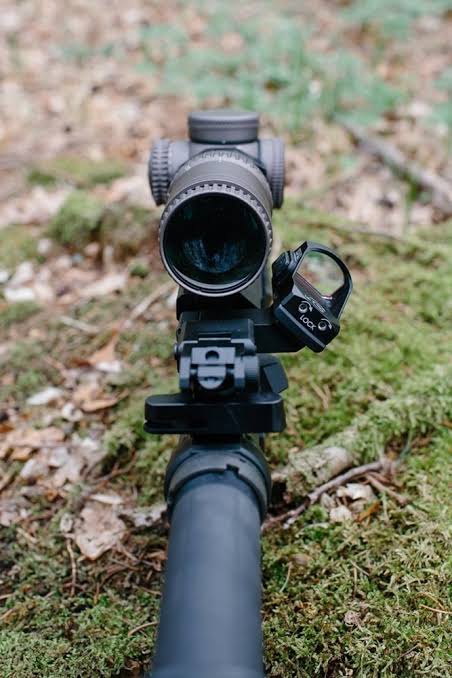
To sight in a rifle scope, use a lawful shooting range with a safe backstop, confirm the optic is properly mounted, choose the ammunition and final zero distance, then perform a safe preliminary bore sight while the rifle is unloaded. From a stable bench, fire a controlled group, measure the group’s center relative to the aiming point, and adjust windage and elevation according to the scope’s click value. Repeat with fresh groups until the group is centered, then confirm the zero after the barrel cools and record the result.
Important Firearm Safety and Legal Notice
Firearm ownership, transportation, discharge, range use, hunting, and ammunition rules vary by country, state, province, municipality, and property. Verify current law and range policy before handling or firing a rifle.
- Treat every firearm as though it is loaded until you personally verify its condition.
- Keep the muzzle pointed in a safe direction at all times.
- Keep your finger outside the trigger guard until the sights are on the approved target and you are ready to fire.
- Know the target, the backstop, and what is beyond the target.
- Use only the exact ammunition specified for the firearm.
- Wear properly fitted eye and hearing protection.
- Obey all range commands immediately and never handle a firearm while the line is cold.
- Keep the action open and the firearm unloaded whenever directed by the range officer.
- Stop immediately if the firearm, ammunition, optic, or mount behaves abnormally.
- Beginners should work with a certified instructor, experienced range officer, or qualified mentor.
Follow the firearm and optic manufacturers’ instructions. Do not modify safety systems,
ammunition, or firearm components as part of the zeroing process.
Understanding What a Rifle Zero Means
A rifle scope zero is the relationship between the point of aim and the
point of impact at a defined distance. Point of aim is where the reticle
is held. Point of impact is where the bullet strikes. When the average center of a
consistent group matches the desired impact location, the rifle is zeroed for that setup.
A Zero Belongs to the Entire System
The verified setup includes the rifle, scope, rings, base, ammunition, shooter position,
and environmental conditions. Changing ammunition, removing the optic, altering mounts,
or subjecting the rifle to a hard impact can change the point of impact.
Bore Sighting Is Only a Starting Point
Bore sighting helps align the optic closely enough to place initial shots on a large target.
It is not a substitute for live-fire confirmation. A bore-sighted rifle should never be
assumed ready for hunting.
Choose the Final Zero Distance for the Intended Use
A 100-yard zero is common because it simplifies measurements and provides a practical
reference for many hunting rifles. Other distances may be appropriate. Consider the
cartridge, terrain, typical field distance, legal range facilities, and your personal
effective range. Do not choose a distance beyond your ability to produce consistent,
safe groups.
What You Need Before You Start
- A safe, serviceable rifle and compatible scope
- Correctly fitted base and scope rings
- Manufacturer manuals for the rifle, optic, and mounts
- Correct factory ammunition from one consistent load
- An approved shooting range and suitable backstop
- Eye and hearing protection
- A stable bench and padded front and rear support
- Large, high-contrast paper targets
- Stapler, tape, marker, ruler, and notebook
- Optional spotting scope or binoculars used only from the firing line
- Basic tools specified by the optic and mount manufacturers
- Chamber flag when required or recommended by the range
Different bullet weights, brands, and production lots can produce different points of impact.
How to Sight In a Rifle Scope: Step-by-Step Guide
-
Read the Manuals and Choose a Lawful Range
Review the rifle, scope, ring, base, and ammunition instructions before the session.
Use an approved range with a backstop rated for the firearm and cartridge. Ask the
range officer about target placement, cease-fire procedures, permitted shooting rests,
and any restrictions on bore-sighting devices. -
Verify the Rifle Is Unloaded and Safe
Point the muzzle in a safe direction, remove the magazine when applicable, open the
action, and visually and physically verify the chamber according to the manufacturer’s
procedure. Inspect the bore for obstructions before firing. Keep ammunition separate
during mounting and preliminary alignment. -
Inspect the Scope Mounting System
Confirm that the base and rings are compatible and correctly installed. Look for gaps,
movement, damaged fasteners, or contact between the objective bell and the rifle.
Fasteners must be tightened only to the manufacturers’ stated specifications. Excessive
torque can damage the optic or create alignment problems. -
Set Eye Relief and Focus the Reticle
With the rifle unloaded, shoulder it naturally while maintaining a safe direction.
Confirm that the full sight picture is visible without moving the head unnaturally
toward the optic. Adjust the ocular focus until the reticle appears crisp when viewed
briefly against a plain background. Lock the adjustment if the model allows it. -
Choose Ammunition and the Final Zero Distance
Use one consistent factory load that is correct for the firearm. Decide the final zero
distance before making adjustments. A closer target can be used to get on paper, but
the rifle must be confirmed at the final distance. -
Prepare a Stable Bench Setup
Place the rifle on padded supports that stabilize the fore-end and buttstock without
clamping the barrel. The rifle should point naturally at the approved target without
excessive muscular effort. Keep the muzzle beyond the front edge of the bench and
follow every range rule. -
Perform a Safe Preliminary Bore Sight
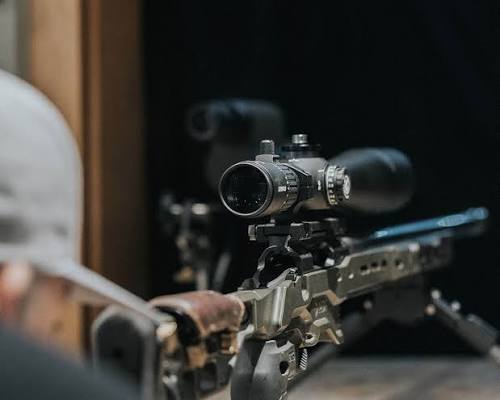
Follow the rifle and optic manuals. On a compatible bolt-action rifle, visual
bore-sighting may be possible by removing the bolt from an unloaded rifle secured on
the rest and aligning the bore with a large target. Without moving the rifle, adjust
the reticle toward the same aiming mark. A compatible commercial bore-sighting tool
may also be used exactly as directed by its manufacturer.Remove any bore-sighting device before loading. Reassemble the rifle correctly and
complete another chamber and bore check. -
Load Only When the Range Is Hot
Put on eye and hearing protection, wait for the range officer’s command, and load only
at the firing line when permitted. Keep the rifle pointed downrange and the finger
outside the trigger guard until ready to fire at the designated target. -
Fire the First Controlled Group
Aim at the same precise mark for every shot. Use a consistent cheek weld, shoulder
position, and trigger press. Fire a three-shot group at a comfortable pace. Do not
adjust the scope between shots in the group. -
Make the Rifle Safe Before Checking the Target
Open the action, unload as required, and obey the range’s cease-fire procedure. Never
walk forward or handle firearms until the range officer declares the line safe.
Use a spotting optic from the bench when permitted, or inspect the target only during
an authorized cease-fire. -
Find the Center of the Group
Measure the horizontal and vertical distance from the aiming point to the approximate
center of the group—not merely the closest hole. A group that is too large or irregular
should be repeated before adjusting because the center may not be reliable. -
Convert the Error Into Scope Clicks
Read the click value printed on the turret or in the manual. Common systems include
1/4 MOA per click and 0.1 MRAD per click. Calculate the number of clicks required for
the actual target distance. Keep a written record of every change. -
Adjust Windage and Elevation
Move the point of impact toward the desired location. If the group is low, adjust
elevation in the direction marked “up.” If it is left, adjust windage toward “right.”
Make deliberate changes and replace turret caps when required. -
Fire Another Group and Repeat
Return to the same aiming point and fire a new group. Compare the new group center with
the previous one. Repeat the measure-adjust-confirm cycle until the group is centered
at the desired location. -
Allow the Barrel to Cool
A hot barrel can change group size or point of impact. Use a consistent pace, follow
range rules, and allow cooling time when needed. This is especially important before
the final confirmation group. -
Confirm the Final Zero
Once the group appears centered, let the rifle cool and fire a final confirmation
group at the chosen zero distance. Where lawful and appropriate, also verify at another
distance you may realistically encounter, but do not exceed your safe and practiced ability. -
Reset Turret Indexes Only as the Manual Directs
Some scopes allow the turret scale to be reset to zero without changing the internal
adjustment. Others use zero-stop systems with specific procedures. Follow the exact
manual and do not loosen structural parts of the optic. -
Record the Verified Setup
Note the date, rifle, scope, ammunition brand and load, zero distance, group size,
weather, and any turret settings. This record helps identify future changes and reduces
unnecessary adjustments.
Understanding MOA and MRAD Scope Adjustments
Use the adjustment system printed on the scope. Do not mix inches, centimeters, MOA, and
MRAD without converting them carefully.
Common 1/4-MOA Click Values
| Target Distance | Approximate Movement per Click | Clicks for About 1 Inch |
|---|---|---|
| 25 yards | 0.06 inch | 16 clicks |
| 50 yards | 0.13 inch | 8 clicks |
| 100 yards | 0.26 inch | About 4 clicks |
| 200 yards | 0.52 inch | About 2 clicks |
Common 0.1-MRAD Click Values
| Target Distance | Movement per 0.1-MRAD Click |
|---|---|
| 25 meters | 0.25 centimeter |
| 50 meters | 0.5 centimeter |
| 100 meters | 1 centimeter |
| 200 meters | 2 centimeters |
At 100 yards, divide the required movement in inches by the scope’s movement per click.
For a typical 1/4-MOA scope, approximately four clicks move impact one inch at 100 yards.
At 50 yards, approximately eight clicks are needed for one inch.
These are practical rounded values. Use the optic manual and a matching MOA or MRAD target
for the most efficient adjustments.
How to Know the Rifle Is Properly Zeroed
A dependable zero has several characteristics:
- The rifle produces a reasonably consistent group from a stable position.
- The center of that group is at the intended point of impact.
- A fresh confirmation group repeats the result.
- The zero was established with the ammunition intended for later use.
- The optic, rings, and base remain secure.
- The shooter can reproduce the position without unusual strain.
- The result is documented for later comparison.
Confirm Under Realistic Conditions
A bench zero confirms the equipment and establishes a reference. Before hunting, practice
at an approved range from safe field positions and at distances within your ability.
Do not use an animal as a zeroing target. Pass any opportunity that is unsafe, uncertain,
outside the legal rules, or beyond your practiced capability.
Common Beginner Mistakes to Avoid
- Assuming a new or recently mounted scope is already zeroed.
- Treating bore sighting as a finished zero.
- Changing ammunition during the process.
- Adjusting after every single impact instead of evaluating a group.
- Resting the barrel directly on a hard object.
- Using excessive magnification and losing a stable sight picture.
- Ignoring parallax or using an inconsistent cheek weld.
- Making large, undocumented turret changes.
- Continuing to fire while the barrel is excessively hot.
- Guessing ring or base torque values.
- Handling the rifle during a cease-fire.
- Failing to confirm the final zero at the actual chosen distance.
- Failing to recheck zero after travel, impact, maintenance, or an ammunition change.
Troubleshooting Common Scope-Zero Problems
| Problem | Likely Causes | Safe Next Step |
|---|---|---|
| No impacts on the target | Initial alignment is far off, wrong target, loose mount, or target is too small | Unload, inspect the mount, use a larger target at a closer approved distance, and repeat safe bore sighting. |
| Group moves the wrong way | Turret turned opposite the marked impact direction | Check the manual, reverse the documented correction, and confirm with a fresh group. |
| Group does not move | Adjustment too small, zero stop engaged, loose or defective optic | Stop firing, inspect unloaded, and consult the manufacturer or a qualified gunsmith. |
| Very large groups | Unstable rest, inconsistent position, unsuitable ammunition, heat, or mechanical issue | Correct the shooting setup first. Do not chase a zero until groups become repeatable. |
| Point of impact wanders | Loose hardware, barrel heating, changing support pressure, or parallax | Allow cooling, check hardware to specified torque, and standardize the position. |
| Scope runs out of adjustment | Mounting alignment problem, incompatible base, zero-stop limit, or optic fault | Do not force the turret. Have the system checked using the manufacturer’s instructions. |
| Zero changes after transport | Impact, loose case support, mount movement, or internal optic issue | Inspect the unloaded rifle and reconfirm at a lawful range before hunting. |
| Reticle appears blurry | Diopter not focused, eye fatigue, or optic problem | Refocus the ocular lens while unloaded. Seek professional inspection if clarity cannot be achieved. |
| Image shifts when the eye moves | Parallax error or inconsistent head position | Set side focus or adjustable objective when available and maintain a repeatable cheek weld. |
| Rings leave marks or pinch the tube | Incorrect rings, uneven installation, or excessive torque | Stop using the setup and have the mounting system evaluated before further firing. |
When to Get More Training or Professional Guidance
Seek qualified help when:
- You have not completed a recognized firearm or hunter education course.
- You cannot confidently unload and verify the rifle’s condition.
- You are unsure whether the scope, rings, and base are compatible.
- The rifle will not produce a consistent group.
- The scope repeatedly loses zero or reaches an adjustment limit.
- The firearm has been dropped, damaged, or behaves abnormally.
- You are uncertain about range commands, transport laws, or storage requirements.
Appropriate resources include a certified firearm instructor, range safety officer,
qualified gunsmith, official hunter education program, and the firearm or optic manufacturer.
Safety and Education Resources
After the Range Session: Records, Inspection, and Storage
- Follow the range procedure to unload the rifle and verify the chamber is empty.
- Replace turret caps and lens covers as directed by the scope manufacturer.
- Record the final zero, ammunition, distance, date, and conditions.
- Inspect the optic and mounts for movement or damage.
- Clean the rifle only according to the firearm manufacturer’s instructions.
- Store firearms unloaded and secured against unauthorized access.
- Store ammunition securely in accordance with local law and manufacturer guidance.
- Plan a future confirmation session before hunting or after any meaningful equipment change.
Frequently Asked Questions: Numbered Q&A
The following questions address common beginner concerns about how to sight in a rifle scope,
scope adjustments, range safety, and zero verification.
1. What does it mean to sight in a rifle scope?
Sighting in, or zeroing, means adjusting the scope so the rifle’s point of impact matches the point of aim at a chosen distance. A confirmed zero applies to a specific rifle, optic, ammunition load, and shooting setup.
2. What is the best distance to sight in a rifle scope?
There is no universal best distance. Many hunters use a 100-yard zero, but the correct choice depends on the cartridge, expected hunting distance, local terrain, target size, and the shooter’s practiced ability. Start closer only to get on paper, then confirm at the final zero distance.
3. Can I sight in a rifle scope at 25 yards?
Yes, 25 yards can be useful for an initial check or rough zero. It does not automatically guarantee a precise 100-yard zero because the bullet’s path and sight height vary by rifle and ammunition. Always verify at the final intended distance.
4. Is bore sighting the same as zeroing?
No. Bore sighting is only a preliminary alignment intended to help place the first shots on the target. A rifle is not properly zeroed until live-fire groups have been safely fired, measured, adjusted, and confirmed.
5. Do I need a laser bore sight?
No. A compatible laser bore sight can be convenient, but it is optional. Some bolt-action rifles can be visually bore sighted while completely unloaded and secured. Follow the firearm and accessory manufacturers’ instructions.
6. How many shots should I fire when zeroing?
Three-shot groups are commonly used for an initial zero, while larger groups provide more information about consistency. Avoid changing the scope after every individual shot unless you are using a controlled one-shot correction method and understand its limitations.
7. Should I use the same ammunition for zeroing and hunting?
Yes. Use the same cartridge, bullet weight, brand, and load you plan to use in the field. Changing ammunition can change the point of impact, even when the cartridges appear similar.
8. What is point of aim?
Point of aim is the exact spot where the reticle is held. During zeroing, use a clear, repeatable aiming mark and keep the reticle centered on the same point for every shot in the group.
9. What is point of impact?
Point of impact is where the bullet strikes the target. Zeroing adjusts the scope so the center of a consistent shot group moves toward the intended point of aim.
10. Which scope turret controls up and down movement?
The elevation turret normally controls vertical point-of-impact movement. The top turret is commonly the elevation control, but always confirm the markings and adjustment direction in the scope manual.
11. Which scope turret controls left and right movement?
The windage turret normally controls horizontal point-of-impact movement. It is commonly located on the right side of the scope, but model layouts and dial systems vary.
12. Which way should I turn the scope turrets?
Follow the arrows or labels on the optic. Most modern scope markings indicate the direction the point of impact will move. If the group is low, move impact up; if it is left, move impact right. Verify the result with another group.
13. What does 1/4 MOA per click mean?
At 100 yards, one 1/4-MOA click moves the point of impact about one-quarter inch. Four clicks move it about one inch. The physical movement is proportionally smaller at shorter distances and larger at longer distances.
14. What does 0.1 MRAD per click mean?
A 0.1-milliradian click moves the point of impact 1 centimeter at 100 meters. At 100 yards it is approximately 0.36 inch. Use the same measurement system for both the target correction and the scope.
15. Should I zero with high or low magnification?
Use enough magnification to see the aiming mark clearly without making the sight picture unstable or exaggerating movement. Confirm eye relief and reticle clarity at the magnification you select.
16. Does parallax affect zeroing?
Yes. Parallax error can shift the apparent reticle position when the eye moves behind the scope. If the optic has a parallax or side-focus control, set it for the target distance and maintain a consistent cheek position.
17. Why should I fire groups instead of chasing single shots?
A single impact may be affected by shooter movement, wind, ammunition variation, or an imperfect rest. A group shows the average point of impact and helps separate a scope adjustment problem from normal shot-to-shot variation.
18. Why is my rifle group not moving after I adjust the scope?
Possible causes include turning the wrong control, a zero-stop limiting travel, loose rings or bases, internal optic problems, or an adjustment that is too small to see. Stop and inspect the system unloaded. Consult the manual or a qualified gunsmith when the cause is unclear.
19. Why did the group move in the opposite direction?
The turret may have been turned opposite the intended point-of-impact direction, or the scope may use an unfamiliar adjustment convention. Return to the manual, make a small documented correction, and confirm with a new group.
20. Why are my groups large or inconsistent?
Common causes include an unstable rest, inconsistent shoulder pressure or cheek weld, excessive magnification, loose hardware, barrel heating, unsuitable ammunition, or a mechanical issue. Check one factor at a time rather than making repeated large turret changes.
21. Can a hot barrel change point of impact?
Yes. Heat can affect group size and point of impact on some rifles. Allow the barrel to cool when necessary and use a consistent firing pace so the final zero reflects realistic field conditions.
22. Should the barrel rest directly on a hard support?
Usually no. Support the rifle according to the manufacturer’s guidance, commonly under the fore-end rather than directly under the barrel. Hard contact with the barrel can affect consistency and may damage the firearm or support.
23. Do scope rings need to be checked before zeroing?
Yes. Confirm that the correct bases and rings are installed, the optic has not shifted, and all fasteners meet the manufacturers’ specifications. Do not guess torque values or overtighten the scope tube.
24. Can changing scope rings change the zero?
Yes. Removing, replacing, or repositioning the scope, rings, or base can change alignment. Treat the rifle as unverified and confirm the zero again at an approved range.
25. Can cleaning the rifle change the zero?
It can. Changes in barrel condition, stock tension, or reassembly may alter point of impact. Confirm zero after major cleaning, maintenance, repairs, or any event that may have disturbed the optic.
26. How often should I check my rifle’s zero?
Check before the season, after travel or a hard impact, after changing ammunition or optic components, after significant maintenance, and whenever accuracy seems different. A brief confirmation group is usually more reliable than assuming the zero has not changed.
27. What is a cold-bore confirmation shot?
It is a shot fired from a barrel that has returned to ambient temperature. Hunters often confirm where the first shot from a cool, clean or normally conditioned rifle lands because that condition may resemble a field opportunity.
28. Can I sight in a rifle at home?
Only fire at a location where shooting is lawful and where a professionally designed backstop, safe direction, and all required controls are present. For most people, a supervised public or private shooting range is the safest and most appropriate choice.
29. What eye and ear protection should I use?
Use properly fitted shooting glasses and hearing protection rated for firearm use. Follow range rules and consider double hearing protection when appropriate. Everyone near the firing line should be protected.
30. What should I do if I cannot get shots on the target?
Stop making random adjustments. Confirm the correct target and safe lane, check the optic mount while the rifle is unloaded, return to a closer approved distance, and repeat a safe bore-sight procedure. Seek help from a range officer or qualified gunsmith if needed.
31. What should I do if the scope runs out of adjustment?
Do not force the turret. A mounting alignment issue, incompatible base, zero-stop setting, or optic problem may be limiting travel. Unload the firearm and have the mounting system inspected according to the manufacturer’s instructions or by a qualified gunsmith.
32. When should a beginner ask for professional help?
Get help when you are unfamiliar with firearm handling, cannot confirm the rifle is safe, do not understand the scope controls, have uncertain mounting hardware, repeatedly lose zero, or cannot produce a consistent group. A certified instructor, range officer, or qualified gunsmith can prevent unsafe trial and error.
Read more: How to Hunt Safely: A Beginner-Friendly Field Guide