
Important Legal and Safety Notice Before You Start
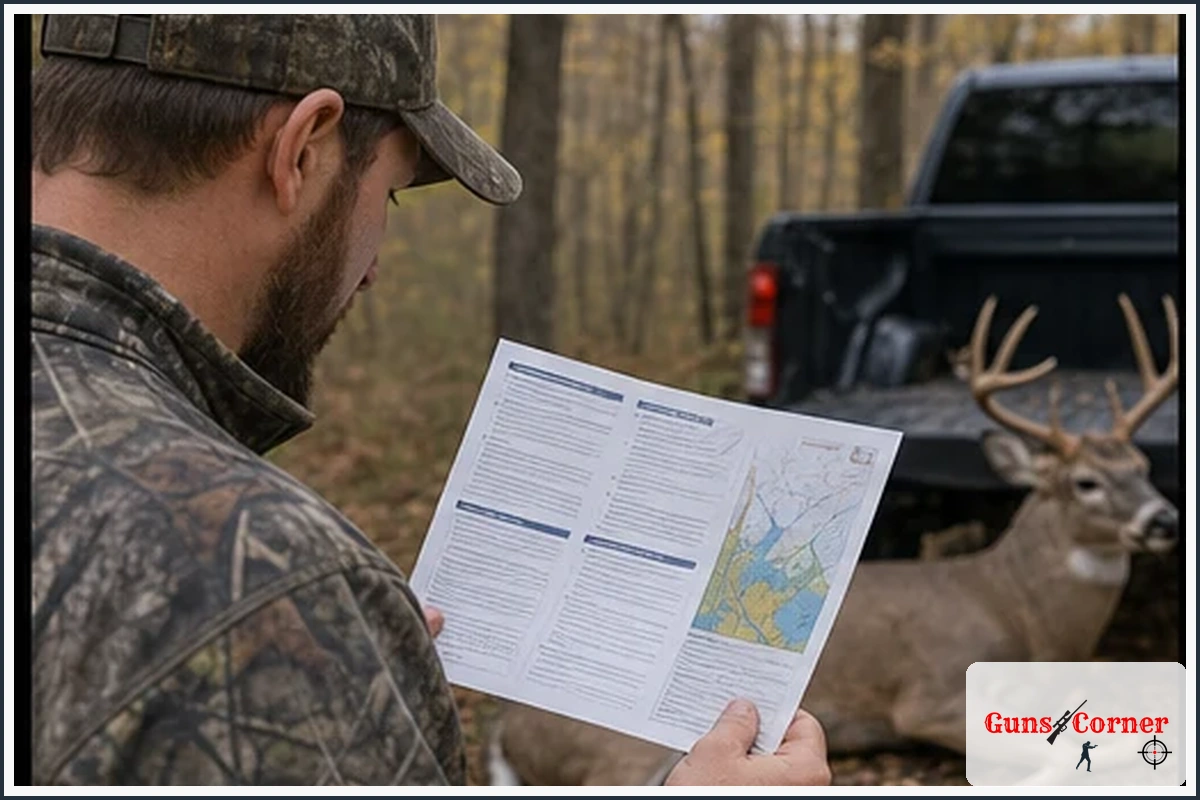
Hunting and cervid-processing rules vary by state, province, county, species, season, and wildlife disease zone. Before moving or processing the deer, verify current requirements with your official wildlife agency.
- Carry the required hunting license, tag, permit, and harvest information.
- Follow tagging, reporting, carcass-transport, and cervid-part restrictions.
- Check current chronic wasting disease requirements where applicable.
- Use legal access and follow private-property permissions and public-land rules.
- Wear gloves and eye protection during caping.
- Use stable cutting positions and keep the knife pointed away from your body.
- Plan cooling, transportation, communication, and emergency care before beginning.
Before You Start: Confirm the Mount Plan and Local Rules
Ask the taxidermist how they want the cape cut
Taxidermists may prefer different cut locations depending on the form, posture, shoulder coverage, and whether they will receive the complete head. Ask before cutting whenever possible. A conservative cut behind the front legs generally preserves extra hide that can be trimmed later, while a cut made too far forward may leave insufficient material for the form.
Confirm whether the taxidermist will remove the skull, split the lips, and turn the ears
Detailed work around the skull, lips, eyelids, and ear butts is easy to damage. Many beginners should leave these areas for the taxidermist. Confirm whether they want the cape attached to the head, partially separated, or delivered with the skull and antlers.
Check tagging, carcass-transport, chronic wasting disease, and cervid-part restrictions
Some jurisdictions restrict the movement of whole carcasses, skulls, brain tissue, spinal material, or certain untreated hides. Requirements may also differ inside disease-management zones. Check your wildlife agency’s current rules before transporting the cape or head across county or state lines.
Know when to stop and call a professional
Stop if the hide is badly damaged, the deer has been warm for an extended period, you are unsure about legal transport, or you cannot work safely. Paying a taxidermist to finish the cape is usually better than risking irreversible damage.
What You Need to Cape a Deer
Sharp, controllable knife and a backup blade
Use a sharp, manageable skinning knife rather than a large blade that is difficult to control. A backup knife is useful if the first blade becomes contaminated or dull. Follow the manufacturer’s instructions for safe handling and storage.
Protective gloves, eye protection, and clean work surfaces
Wear disposable or washable gloves and eye protection. Work on a stable surface covered with clean plastic sheeting or another washable material. Keep children, pets, food, and personal items away from the processing area.
Game bags, plastic sheeting, absorbent towels, and cooling supplies
Useful supplies include clean game bags, towels, a cooler with ice, disinfectant suitable for the tools and surface, and a waterproof container for paperwork. Avoid placing a warm, wet cape into an airtight container where heat and moisture can remain trapped.
Why a saw, power tools, or a dull knife can increase risk
Power tools and saws can create unnecessary injury, contamination, and tissue-damage risks during field caping. A dull knife requires more force and is harder to control. Use simple, clean tools unless a trained professional directs otherwise.
Safety and Hygiene During Caping
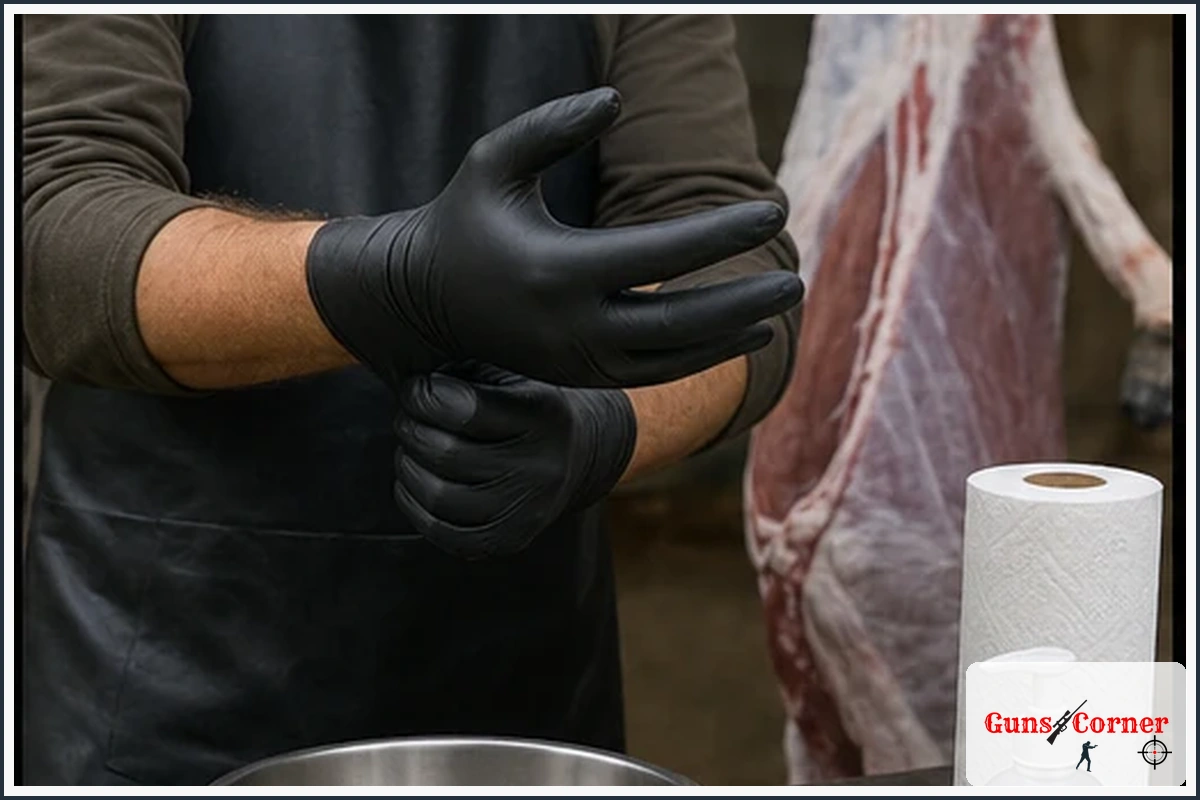
Wear gloves and avoid contact with brain, spinal, and body fluids
Gloves reduce direct contact but do not eliminate disease risk. Avoid handling nervous tissue unnecessarily, cover cuts on your hands, and follow official wildlife-health guidance for your area. Do not eat, drink, or smoke while processing.
Use stable cutting positions and cut away from your body
Keep the deer and your hands stable. Make short, controlled cuts with the blade directed away from your fingers, legs, and torso. Never pull hard against a knife that could slip.
Separate clean tools from tools used on the digestive tract
If you are also field dressing the deer, keep tools and surfaces used around the digestive tract separate from those used for the cape whenever possible. Remove visible contamination promptly.
Clean and disinfect tools and surfaces after processing
Clean tools and work surfaces according to current wildlife-agency or public-health guidance. Dispose of gloves and contaminated materials responsibly, and wash your hands thoroughly after handling the cape.
How to Cape a Deer for a Shoulder Mount
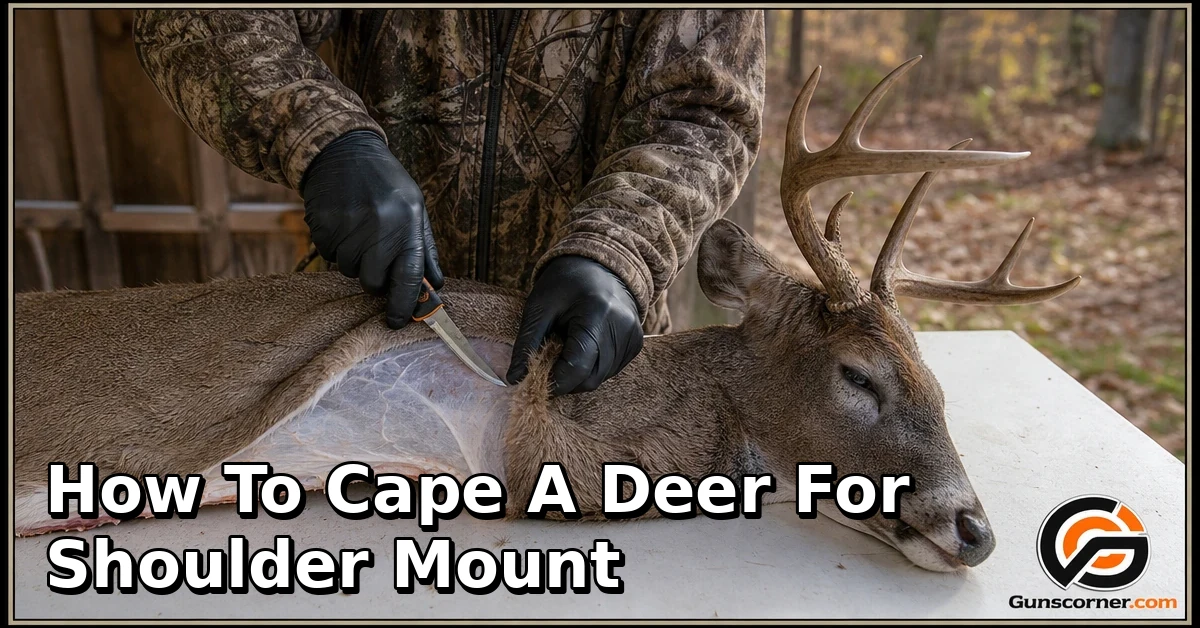
Position the deer and identify the shoulder, brisket, neck, ears, eyes, and antler bases
Place the deer on a stable, clean surface with the hair side facing up where practical. Identify the shoulder line, brisket, neck, ears, eyes, nose, and antler burrs before making the first cut. If the deer will be mounted, preserve more hide than you think you need.
Make the body cut behind the front legs
Make a controlled circular cut behind both front legs, continuing across the brisket as needed for the planned shoulder mount. The exact location is not universal, so follow your taxidermist’s preference. Cutting farther forward can reduce the hide available to cover the form.
Peel the hide forward from the shoulder without making unnecessary cuts
Begin separating the hide from the shoulder with shallow knife strokes. Use the natural separation between hide and muscle rather than forcing the blade deeply. Pull the hide gently only when it releases easily; do not use the antlers as a handle.
Work carefully around the neck and preserve extra hide
Continue toward the neck while keeping the blade nearly parallel to the hide. Leave extra material around the neck and head because the taxidermist can remove excess later, but cannot restore hide that has been cut away.
Free the hide around the ears, eyes, nose, and antler bases
These areas contain thin, delicate skin. Use short cuts and keep the blade edge visible. Around the antler bases, work around the burrs without slicing into the forehead. At the ear bases, preserve the attachment tissue rather than cutting through the thin ear skin.
Stop before damaging delicate facial skin
The eyelids, lips, nose, and ear butts are among the easiest areas to ruin. If you are unsure where the skin ends or the tissue begins, stop and leave that section for the taxidermist.
Separate the cape from the head or leave the head work to the taxidermist
Some taxidermists prefer receiving the cape attached to the head, while others want the head removed in a particular way. Do not guess. Follow the shop’s instructions, especially if you have never removed a deer head for mounting.
How the cut changes when the cape is damaged or the deer is going to a different mount style
Shot damage, worn hide, scars, and unusual damage may affect the best cut. A shoulder mount, half mount, rug, or European-style preparation may require different handling. Photograph significant damage and discuss it with the taxidermist before trimming more hide.
Caping the High-Risk Areas
Ear butts: avoid cutting through the thin skin and cartilage attachments
Do not rush the ear bases. Cutting through the attachment or thin skin can create repair work or make the cape unsuitable for the intended form. When uncertain, leave the ear work intact for the taxidermist.
Eyes: keep the eyelids and surrounding skin intact
Make shallow cuts around the eye area and avoid cutting the eyelids. A small accidental cut can become more serious when the taxidermist stretches and positions the skin on the form.
Lips and nose: preserve tissue rather than trying to finish detailed turning in the field
The lips and nose require precise separation and turning. Preserve as much tissue as possible and avoid aggressive pulling. Unless trained, leave detailed lip and nose work to the taxidermist.
Antler bases: cut around burrs without slicing the forehead
Work slowly around each antler base. Do not use the antlers to drag or lift the deer. Protect the forehead skin and keep the cut controlled around the burrs.
What hide damage can and cannot usually be repaired
Taxidermists can often repair or conceal some cuts, depending on their location and size. Damage to visible eyelids, lips, nose, ears, or the forehead may be more difficult to disguise. The best strategy is to preserve extra hide and avoid unnecessary cuts.
Cooling, Temporary Storage, and Transport
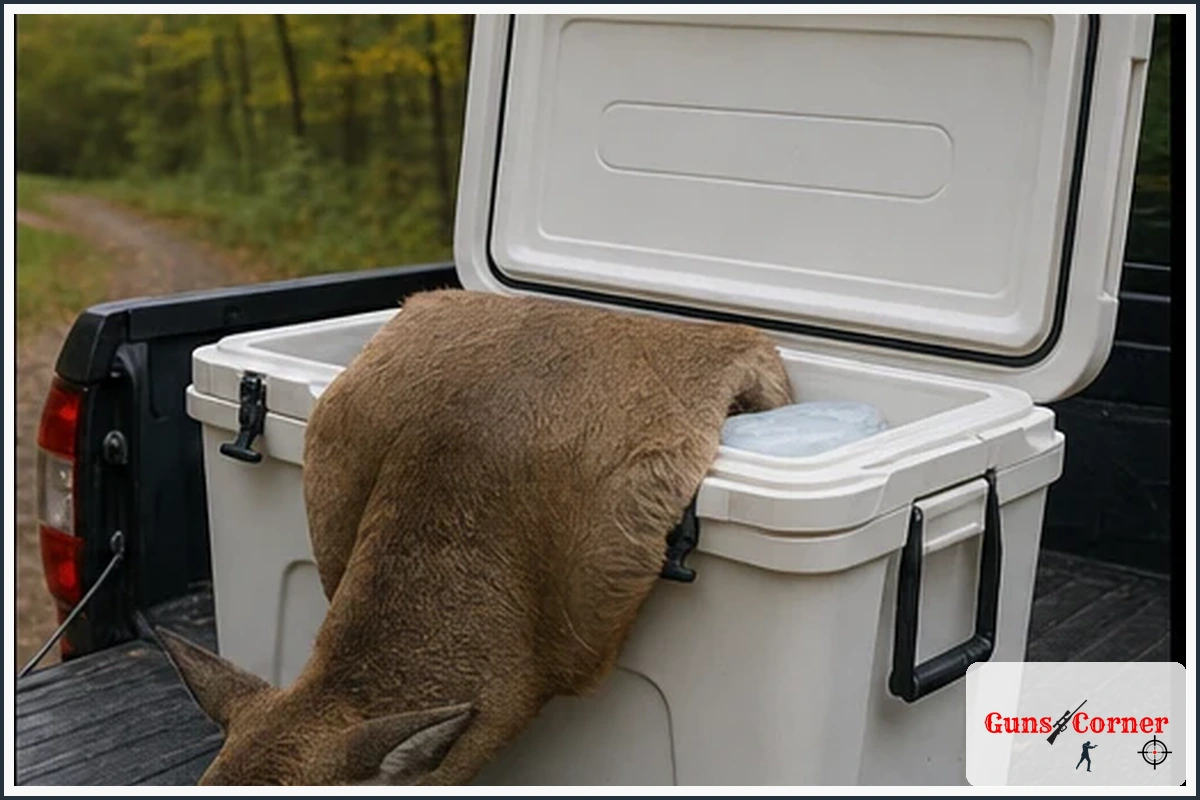
Remove heat and blood from the cape as soon as practical
Cooling should begin as soon as practical after the cape is removed. Keep the cape shaded and protected while arranging transport. Exact cooling deadlines depend on weather, handling, hide condition, and your taxidermist’s instructions, so do not rely on one universal time limit.
Keep the hide cold, dry on the hair side, and protected from contamination
Keep the hair side clean and avoid soaking the cape. Use clean towels to remove excess moisture without rubbing dirt into the hair. Keep the flesh side from contacting contaminated surfaces.
Do not seal a warm, wet cape in an airtight bag
A warm, wet cape can deteriorate when heat and moisture are trapped. Ask the taxidermist how they want the cape packaged. Temporary packaging should allow appropriate cooling rather than creating an insulated, sealed environment.
When salting is appropriate—and why not to salt a cape before asking the taxidermist
Salting is a preservation step, not a substitute for prompt cooling or professional advice. Some taxidermists prefer a fresh, chilled cape, while others may provide specific salting instructions. Do not add salt automatically, especially if the cape is headed directly to a taxidermist or may need to be frozen.
How to fold or roll the cape for transport without trapping heat
Follow the taxidermist’s packaging instructions. In general, avoid tight folds that trap heat, keep hair and flesh from becoming contaminated, and do not place warm material in a sealed container. Keep the cape protected from direct sunlight during transport.
Freezing guidance and how to avoid freezer burn or delayed spoilage
If immediate delivery is not possible, ask the taxidermist whether freezing is appropriate and how they want the cape prepared. Avoid repeated thawing and refreezing. Package it according to professional instructions and label it with identifying information required by local rules.
What to tell the taxidermist about shot damage, storage time, and temperature
Be honest about when the deer was harvested, how long the cape remained warm, whether it was chilled or frozen, and where the shot caused damage. This information helps the taxidermist assess the cape and choose an appropriate process.
Common Caping Mistakes That Ruin Mount Potential
Cutting the cape too far forward
A cut made too close to the front legs or shoulder may leave insufficient hide for the form. Preserve extra cape whenever possible.
Using the antlers as a handle
Antlers can damage the hide, strain the head, or cause the deer to shift unexpectedly. Lift and position the animal using safe support points instead.
Pulling instead of making controlled skin cuts
Forceful pulling can tear thin areas, especially near the face and ears. Use small cuts and let the hide separate gradually.
Leaving flesh and fat attached during warm storage
Excess tissue can complicate preservation and may contribute to deterioration in warm conditions. Ask your taxidermist how much tissue they want removed before storage.
Making deep cuts around the eyes, lips, ears, or nose
These mistakes are often difficult to hide. Slow down and leave delicate areas for a professional if necessary.
Waiting until the next day to cool the cape
Delay increases the risk of deterioration, especially in warm weather. Arrange cooling and professional contact before starting the hunt whenever possible.
When DIY Caping Is the Wrong Choice
Warm weather, delayed recovery, or uncertain refrigeration
If the deer has been warm for an extended period or you cannot cool the cape reliably, contact a taxidermist immediately. Do not assume that a cape is still suitable without professional evaluation.
Severe head, neck, or facial damage
Leave heavily damaged capes attached to the head when possible and ask the taxidermist for direction. Additional cutting can remove material needed for repair.
No safe place to work or no reliable way to preserve the cape
Do not cape in an unstable position, poor light, unsafe weather, or an area where contamination is likely. A professional shop may be the safer and more practical option.
Why inexperienced hunters should have a taxidermist remove the head and finish delicate areas
Caping is not a race. A taxidermist has the training and tools to protect facial details and prepare the cape for a specific form. Beginners can often save the mount by stopping before the difficult areas.
Taxidermist Handoff Checklist
Bring the cape, skull or head, antlers, harvest information, and permit details as required
Ask the taxidermist exactly what to bring. Local regulations may determine whether certain cervid parts can be transported or retained.
Report the animal’s species, sex, approximate age, shot location, and any damage
Tell the taxidermist whether the deer is a whitetail, mule deer, or another cervid, and describe any damage, storage delay, cooling, or freezing.
Discuss form style, turn direction, ear position, and intended shoulder coverage
Before work begins, discuss upright or sneak posture, left or right turn, ear position, and the amount of shoulder coverage desired. These choices can affect how much cape is needed.
Photograph the cape before transport if damage or identification may be disputed
Clear photographs can document shot damage, existing scars, and the cape’s condition. Keep any required tag or harvest documentation with the animal according to local rules.
Troubleshooting Common Problems
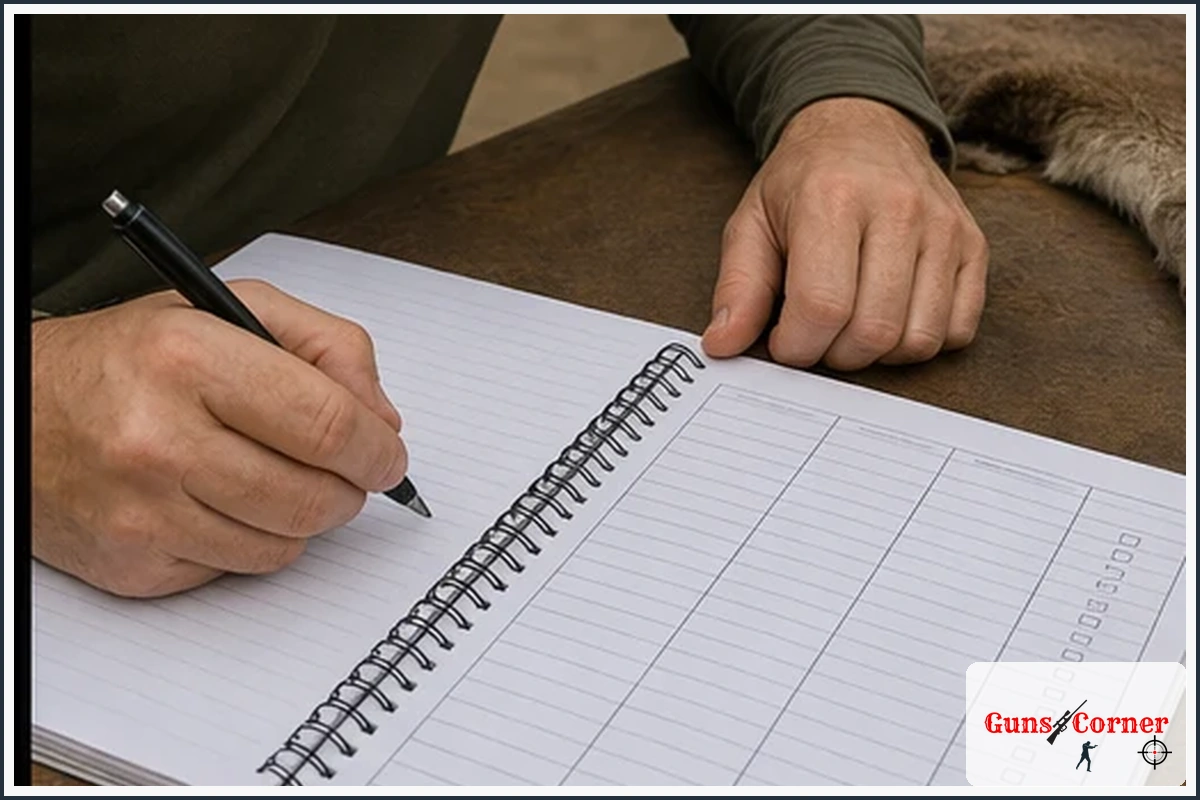
| Problem | Possible Cause | What to Do |
|---|---|---|
| The cape is warming quickly | Hot weather, delayed processing, or poor airflow | Move it to a shaded, clean cooling area and contact the taxidermist for immediate instructions. |
| You are unsure where to cut | No agreed cut plan or unfamiliar anatomy | Stop and call the taxidermist. Preserving extra hide is safer than guessing. |
| You cut near an eye or lip | Blade entered too deeply or the hide was pulled | Stop cutting, protect the area from contamination, and have the taxidermist assess the damage. |
| The cape is dirty or contaminated | Contact with soil, digestive contents, or an unclean surface | Follow professional cleaning instructions and avoid aggressive scrubbing or soaking. |
| You cannot transport the head or cape | Possible cervid-part or disease-zone restrictions | Check the current wildlife-agency rules before moving it across boundaries. |
| You are unsure whether to salt or freeze it | Different taxidermists use different preservation procedures | Ask the taxidermist before applying salt, freezing, or other treatments. |
Ethical Hunting and Conservation
A shoulder mount should begin with a legal and ethical harvest. Follow the correct season, tag requirements, weapon rules, bag limits, and land-access permissions. Take only a safe, practiced shot, recover the animal promptly, and make responsible use of the meat.
Licenses and regulated hunting participation support wildlife management and conservation programs. Respect landowners, other hunters, public-land users, and the animal itself. Dispose of waste properly and leave the work area clean.
When to Get More Training or Professional Guidance
Seek help if you have never handled a knife safely, do not understand local cervid-transport rules, lack a clean work area, or are uncertain about facial anatomy. A qualified taxidermist, official hunter-education instructor, wildlife agency, or experienced ethical mentor can provide guidance suited to your region and species.
After the Hunt: Follow-Up, Gear Care, and Learning
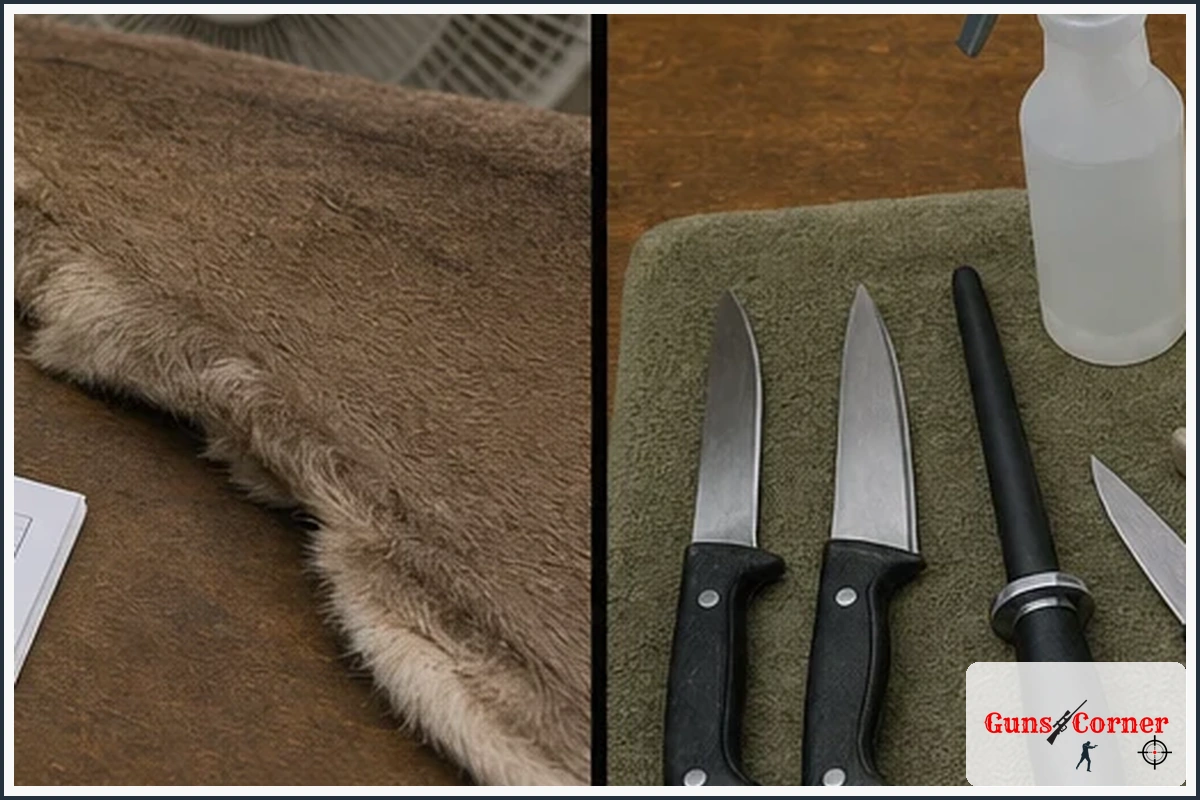
Clean and disinfect tools, dry them thoroughly, and store knives safely. Record the harvest date, weather, cooling method, storage history, and any damage. Confirm that harvest reporting and tagging are complete, then review what you would do differently next time.
If the cape is being mounted, keep communication open with the taxidermist and follow their instructions for delivery, freezing, paperwork, and form selection.
Final Thoughts
Learning how to cape a deer for shoulder mount is mainly an exercise in preparation, restraint, and careful handling. Confirm the cut with your taxidermist, preserve extra hide, work safely around delicate facial areas, cool the cape promptly, and follow all wildlife regulations. When conditions or anatomy are uncertain, stopping early and calling a professional is the most responsible choice.
Frequently Asked Questions
How far behind the front legs should I cut the cape?
There is no universal distance that suits every deer, form, or taxidermist. A conservative cut behind the front legs generally preserves extra hide, but ask your taxidermist for the preferred location before cutting.
Can I cape a deer without removing the head?
Often, yes, depending on the taxidermist’s preference and the intended preparation. Many beginners should leave head removal and delicate facial work to the taxidermist.
Should I salt a deer cape before taking it to a taxidermist?
Not automatically. Salting preferences vary, and the wrong treatment can complicate later work. Ask the taxidermist whether they want the cape chilled, frozen, or salted.
Can a taxidermist repair a cut eyelid, ear, or lip?
Some damage can be repaired, but results depend on the location, size, and condition of the hide. Avoid additional cutting and let the taxidermist inspect the area.
How quickly does a deer cape need to be cooled or frozen?
Cool it as soon as practical, especially in warm weather. Exact timing depends on conditions and professional preservation methods, so contact the taxidermist promptly rather than relying on a fixed universal deadline.
Can the same caping method be used for elk, mule deer, or other cervids?
The general principles are similar, but hide size, anatomy, taxidermist requirements, and transport laws can differ. Confirm species-specific instructions before using the same procedure.