
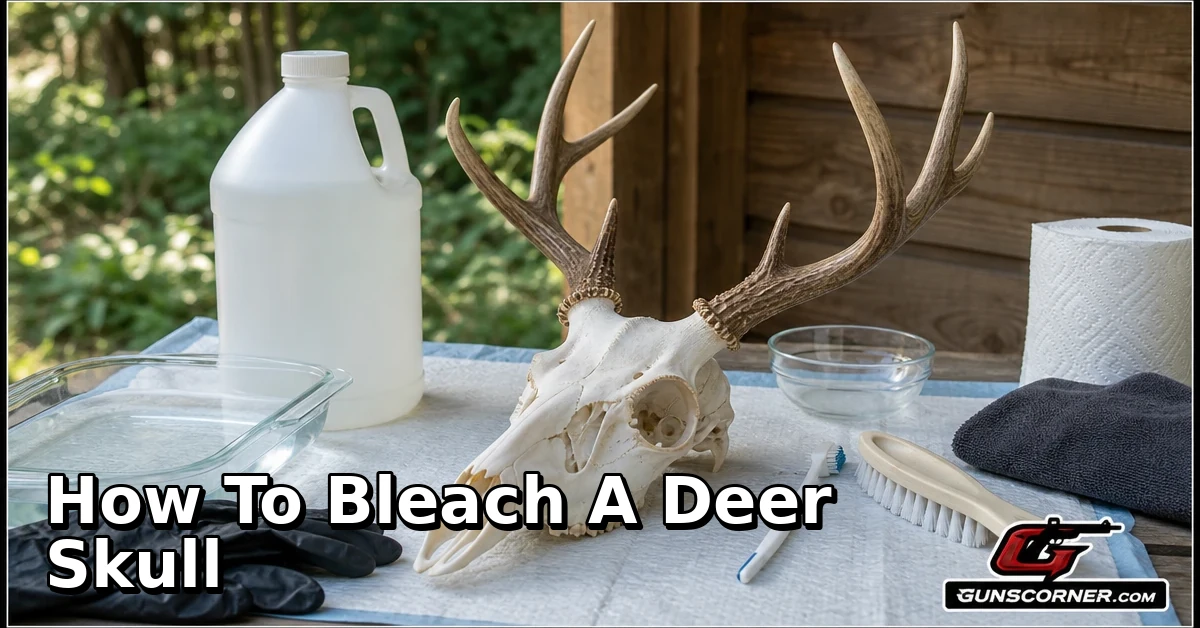

Learning how to bleach a deer skull is a practical way to prepare a clean European-style mount after a legal, ethical harvest. The best results come from careful cleaning, degreasing, safe whitening, and patience—not from using harsh chemicals or rushing the process.
To bleach a deer skull safely, remove the remaining tissue, degrease the bone, let it dry, and whiten it with hydrogen peroxide rather than household chlorine bleach. Protect the antlers, wear gloves and eye protection, and work in a ventilated area. Local wildlife regulations may require harvest reporting or restrict transporting animal parts, so check official rules before moving or preparing the skull.
Important Legal and Safety Notice Before You Begin
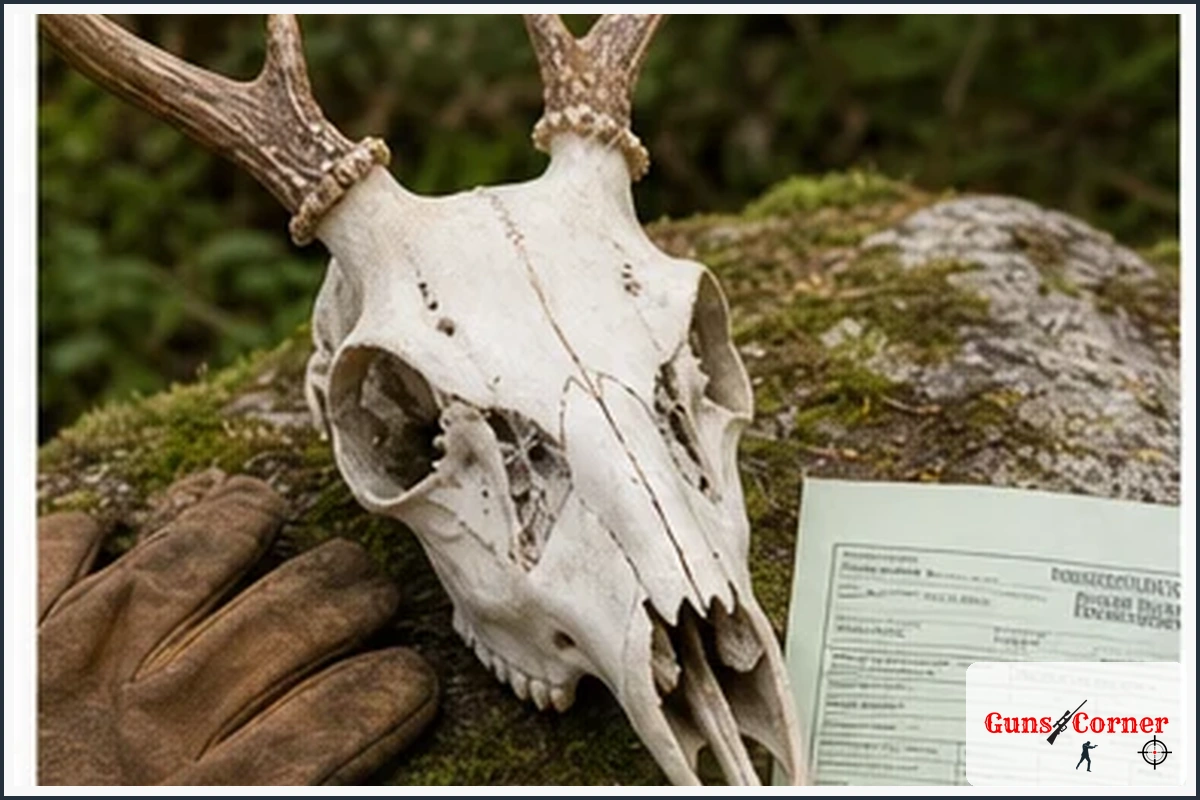
This project should only involve a deer legally harvested under current local regulations. Verify license, tag, harvest reporting, transportation, carcass-disposal, and wildlife-disease rules with your official wildlife agency. Requirements can vary by location.
- Wear chemical-resistant gloves, eye protection, and protective clothing.
- Work outdoors or in a well-ventilated area.
- Never mix hydrogen peroxide with chlorine bleach, ammonia, acids, or other cleaners.
- Keep chemicals away from children, pets, food, and ignition sources.
- Use a dedicated container and tools rather than household cookware.
- Follow product-label directions and never use a sealed container for peroxide treatment.
- Handle knives, saws, and hot water carefully.
- Wash your hands and disinfect reusable tools after handling biological material.
What “Bleaching” a Deer Skull Really Means
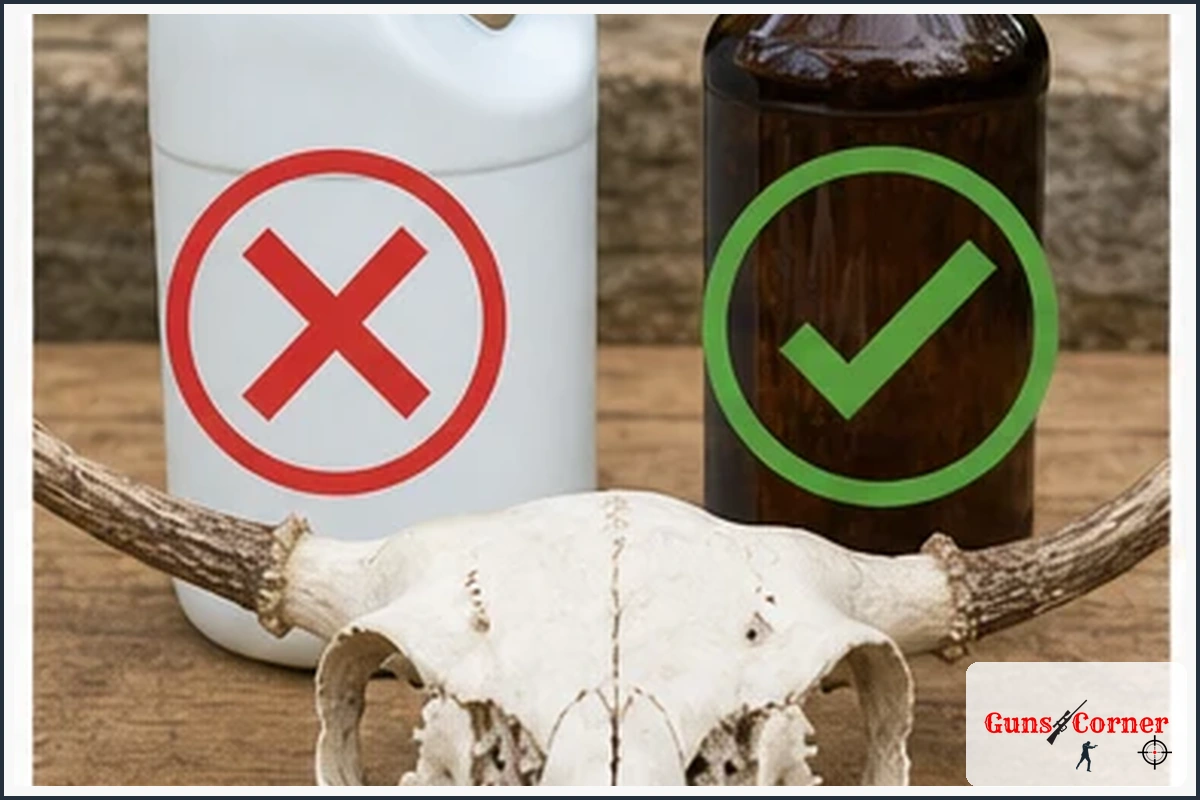
Most deer skulls are whitened with hydrogen peroxide. Household chlorine bleach is generally a poor choice because it can weaken, flake, and damage bone over time. Hydrogen peroxide helps lighten the bone while preserving more natural detail when used properly.
Before whitening, the skull must be thoroughly cleaned and degreased. Peroxide will not remove deep grease, leftover tissue, or strong odors. Whitening a dirty skull often produces yellow patches and requires repeating the process.
What You Need
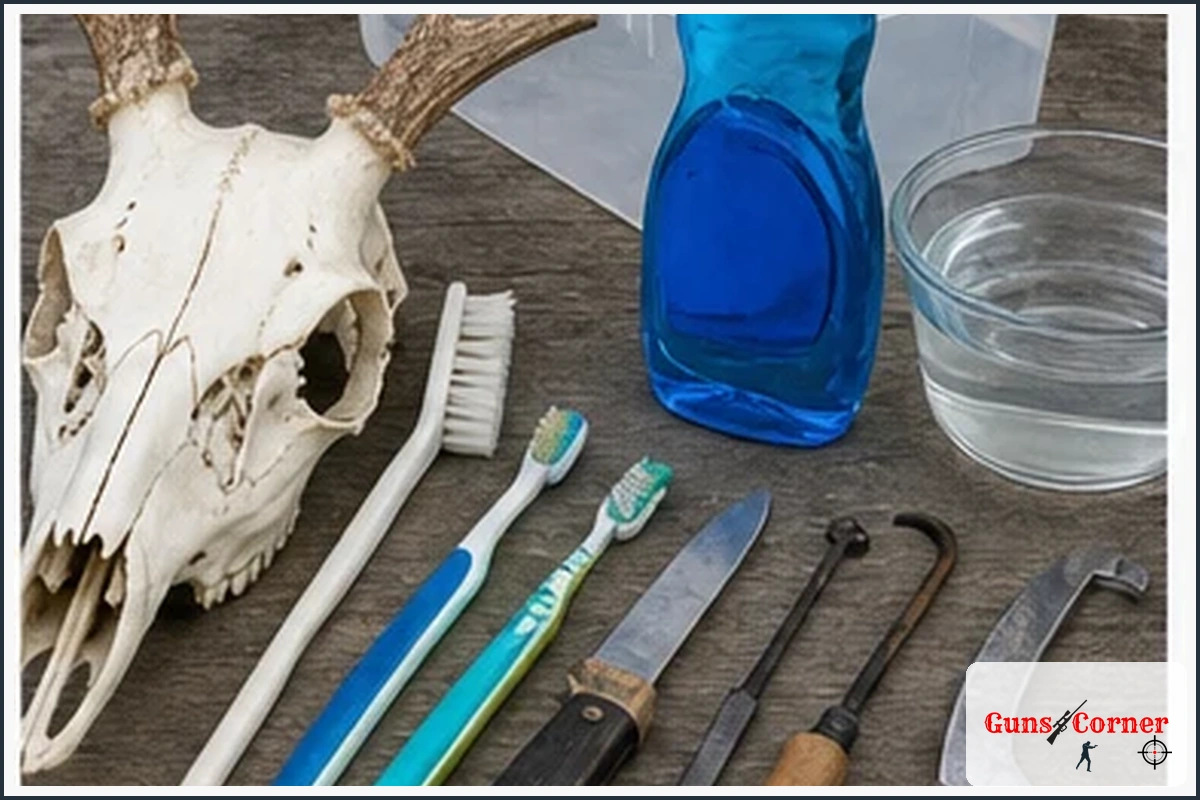
- Clean deer skull with the lower jaw removed if desired
- Sharp knife, scraper, or small hand tools
- Large plastic container
- Old toothbrushes and small brushes
- Water and mild dish soap
- Hydrogen peroxide suitable for your chosen application
- Plastic wrap, painter’s tape, or a plastic bag to protect antlers
- Gloves and eye protection
- Ventilation and a stable work surface
- Towels or absorbent material
- Optional: plastic tub, low-temperature heating source, or skull-whitening paste
Choose the peroxide strength carefully and follow the label. Stronger solutions can whiten faster but increase the risk of skin, eye, and material damage.
How to Bleach a Deer Skull Step by Step
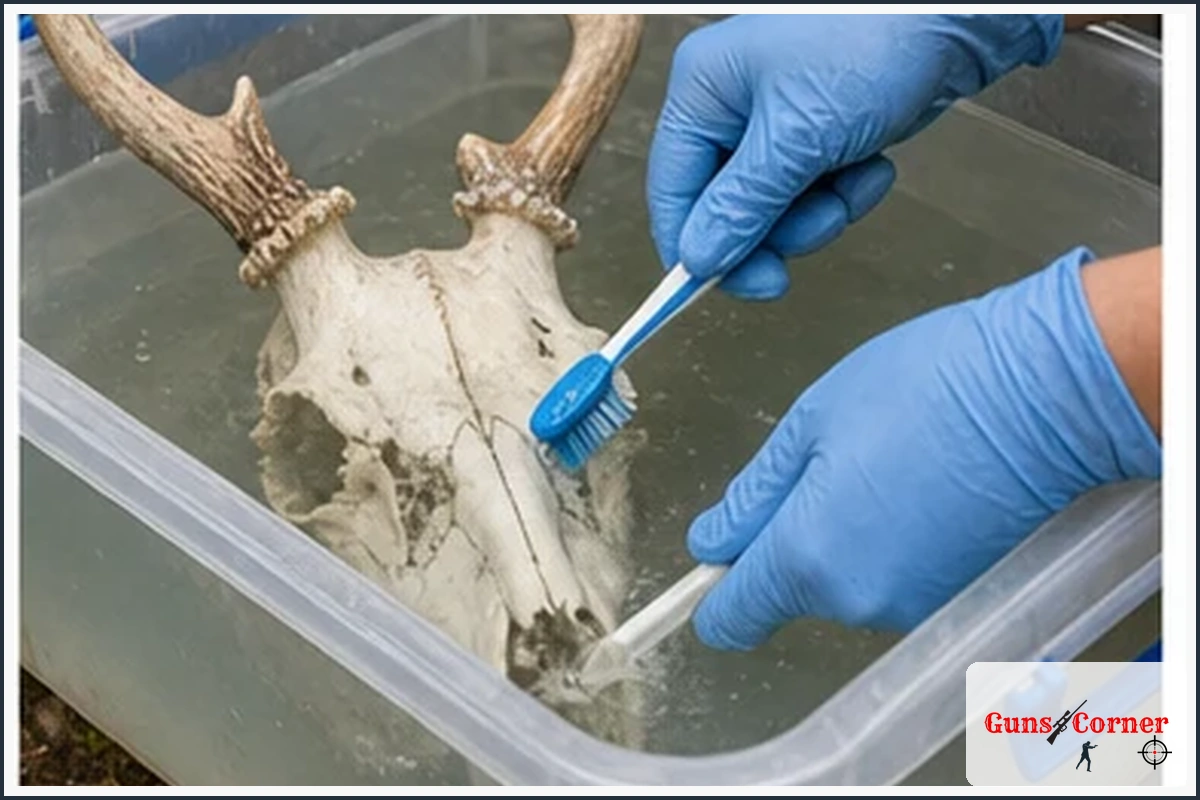
Step 1: Confirm the Skull Is Legal to Possess and Transport

Before beginning, check your state, provincial, or local wildlife regulations. Some areas have rules concerning carcass movement, chronic wasting disease zones, required proof of harvest, or the transportation of skulls and antlers. Keep any required tag or documentation with the mount until local rules no longer require it.
Step 2: Remove the Remaining Tissue
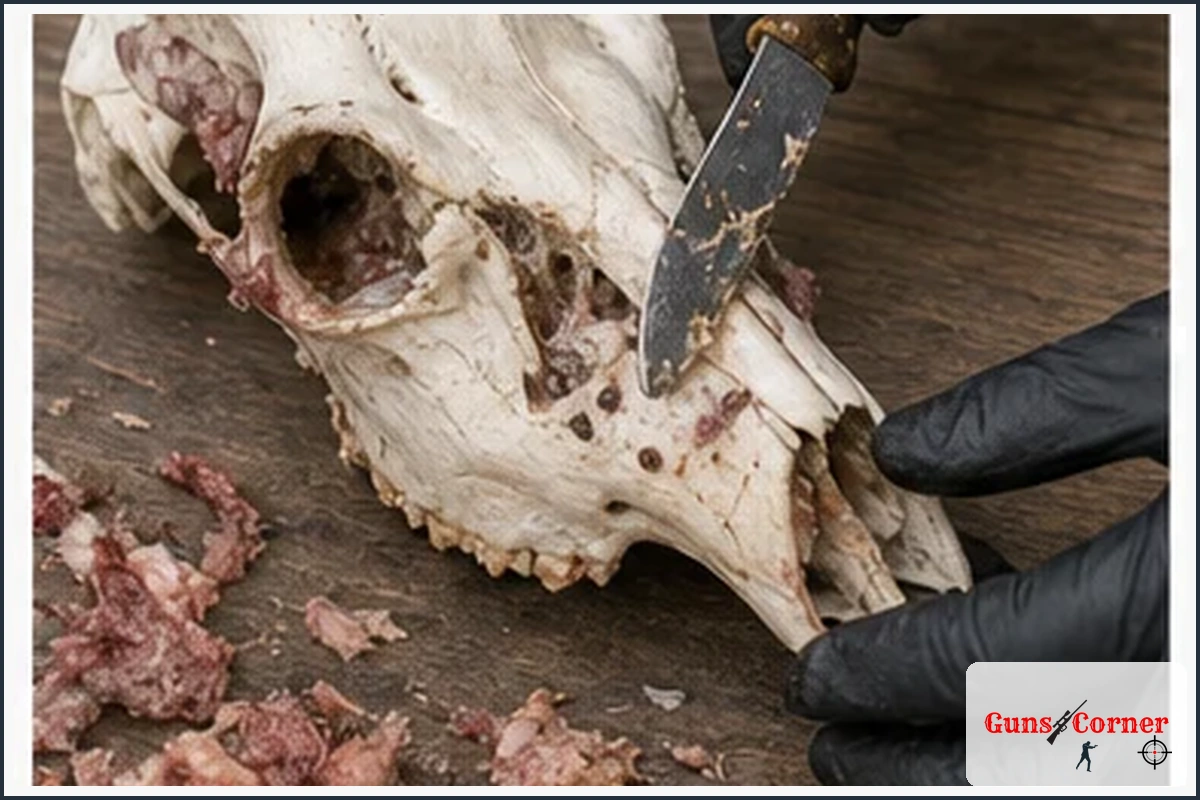
Remove visible meat, connective tissue, eyes, and other soft material with a knife or scraper. Work slowly around the nasal bones, eye sockets, and thin areas because they can break easily.
Do not force tools through delicate bone. A small brush or blunt instrument is safer for tight spaces than aggressive scraping.
Step 3: Choose a Cleaning Method
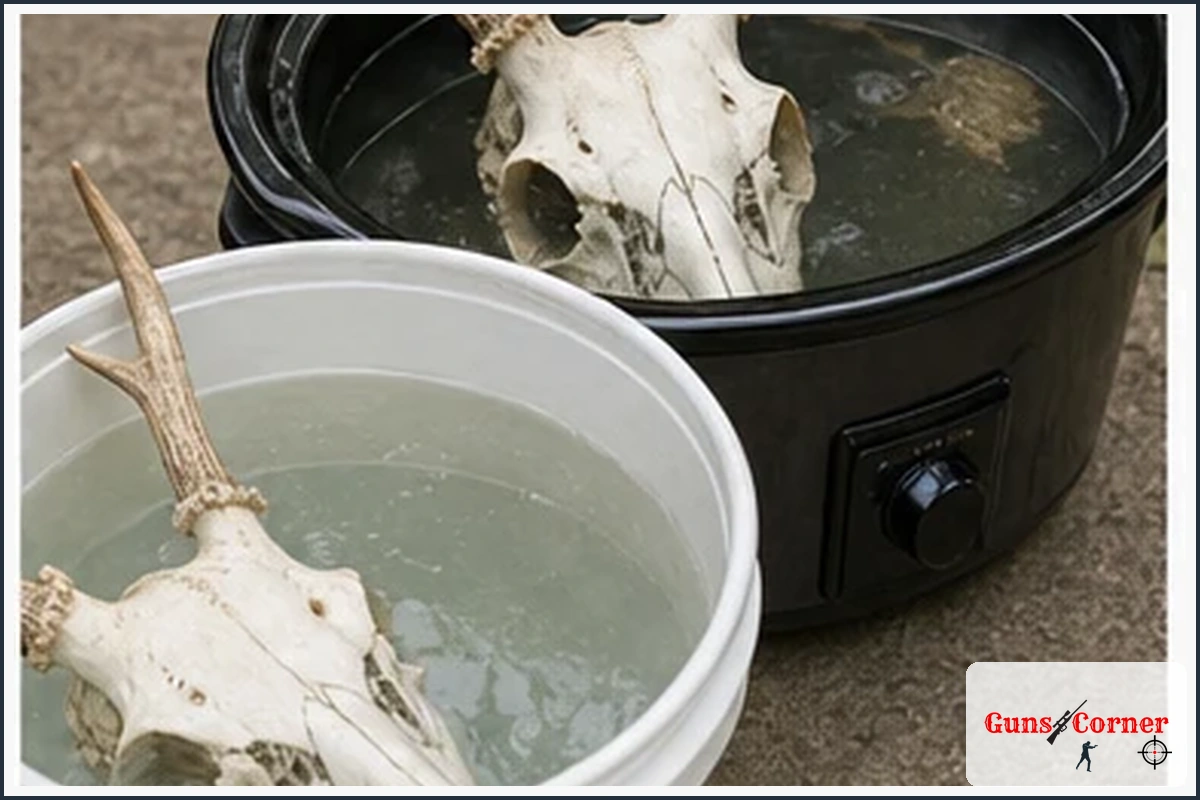
For beginners, controlled simmering or warm-water maceration are common approaches. Maceration uses warm water to loosen tissue gradually and usually preserves delicate bone better than aggressive boiling, but it can create odor and requires a controlled outdoor setup.
If you use heat, keep the water below a rolling boil. Excessive heat can loosen teeth, damage fragile bones, and cause grease to become trapped deeper inside the skull.
Step 4: Clean the Skull Carefully
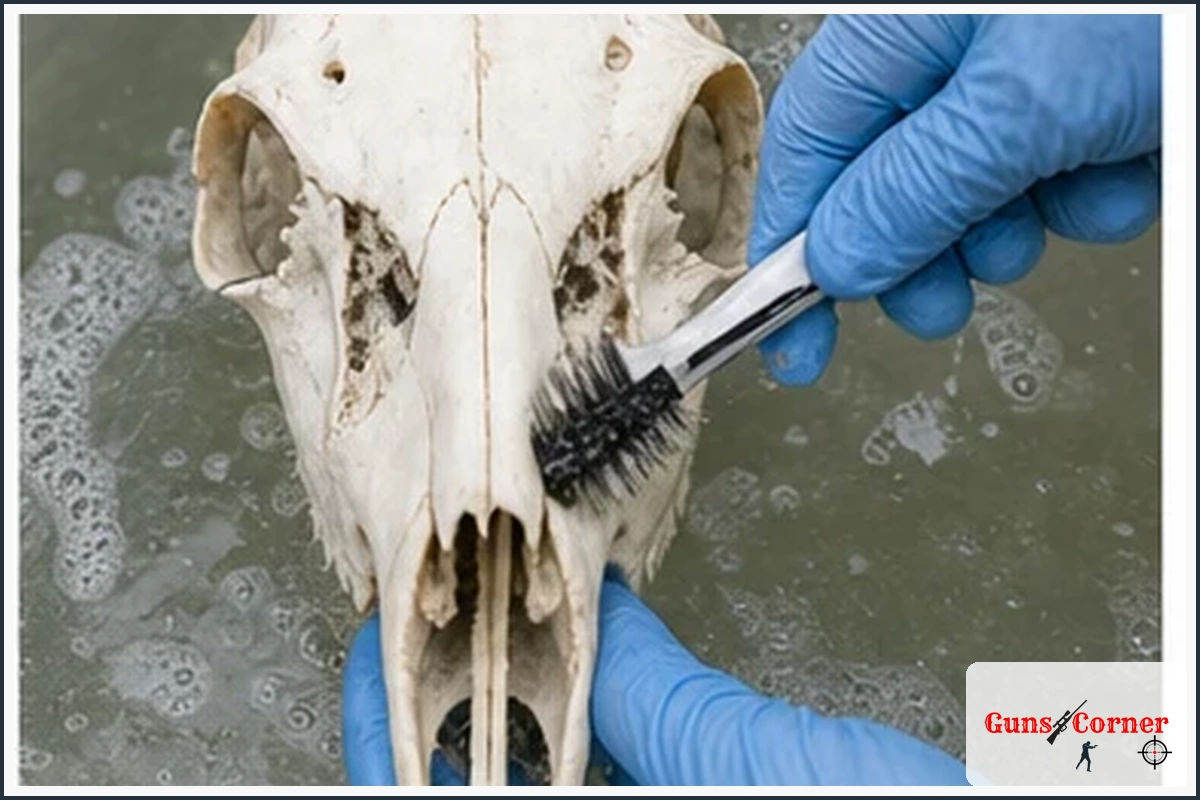
Place the skull in warm water with a small amount of mild dish soap. Remove loosened tissue with brushes and hand tools. Pay attention to the brain cavity, nasal passages, eye sockets, and areas behind the jaw hinges.
Rinse the skull thoroughly with clean water. Repeat the cleaning process until no soft tissue remains. Teeth may loosen during cleaning, so keep them in a labeled container and return them after the skull is fully dry.
Step 5: Degrease the Bone
Degreasing is one of the most important steps. Place the cleaned skull in warm water with a small amount of dish soap and change the solution when it becomes cloudy or oily. Continue until the water stays relatively clear and the skull no longer feels greasy.
Do not use boiling water. Gentle warmth works better than extreme heat and reduces the chance of damaging the bone.
Step 6: Dry the Skull Completely
Allow the skull to dry in a warm, clean, well-ventilated location. Drying may take a day or longer depending on humidity and bone thickness.
Do not begin whitening while the skull is still visibly wet inside. Moisture can dilute the peroxide and make the results uneven.
Step 7: Protect the Antlers
Hydrogen peroxide can lighten natural antler color. Cover the antlers with plastic and tape, leaving the entire bone portion exposed. Seal the covering carefully but avoid trapping excessive moisture against the antler material.
If the skull has unusually valuable or fragile antlers, consider asking a taxidermist for professional advice before applying chemicals.
Step 8: Apply Hydrogen Peroxide
There are two common approaches:
- Soaking: Place the skull in a plastic container and apply peroxide carefully, keeping the antlers above the solution.
- Paste application: Apply a peroxide-based whitening paste to the bone, wrap it loosely with plastic, and allow it to work according to the product instructions.
Do not use a metal container unless the product instructions specifically allow it. Avoid sealing the skull in an airtight container because peroxide can release gas.
Step 9: Monitor the Whitening Process
Check the skull periodically rather than leaving it unattended for an unnecessarily long time. Whitening time depends on bone condition, peroxide strength, temperature, and the desired appearance.
Stop when the skull reaches an even, natural white color. Overprocessing can make bone chalky or brittle and may emphasize damage that was already present.
Step 10: Rinse and Dry Again
Rinse the skull with clean water to remove peroxide residue. Let it dry completely in a ventilated area. The final color may appear slightly different after drying, so wait before deciding whether another treatment is necessary.
Step 11: Reattach Loose Teeth and Prepare the Mount
Once the skull is dry, return any loose teeth to their correct positions. A suitable conservation-safe adhesive can help secure loose pieces, but avoid filling natural openings or altering the skull’s structure.
You can then mount the skull on a plaque, wall hanger, or display stand. Choose a dry location away from direct sunlight, high humidity, fireplaces, and temperature extremes.
Best Method for Most Beginners
A careful cleaning and degreasing process followed by a peroxide-based paste is often the most manageable approach for beginners. Paste allows better control around the nasal bones and eye sockets and reduces the need to submerge the entire skull.
Soaking can also work well, but it requires more attention to the antlers, container size, peroxide handling, and solution disposal. Follow the product label rather than relying on a universal mixing ratio.
Common Mistakes to Avoid
- Using household chlorine bleach instead of a bone-safe peroxide method.
- Whitening before removing grease and tissue.
- Boiling the skull aggressively.
- Leaving antlers exposed to peroxide.
- Using bare hands or skipping eye protection.
- Mixing peroxide with other cleaning chemicals.
- Whitening in a poorly ventilated room.
- Scraping too aggressively around thin bone.
- Rushing the drying process.
- Discarding loose teeth without labeling them.
- Ignoring wildlife transport or disease-control regulations.
- Placing the finished skull in direct sunlight or damp conditions.
Troubleshooting Common Problems
| Problem | Possible Cause | What to Do |
|---|---|---|
| The skull remains yellow | Grease remains inside the bone | Repeat gentle degreasing before applying more peroxide. |
| Dark patches remain | Leftover tissue, dirt, or uneven peroxide coverage | Clean the area carefully, dry it, and apply a controlled second treatment. |
| The skull smells bad | Hidden tissue or grease | Return to cleaning and degreasing; do not simply add more peroxide. |
| The bone looks chalky | Overprocessing, excessive heat, or overly strong chemicals | Stop treatment and let the skull dry. Seek taxidermy advice if the damage is significant. |
| The antlers became lighter | Peroxide contacted the antler material | Remove the covering and consult a taxidermist about restoring the finish. |
| Teeth fell out | Cleaning loosened natural tooth sockets | Keep the teeth labeled and replace them after the skull is completely dry. |
| The skull cracked | Rapid temperature change or excessive heat | Stop heating and allow future cleaning stages to proceed at gentle temperatures. |
| The skull is unevenly white | Uneven cleaning, grease, or peroxide coverage | Correct the underlying problem before repeating a light whitening treatment. |
Ethical Hunting, Conservation, and Responsible Aftercare
A European mount should begin with a legal and ethical harvest. Follow the approved season, weapon rules, tag requirements, bag limits, and reporting procedures for your area. Take only a safe, practiced shot and never harvest an animal unless you are certain it is legal and clearly identified.
Use the harvest responsibly, follow local carcass-disposal rules, and clean tools and work areas after preparation. Hunting licenses and lawful participation support wildlife management and conservation programs. Respect landowners, other hunters, and public land users throughout the process.
When to Ask a Professional for Help
Contact a qualified taxidermist if the skull is damaged, unusually valuable, heavily stained, infected with mold, or attached to a trophy with special preservation needs. Professional guidance is also worthwhile if you are uncertain about local wildlife transport rules or safe chemical handling.
Recommended Tools and Supplies
You do not need expensive equipment to prepare a deer skull, but dedicated tools make the work safer and cleaner.
- Protective gloves and safety glasses
- Dedicated plastic containers
- Small brushes and blunt cleaning tools
- Reliable ventilation
- Mild dish soap for degreasing
- Hydrogen peroxide suitable for skull whitening
- Plastic covering for antlers
- Labels or bags for loose teeth
- Clean towels and a stable work surface
- Optional plaque, hanger, or display stand
After the Project: Care and Storage
Keep the finished skull indoors in a dry location with stable temperatures. Dust it with a soft brush or dry cloth. Avoid soaking the finished mount, using harsh household cleaners, or placing it in strong sunlight.
Record the harvest date, location, and any required reporting information. Keeping basic notes can help document the mount and improve your preparation process for future hunts.
Final Thoughts
How to bleach a deer skull safely comes down to four priorities: clean the bone thoroughly, remove grease, use hydrogen peroxide carefully, and protect the antlers. Work slowly, follow product instructions, and check current wildlife regulations before transporting or preparing a skull. A patient, responsible process produces a cleaner mount while respecting the animal and the conservation system that supports hunting.
Frequently Asked Questions
Can I use household bleach on a deer skull?
It is generally better to avoid chlorine bleach because it can weaken and damage bone. Hydrogen peroxide is the preferred whitening option for many skull-mount projects.
What is the difference between bleaching and whitening a deer skull?
People often say “bleaching,” but most skull preparers mean whitening with hydrogen peroxide. Actual chlorine bleach is a different and harsher chemical.
Should I clean the skull before whitening it?
Yes. Remove tissue, dirt, and grease first. Peroxide cannot replace proper cleaning and degreasing.
How long should a deer skull soak in peroxide?
There is no universal time because peroxide strength, bone condition, and temperature vary. Follow the product directions and inspect the skull periodically.
Can I boil a deer skull?
A gentle simmer may loosen tissue, but aggressive boiling can damage thin bone, loosen teeth, and force grease deeper into the skull.
Can I use hydrogen peroxide paste?
Yes. A peroxide-based paste can provide controlled coverage and is useful for protecting antlers and treating uneven areas.
How do I keep peroxide off the antlers?
Cover the antlers with plastic and tape before applying peroxide. Check the covering periodically for leaks.
Will peroxide damage antlers?
It can lighten or alter antlers if it contacts them. Protect the antlers carefully and seek professional advice for valuable trophies.
Why is my deer skull still yellow?
Remaining grease is a common cause. Continue gentle degreasing and allow the skull to dry before considering another whitening treatment.
Why does my skull smell after cleaning?
Odor usually indicates hidden tissue or grease. Return to cleaning and degreasing instead of adding more whitening chemical.
Can I whiten a skull that is still wet?
It is better to let the skull dry first. Excess moisture can dilute the peroxide and lead to uneven results.
What should I do if teeth fall out?
Label and save them in a small container. Replace them after the skull has dried completely.
How do I clean the brain cavity?
Use careful flushing, small brushes, and blunt tools. Avoid forcing sharp tools into delicate openings.
Can I use a pressure washer?
High pressure can damage thin bone and loosen teeth. Gentle hand cleaning is safer for most beginners.
Can I whiten a skull with velvet antlers?
Use extreme caution. Peroxide and soaking can damage velvet and the underlying antler. A taxidermist is usually the safest option.
Can I use a metal container?
Use a plastic container unless the product instructions specifically approve another material.
Is hydrogen peroxide dangerous?
It can irritate or burn skin and eyes, especially at stronger concentrations. Wear gloves and eye protection and follow the product label.
Can I mix peroxide with bleach?
No. Never mix peroxide with chlorine bleach or other cleaners.
Should I cover the container?
Do not seal peroxide in an airtight container. Gas may build up during the reaction.
How do I dispose of used peroxide?
Follow the product label and local disposal guidance. Never pour chemicals onto soil, waterways, or areas accessible to pets.
Can I whiten the skull indoors?
Only if you have suitable ventilation, a protected work area, and safe chemical storage. Outdoor or controlled workshop space is often better.
How do I prevent cracks?
Avoid aggressive boiling, rapid temperature changes, and prolonged exposure to strong chemicals. Let the skull dry gradually.
Should I remove the lower jaw?
That depends on the mount style. Many European mounts display only the upper skull, while others include the lower jaw.
Can I whiten an old deer skull?
Usually, but old bone may be fragile or stained. Clean gently and consider professional advice if it is cracked or deteriorating.
How do I preserve a finished skull mount?
Keep it dry, out of direct sunlight, and away from extreme temperatures. Dust it gently and avoid harsh cleaners.
Do I need to report a deer used for a skull mount?
Harvest reporting requirements vary by location. Complete any required reporting before or after preparation according to your official wildlife agency’s rules.
Can I transport the skull across state or provincial lines?
Rules may restrict the movement of deer parts because of wildlife disease concerns. Check current regulations before transporting it.
Do I need a hunting license to possess a deer skull?
Possession rules vary. A legally harvested animal and required documentation may be necessary, so verify local requirements.
What should I do with leftover tissue?
Follow local carcass-disposal and sanitation rules. Keep waste away from water sources, livestock, pets, and public areas.
Can I use beetles instead of boiling?
Dermestid beetles can clean skulls effectively, but they require specialized containment and care. They are not necessary for every beginner project.
Is maceration better than boiling?
Maceration can preserve delicate bone well but takes longer and may produce strong odors. The best method depends on your equipment, time, and tolerance for the process.
Why is degreasing so important?
Grease causes yellowing, odor, and uneven whitening. Removing it improves both appearance and long-term stability.
Can I repaint the antlers?
Some mounts are professionally restored, but repainting can reduce natural appearance and value. Consult a taxidermist before altering antlers.
What if the skull is damaged?
Save all fragments, avoid forcing them into place, and ask a taxidermist about repair options.
Can I use a hair developer product?
Some hair products contain peroxide and are used for skull whitening, but read the label carefully and follow safe handling instructions. Do not assume every product is suitable.
How many whitening treatments are safe?
Use the fewest treatments needed to reach an even appearance. Repeated strong treatments can weaken or dry the bone.
Should a deer skull be perfectly white?
Not necessarily. A natural, even bone color is often preferable to an overprocessed chalk-white appearance.
Can sunlight whiten a deer skull?
Sunlight may alter color but can also fade antlers and contribute to deterioration. Controlled peroxide whitening is more predictable.
What is the safest first step for a beginner?
Confirm legal possession, wear protective equipment, and begin with careful tissue removal and degreasing before choosing a whitening method.
When should I hire a taxidermist?
Consider professional help when the skull is valuable, fragile, damaged, unusually stained, or difficult to clean safely.