
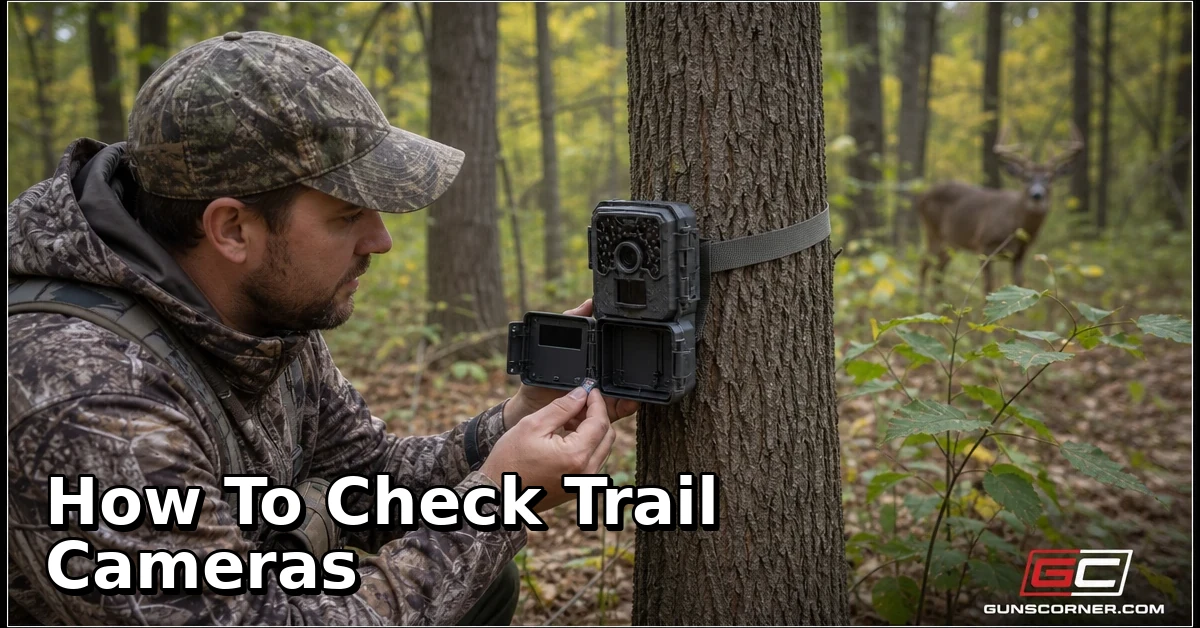

Learning how to check trail cameras properly helps you protect equipment, preserve useful wildlife data, and avoid unnecessary disturbance. This guide explains how to inspect a camera, review images, check batteries and storage, troubleshoot problems, and keep accurate records while following property, privacy, and wildlife regulations.
To check a trail camera, confirm you have legal permission to access the site, approach quietly, inspect the camera before opening it, disable it, and carefully review or replace the memory card. Check the housing, mount, lens, batteries, settings, timestamp, storage, and transmission status before restarting the camera. Record useful observations and make only documented, necessary adjustments. Always follow the camera manual, landowner requirements, local wildlife rules, and privacy laws.
Important Legal and Safety Notice Before You Visit
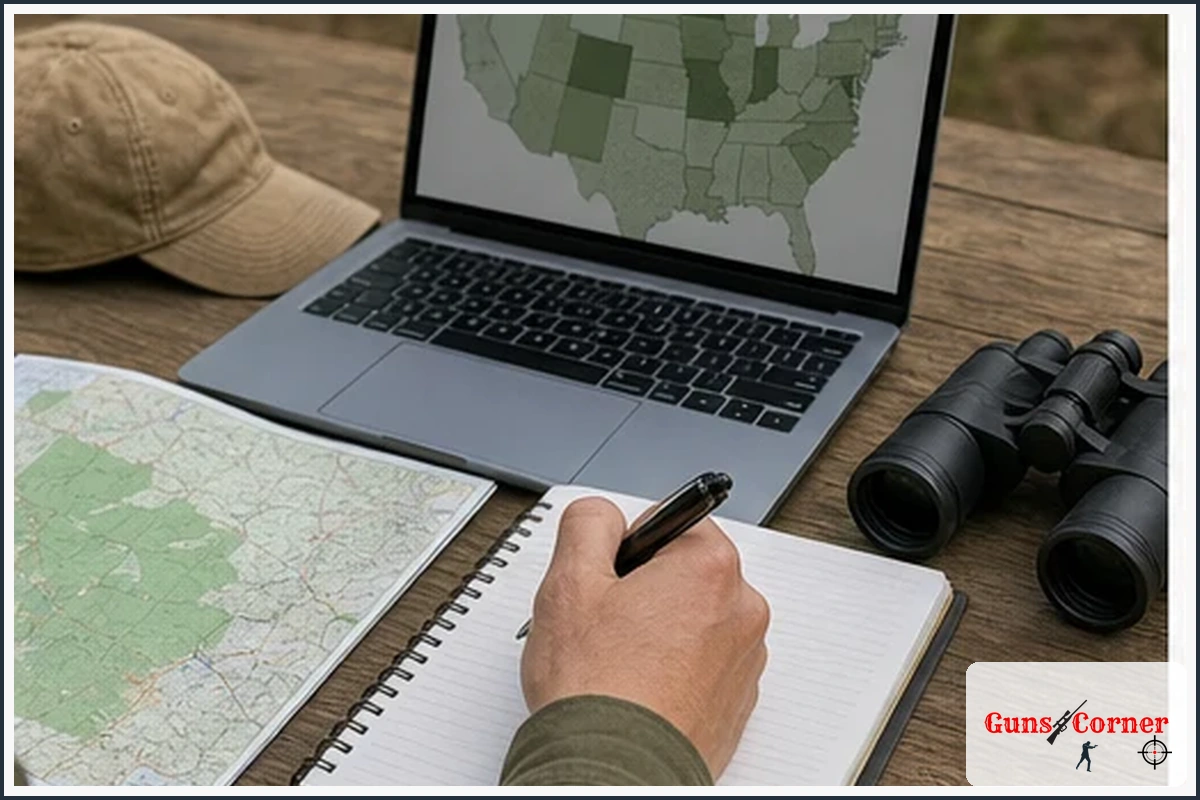
Trail-camera rules vary by state, province, property type, species, season, and land-management agency. Before placing or checking a camera, verify current requirements with the official wildlife agency and landowner or public-land authority.
- Confirm permission, licenses, permits, and access authorization.
- Check rules concerning trail cameras, bait, seasons, species, and public land.
- Respect property boundaries and camera-placement requirements.
- Do not record private areas or people where privacy is reasonably expected.
- Plan for weather, navigation, wildlife encounters, and remote-area emergencies.
- Carry communication equipment and tell someone your route and expected return time.
- If carrying a firearm or bow, follow all applicable safety rules and identify your surroundings before handling equipment.
What “Checking a Trail Camera” Includes
Inspecting the camera and mount
A proper check includes examining the housing, strap, lock, mounting point, antenna, solar panel, lens, and camera angle. Look for damage, movement, water intrusion, insects, vegetation, or signs of tampering.
Reviewing photos, videos, and transmission status
Review files for wildlife activity, false triggers, blank images, and camera performance. Cellular-camera users should also check the last successful transmission rather than assuming that an “online” status proves recent operation.
Checking batteries, memory, time, date, and settings
Battery level, card capacity, timestamp accuracy, trigger settings, image quality, video length, and detection sensitivity all affect the usefulness of your data. Exact requirements vary by model, so consult the current manufacturer manual.
Recording observations for the next visit
Record the camera ID, visit date, battery condition, file count, species observed, notable behavior, and any changes made. Consistent notes make it easier to compare cameras and dates without relying on memory.
Before You Visit: Plan a Low-Impact Camera Check
Confirm permission, access conditions, and applicable regulations
Verify that your access remains authorized and that the camera is legal in the area and season. Public-land rules, private leases, hunting-club policies, and landowner agreements may impose requirements beyond general wildlife regulations.
Choose a low-disturbance time and route
Choose a quiet, practical route that avoids unnecessary walking through bedding cover, feeding areas, or sensitive habitat. The best interval depends on battery life, storage, weather, cellular service, site risk, and local rules. There is no universal checking schedule.
Pack the right tools
- Appropriate replacement batteries
- Spare compatible memory cards
- Phone or camera viewer, if required
- Lens cloth, gloves, small brush, and mounting tools
- Notebook or digital log
- Map, navigation device, water, first-aid supplies, and communication equipment
- Manufacturer instructions or model-specific reference information
Protect personal safety and avoid hazardous terrain or weather
Check the forecast and avoid entering hazardous terrain during severe weather, flooding, wildfire conditions, or dangerous temperatures. Wear suitable footwear, carry navigation tools, and avoid climbing or reaching unsafely. If the camera is mounted high, use a safer mounting method rather than taking unnecessary risks.
How to Check a Trail Camera in the Field
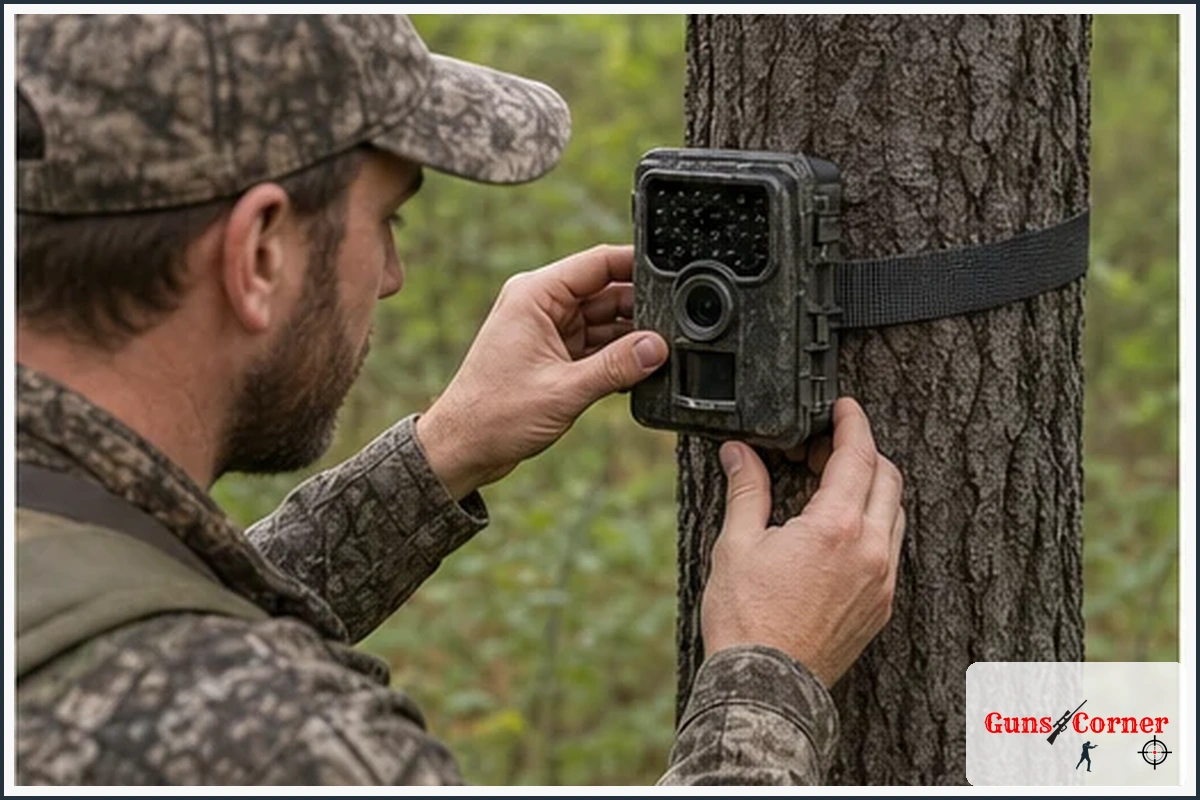
Approach without pointing the lens toward yourself
Walk in calmly and avoid blocking the camera’s detection zone longer than necessary. Approaching from the side can reduce the chance of creating a close-range trigger and may help you notice the camera’s angle before touching it.
Observe the camera before touching it
Look for fresh damage, a shifted angle, loose vegetation, water, insects, missing parts, or evidence that another person or animal disturbed the setup. Photographing the setup before changing it can help document its condition.
Check the strap, lock, housing, antenna, solar panel, and mounting angle
Make sure the camera is secure and aimed at the intended zone. Inspect straps and locks for wear, the housing for cracks, the antenna for damage, and solar equipment for shade, loose cables, or dirt. Do not assume a solar panel is charging simply because it is attached.
Look for water intrusion, insects, vegetation, damage, or tampering
Check the lens and sensor area for condensation, dirt, spider webs, leaves, branches, or mud. Look inside only after following the manufacturer’s instructions. Water or insect damage may require manufacturer service rather than field repair.
Disable the camera before opening it
Use the camera’s specified off, safe, or maintenance mode before opening the housing. Follow the manual because switching procedures differ among models. Avoid touching contacts unnecessarily and keep moisture away from the open housing.
Remove or copy the memory card carefully
Remove the card only after the camera has stopped writing files. If possible, copy the files to another device before making changes. Do not format the card until important images and videos have been backed up.
Verify that the camera resumes operation before leaving
After replacing the card, batteries, or settings, confirm that the camera is armed and operating. Check the display or indicator according to the manual, close the housing securely, and confirm that the lens and detection zone are unobstructed.
Review Photos and Videos for Useful Information
Start with the date, time, and camera identifier
Begin by confirming which camera produced the file and whether the timestamp appears reliable. Camera names, file numbers, and location records help prevent observations from being assigned to the wrong site.
Separate wildlife, false triggers, and blank files
Sort files into useful wildlife observations, false triggers, blank images, and technical problems. Moving vegetation, changing light, insects, and heat sources can produce files without showing an animal.
Check whether the subject is centered and identifiable
Note whether the subject is visible, recognizable, and within a useful part of the frame. A partially visible animal may still provide direction or timing information, but it should not be treated as a complete identification.
Record species, number of animals, direction of travel, behavior, and visible identifying features
Use consistent categories such as species, count, direction, behavior, date, time, and camera location. If individual identification is uncertain, label it as uncertain instead of forcing a conclusion.
Compare repeated observations without treating one image as proof of a pattern
Several observations over different dates can provide better context than a single photograph. Even repeated images do not guarantee that an animal will appear during a hunt. Animal movement changes with weather, habitat, pressure, food, disturbance, and other conditions.
Use weather, habitat, and time-of-day information as context—not automatic hunting predictions
Weather and habitat notes can help explain when images occurred, but they are not guaranteed predictors of future movement. Treat app-generated forecasts, moon-phase summaries, and pattern tools as aids for organizing information rather than proof of hunting success.
Check and Correct Camera Data Quality
Confirm date, time, time zone, and daylight-saving setting
Verify the camera’s time zone and daylight-saving setting against the location where it is operating. A correct clock is essential when comparing images from several cameras.
Check whether the camera clock has drifted
Compare the camera time with a reliable reference during each visit. If the clock is inaccurate, document the difference before changing it so older files can be interpreted correctly.
Confirm photo sequence numbers and missing files
Sequence numbers can help reveal gaps, resets, or file-management problems. Missing numbers do not always prove that files were deleted because cameras and cards may handle numbering differently.
Check image resolution, trigger mode, delay, sensitivity, and video length
Review settings against your purpose. Higher resolution, longer videos, shorter delays, or greater sensitivity may affect storage and battery use. Change only settings supported by the camera manual and your intended monitoring goal.
Verify that timestamps match the camera’s manual and current settings
Some models display time differently in photographs, videos, filenames, or mobile applications. Use the manufacturer’s instructions to understand which timestamp is being shown.
Keep original files before editing or renaming them
Save original files in a protected folder before cropping, renaming, enhancing, or exporting them. Keep a record of edits so observations remain traceable and trustworthy.
Battery, Memory-Card, and Connectivity Checks
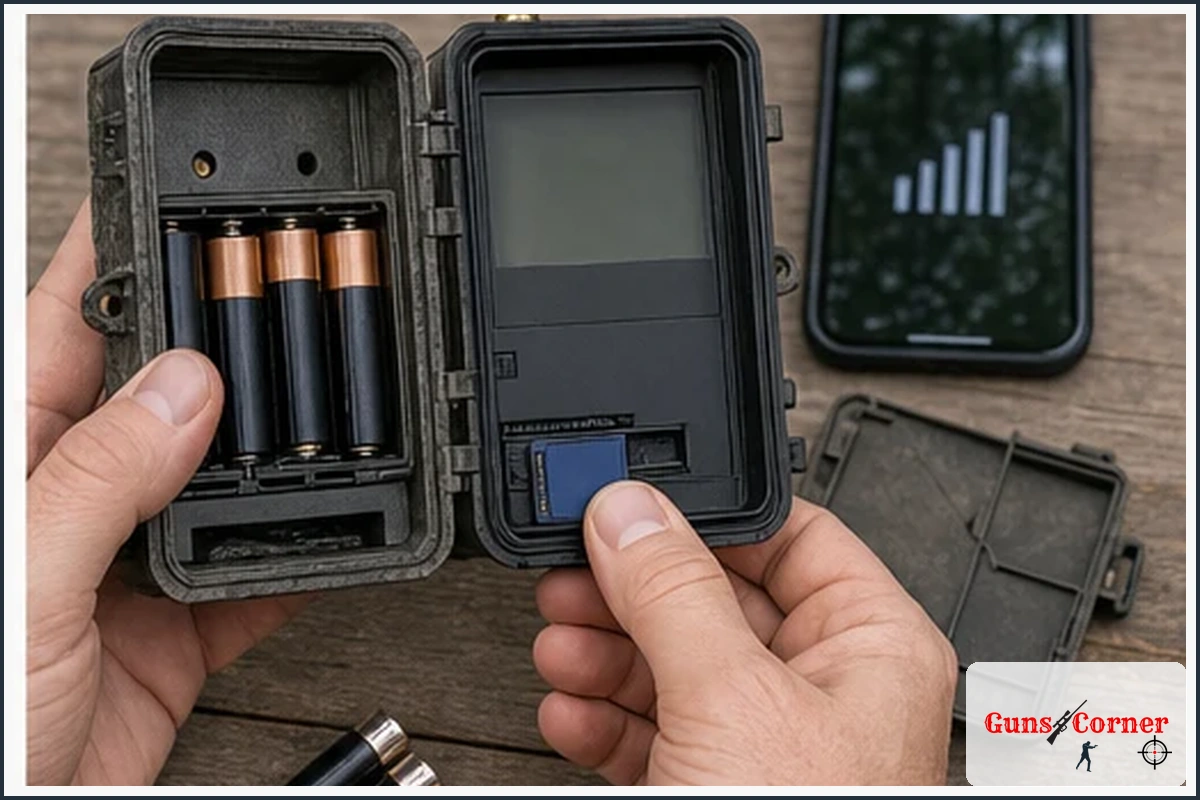
Read the battery indicator cautiously
A battery icon is useful but not exact. Temperature, battery type, camera settings, transmission frequency, and battery age can affect remaining runtime. Treat low or inconsistent readings as a reason to inspect the system rather than waiting for complete failure.
Inspect contacts and replace batteries using the manufacturer’s specified type
Use only the battery chemistry and configuration approved for the camera. Inspect contacts for corrosion or contamination, and never mix incompatible battery types. Follow the manual for storage and installation.
Check free card capacity, formatting requirements, and card compatibility
Confirm that the card has space and is compatible with the camera. Some models require a specific capacity, speed rating, or formatting procedure. Compatibility cannot be assumed across brands or camera generations.
Do not format a card until important files are backed up
Formatting can erase files. Back up images and videos first, then follow the manufacturer’s formatting instructions if formatting is necessary.
For cellular cameras, check signal, plan status, upload queue, and last successful transmission
Review the signal, account or plan status, pending uploads, battery level, and time of the most recent successful transmission. An app may show a camera as connected even when no recent image has successfully uploaded, so check the actual transmission time.
For solar-powered cameras, inspect the panel, cable, shade, and charging status
Look for shade, dirt, loose cables, damage, and a charging indicator if the model provides one. Solar performance depends on the equipment, orientation, weather, season, and available light.
Reduce False Triggers and Improve the Next Deployment
Identify causes such as moving grass, branches, changing light, or heat sources
Review false-trigger images to find the cause. Common possibilities include vegetation moving in wind, shifting shadows, sunrise or sunset glare, insects, and nearby warm objects. Confirm the cause before changing several settings at once.
Adjust aim, height, detection zone, sensitivity, or trigger delay one variable at a time
Make one controlled adjustment, document it, and observe the result. Changing multiple variables makes it difficult to determine which adjustment helped.
Keep the lens and sensor unobstructed
Trim or move vegetation only where permitted and without damaging habitat. Keep the lens, sensor, flash, and solar panel clear according to the equipment design.
Do not make major placement changes solely because of one empty visit
An empty card may reflect timing, weather, animal movement, camera settings, or a short monitoring period. Review the data and site conditions before relocating the camera.
Document every setting or placement change
Record the old and new settings, camera angle, height, location, and reason for the change. This creates a useful field history and prevents repeated trial-and-error.
How Often Should You Check a Trail Camera?
Base the interval on batteries, storage, transmission, weather, and site risk
Check frequency should match the camera’s expected battery life, storage capacity, transmission system, weather exposure, and risk of damage or theft. Remote cameras may need fewer physical visits, but only if their status reports are current and reliable.
Check sooner after extreme weather, suspected damage, or critical battery warnings
A sooner visit may be appropriate after severe wind, flooding, heavy snow, lightning, animal damage, or a low-battery warning. Do not enter unsafe conditions merely to check equipment.
Use remote status reports where available, but verify that “online” means recent successful operation
Review the last image, last check-in, battery reading, and transmission time. A connection indicator alone may not reveal whether the camera is capturing useful files.
Balance information gained against access disturbance and property constraints
Frequent visits may provide more equipment information but can also increase disturbance and access pressure. Follow landowner and agency requirements and choose the least disruptive schedule that meets your monitoring goal.
Privacy, Ethics, and Legal Safeguards
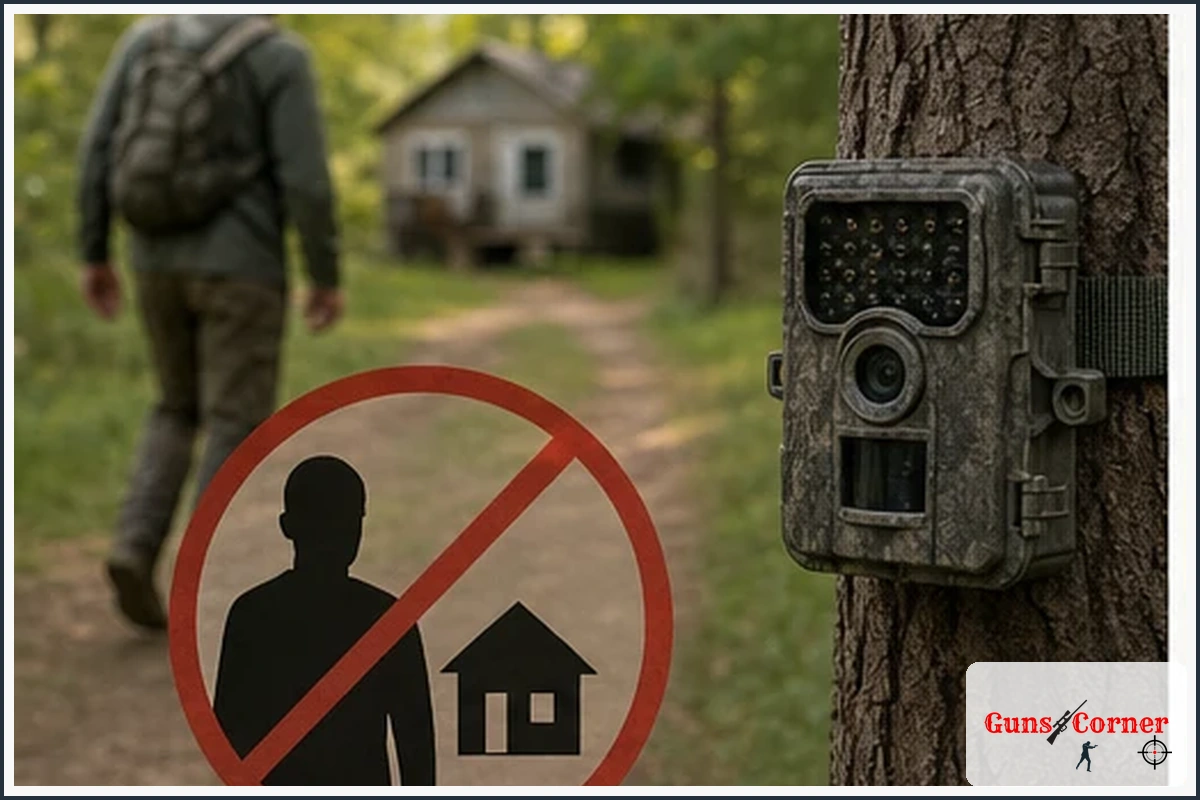
Use cameras only where you have authorization
Place and check cameras only on land where you have permission or lawful access. Do not assume that finding an accessible trail or boundary makes camera placement lawful.
Check jurisdiction-specific rules for public land, bait, seasons, species, and camera placement
Rules may address camera use, bait, feeding, seasonal restrictions, public-land access, or species-specific monitoring. Confirm current requirements with the relevant wildlife and land-management agency.
Avoid recording private areas or people where privacy is reasonably expected
Do not aim cameras toward homes, camps, bathrooms, private yards, or other areas where people reasonably expect privacy. If people appear incidentally, handle the files carefully and follow applicable privacy requirements.
Do not confront suspected camera owners or tamper with cameras
If you find an unfamiliar camera, do not remove, damage, or access it. Document the location only when safe and report concerns through the appropriate landowner or agency channel.
Secure images and limit sharing of locations, faces, and personally identifying information
Store files securely and avoid publicly sharing exact camera locations, recognizable faces, access routes, or private-property details. Be especially careful when sharing images in group chats, social media, or hunting applications.
Follow landowner, club, lease, and agency requirements even when general law permits cameras
Private agreements and public-land policies may be more restrictive than general regulations. Treat those requirements as part of responsible camera use.
A Simple Trail-Camera Check Log
Record visit date, camera ID, location, and condition
Use a consistent entry for every camera. Include the location description or authorized map reference and note whether the setup appears secure.
Record battery level, card status, file count, and connectivity
Record the battery indicator, available storage, number of new files, and the last successful cellular transmission when applicable.
Summarize species, timing, direction, and notable behavior
Use short, consistent descriptions such as “two deer, evening, traveling east” or “false triggers from grass during wind.” Avoid presenting uncertain identifications as confirmed facts.
Record changes made and the planned next check
Document battery replacement, card exchange, timestamp correction, angle adjustment, sensitivity change, or vegetation removal. Add a reason and planned follow-up.
Use consistent categories so cameras and dates can be compared
Consistent categories make it easier to review multiple cameras without depending on memory or changing terminology between visits.
Troubleshooting Checklist
| Problem | Possible Cause | What to Do |
|---|---|---|
| No photos | Dead batteries, full or incompatible card, disabled mode, poor detection zone, or unsuitable placement | Check power, card status, operating mode, settings, lens, sensor, and placement using the manual. |
| Blank or overexposed photos | Dirty lens, condensation, flash issue, direct light, or obstruction | Inspect and clean the exterior carefully, check the housing seal, and review the camera’s exposure and flash settings. |
| Night images are too dark | Low batteries, subject too far away, obstructed flash, incorrect flash mode, or condensation | Check approved batteries, flash settings, distance, obstructions, and housing condition. |
| Wrong timestamps | Incorrect time zone, daylight-saving setting, clock drift, reset, or power interruption | Compare the clock with a reliable reference, document the error, and correct it according to the manual. |
| Camera is offline | Poor signal, account issue, low battery, antenna problem, weather, or network limitation | Check the last successful transmission, plan status, antenna, power, and environmental conditions. |
| Repeated false triggers | Vegetation, moving shadows, temperature changes, insects, or excessive sensitivity | Identify the cause, then adjust one setting or placement variable at a time and record the change. |
Ethical Monitoring and Conservation
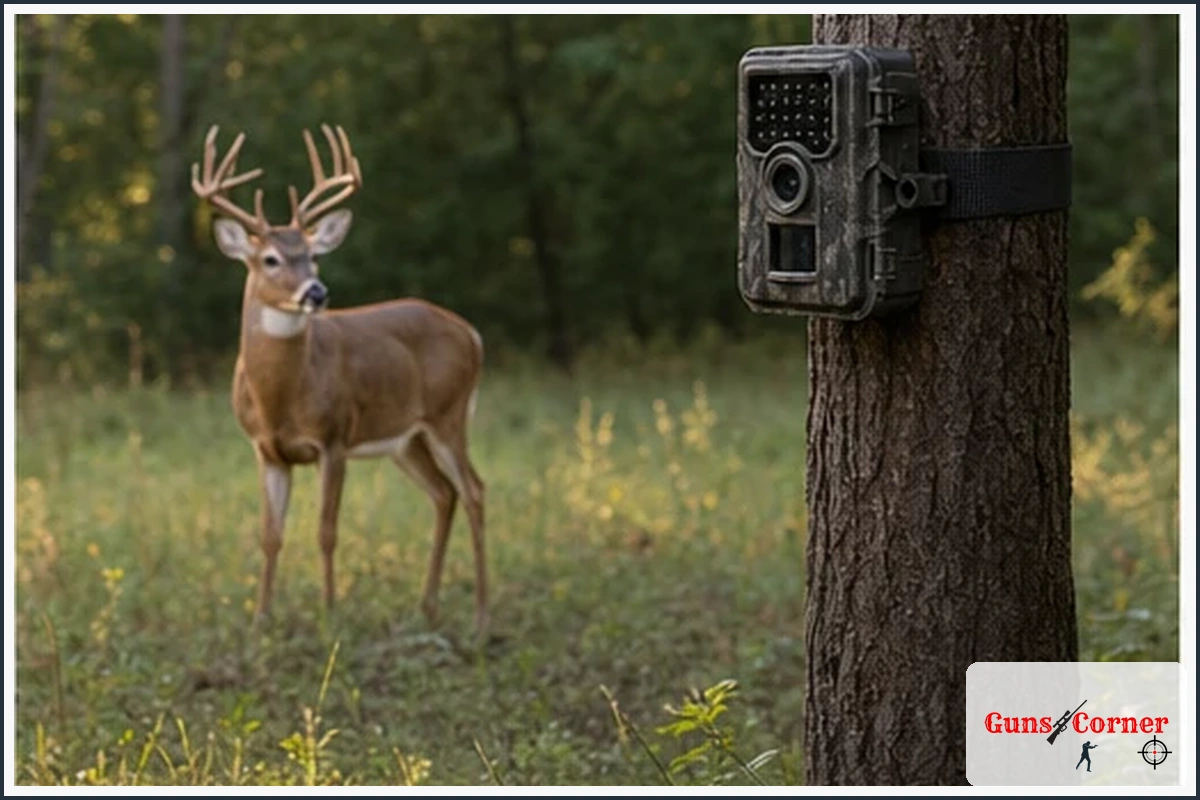
Trail cameras can support scouting, habitat observation, wildlife research, and responsible hunting when used thoughtfully. Respect wildlife by minimizing unnecessary disturbance, following access rules, and avoiding bait or camera practices prohibited in your area.
- Obey seasons, limits, access rules, and agency requirements.
- Respect landowners, other hunters, hikers, and wildlife managers.
- Protect sensitive locations and private information.
- Do not disturb nests, dens, roosts, or vulnerable habitat.
- Use information to improve preparation, not to justify unsafe or unethical decisions.
- Leave the site cleaner and more secure than you found it.
When to Get More Training or Professional Guidance
Seek help from an official wildlife agency, land manager, manufacturer, qualified mentor, or privacy professional when you are unsure about camera legality, access boundaries, equipment operation, remote-area safety, or the proper handling of images showing people.
Beginners should also consider hunter education and practical instruction before combining camera information with firearm or bow hunting decisions. A trail camera does not replace safe target identification, legal verification, scouting, or ethical shot discipline.
After the Visit: Gear Care and Learning
Once home, back up original files, update your log, inspect batteries and cards, and store equipment dry according to the manufacturer’s instructions. Review what worked and what did not, including false-trigger rates, battery performance, image quality, and access disturbance.
Keep notes about weather, habitat, camera settings, and animal observations. Over time, consistent records can reveal useful monitoring trends without treating any single image or time pattern as a guarantee of future wildlife movement.
Recommended Trail-Camera Tools to Consider
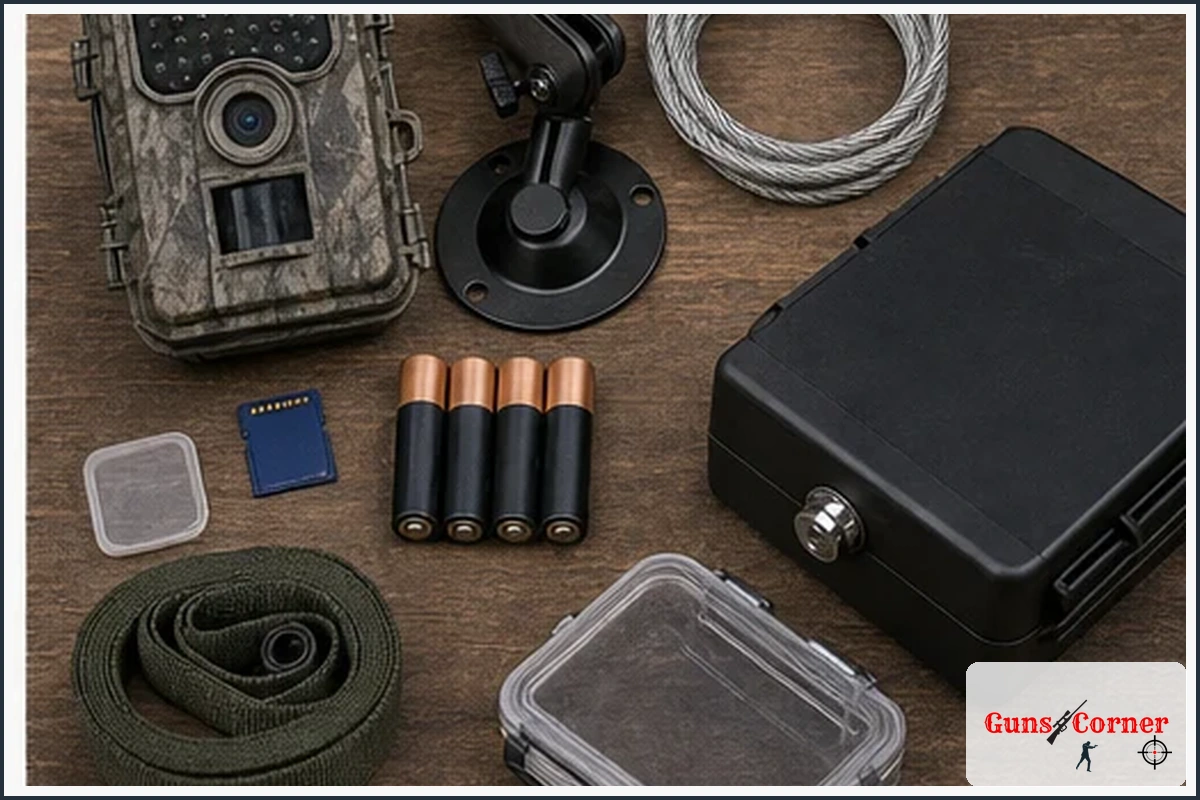
You do not need expensive equipment to monitor wildlife responsibly. Choose tools based on your camera model, terrain, weather, access rules, privacy responsibilities, and monitoring purpose.
- Manufacturer-approved batteries
- Compatible memory cards
- Weather-resistant storage for cards and tools
- Lens cloth and small cleaning brush
- Mounting strap, lock, or approved security hardware
- Map, compass, GPS, or authorized mapping application
- Notebook or digital field log
- First-aid kit, water, communication device, and weather-appropriate clothing
Final Thoughts
Knowing how to check trail cameras means more than looking at photographs. A reliable field check combines legal access, quiet movement, equipment inspection, accurate data review, careful troubleshooting, privacy awareness, and consistent recordkeeping. Follow the camera manual and current local rules, make changes methodically, and use trail-camera information as one planning tool rather than a promise of hunting success.
Frequently Asked Questions
Can I check a trail camera without removing the memory card?
Yes, if the camera supports viewing through its display, a compatible viewer, or a cellular application. You should still inspect the physical camera, power system, mounting angle, housing, and recent operating status.
Should I replace batteries every time I visit?
No. Replace batteries based on the camera indicator, expected runtime, weather, transmission demands, and manufacturer guidance. Replace them sooner if they are leaking, damaged, corroded, or showing unreliable performance.
What should I do if the camera contains photos of people?
Do not share or publish the images casually. Secure the files, avoid identifying the people, and follow applicable privacy law, landowner policies, and agency guidance. If the images suggest trespassing, theft, or an immediate safety issue, use the appropriate official reporting channel rather than confronting anyone.
Why are trail-camera timestamps wrong?
Common causes include an incorrect time zone, daylight-saving setting, clock drift, power interruption, reset, or model-specific timestamp behavior. Compare the camera with a reliable reference and document the difference before correcting it.
How can I tell whether a cellular camera is actually working?
Check the time of the last successful transmission, most recent image, battery level, signal status, pending uploads, and account or plan status. An “online” label alone does not prove that recent images are being captured and transmitted.
Should I change the camera location after seeing no animals?
Not immediately. First check power, storage, detection settings, camera angle, habitat, weather, and monitoring duration. Relocate only after reviewing the evidence and confirming that the new location is legal and suitable.
Can trail-camera photos predict the best time to hunt?
Photos can help describe past observations, but they cannot guarantee future movement. Use timestamps, weather, habitat, and repeated observations as context while considering current conditions and legal hunting requirements.