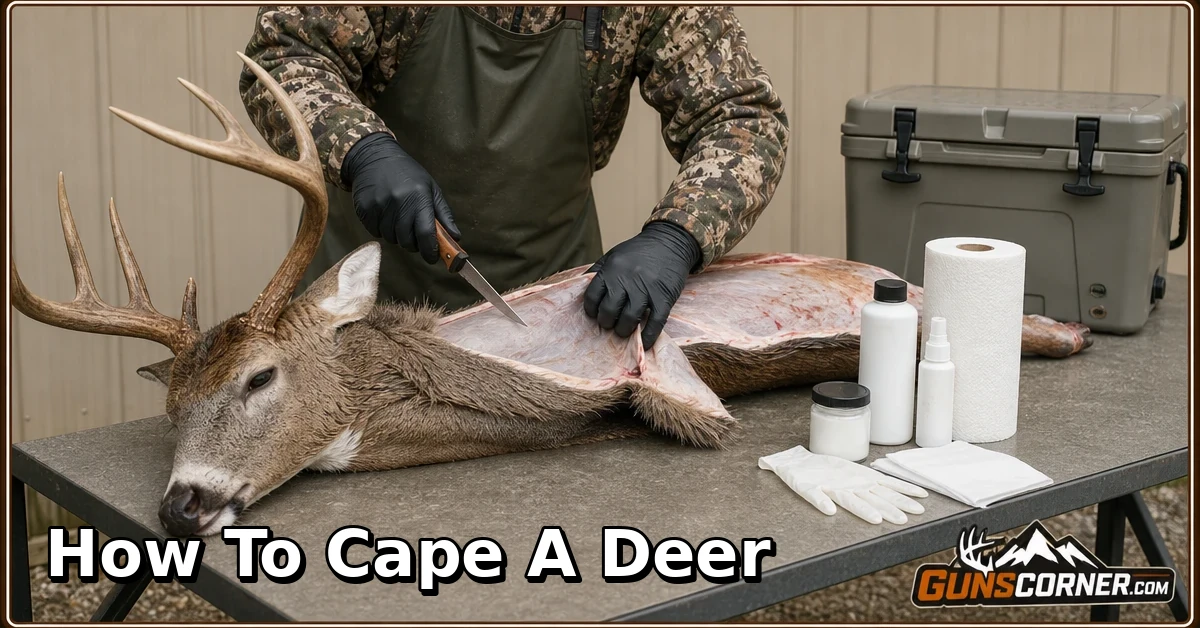

Learning how to cape a deer requires careful cutting, patience, and early communication with your taxidermist. A shoulder-mount cape can be damaged by unnecessary throat cuts, facial cuts, heat, insects, or delayed cooling. This guide explains the preparation, anatomy, field technique, preservation options, and legal considerations beginners should understand before starting.
To cape a deer, first confirm the intended mount and ask your taxidermist where they want the body cut. Use a sharp knife to separate the hide from the shoulders, neck, face, ears, eyes, lips, nose, and antler bases without cutting through important edges or facial tissue. Cool the cape promptly, avoid sealing a warm cape in plastic, label it, and follow your taxidermist’s instructions for salting, freezing, or delivery. If you are unsure around the face or antlers, stop and let a professional finish the job.
Important Legal and Safety Notice Before You Begin
Before handling a harvested deer, check your official state or provincial wildlife agency for current tagging, harvest-reporting, transport, carcass-disposal, carcass-movement, and chronic wasting disease requirements. Rules vary by jurisdiction, especially in disease-management zones.
- Carry the required license, tag, and permit.
- Complete required harvest reporting before the deadline.
- Follow legal transport and carcass-identification rules.
- Use gloves and eye protection when handling the cape.
- Keep knives sharp, controlled, and pointed away from your hands.
- Keep the cape separate from food and kitchen surfaces.
- Follow official guidance for visibly sick animals or abnormal tissues.
Before You Cut: Confirm the Mount, Method, and Local Rules
Shoulder mount, full mount, tanned hide, or no mount?
A shoulder-mount cape is removed from the head and neck far enough back to fit a shoulder form. A full cape includes substantially more hide and requires additional work around the body, legs, and belly. Ordinary field skinning is not the same as caping for taxidermy.
Decide what you want before cutting. A shoulder mount, full mount, tanned hide, skull treatment, and decorative hide each require different preparation.
Ask the taxidermist where they want the cape left
Taxidermists may prefer different body-cut locations and preservation methods. Ask before hunting if possible. A short conversation can prevent unnecessary repair work and may determine whether you should remove the cape yourself at all.
Confirm tagging, transport, carcass-disposal, and wildlife-disease requirements
Some jurisdictions restrict movement of whole carcasses, heads, spinal material, or high-risk tissues from designated areas. Others specify how tags must remain attached or how harvested animals must be reported. Check your official wildlife agency before transporting the deer or its head.
When not to cape it yourself
Use a taxidermist or experienced mentor if you have never worked around the eyes, lips, ears, nose, or antler burrs. Professional help is especially valuable when the cape is valuable, the weather is warm, the animal is damaged, or disease-related rules apply.
Tools, Workspace, and Personal Safety
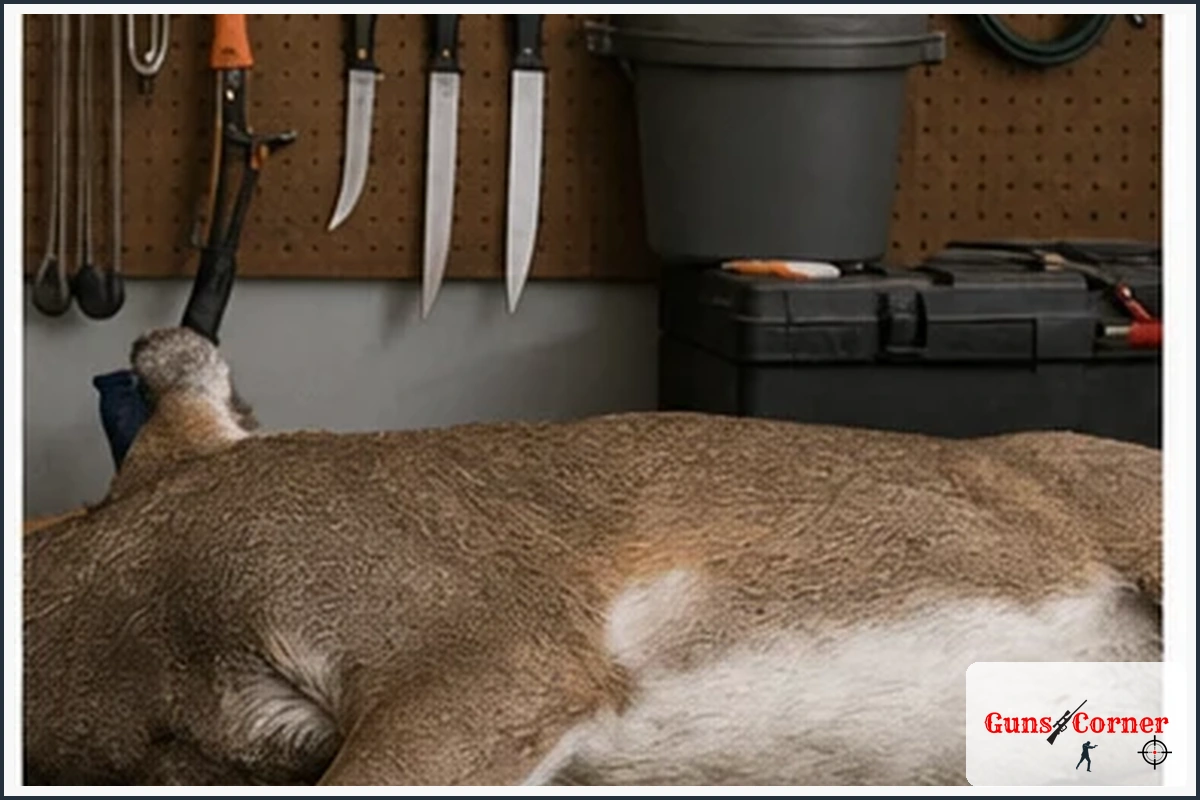
Sharp knife, spare blade, gloves, eye protection, bags, labels, and a cooler
Prepare a sharp caping knife, spare blades, disposable gloves, eye protection, clean bags, absorbent material, labels, and a cooler or other suitable cold-storage option. A small light can help you see thin facial tissue and natural seams.
Safe knife handling around antlers, bone, and slippery tissue
Use short, controlled strokes. Keep your supporting hand behind the blade path, stabilize the head before cutting, and do not force a knife through resistant tissue. Slippery hide and antlers can cause sudden knife movement.
Separate clean tools and surfaces from food-preparation areas
Do not cape a deer on a kitchen counter or near ready-to-eat food. Use a washable work surface, disposable covering, gloves, and dedicated equipment.
Prevent heat buildup, contamination, and accidental loss of identifying evidence
Keep the cape shaded and cool while working. Do not discard tags, identification information, or required biological samples. Follow your agency’s instructions for any samples or tissues that must accompany the harvest.
Critical Anatomy and the Cuts That Can Ruin a Cape
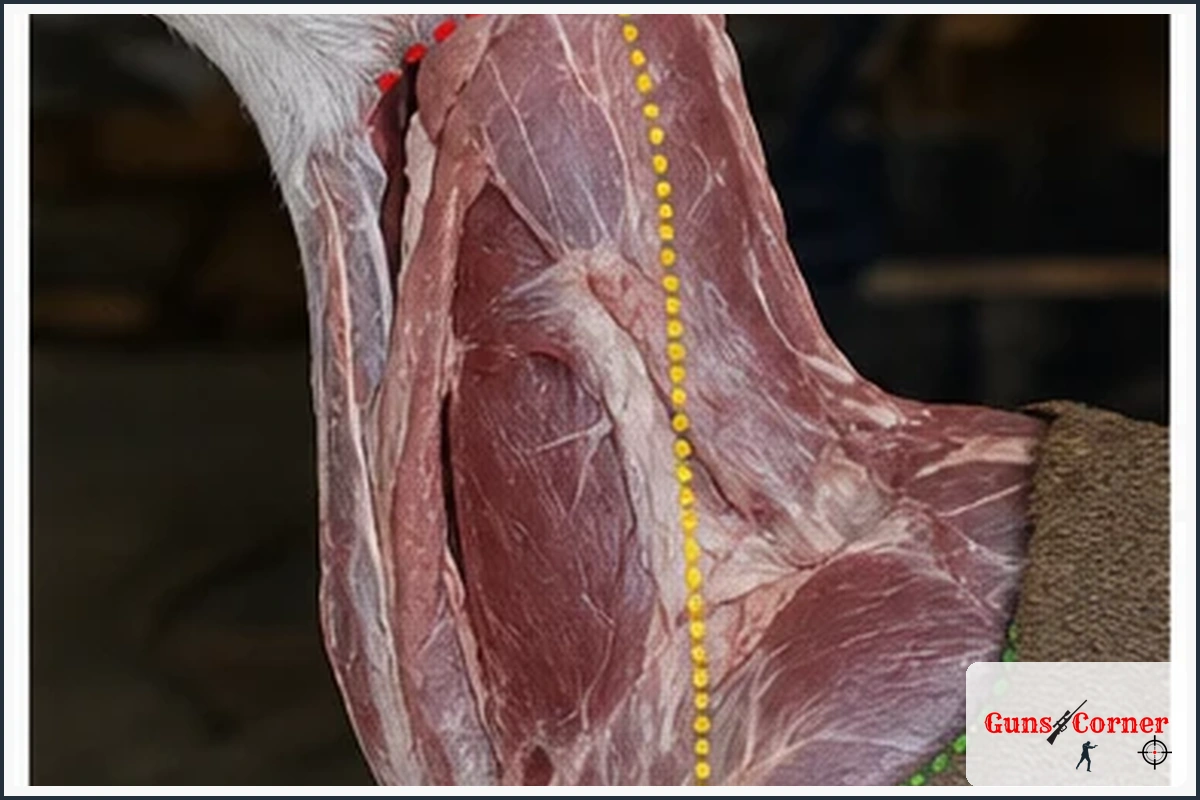
Identify the brisket, shoulder, jawline, ears, eyes, lips, nose, and antler burrs
Before cutting, locate the brisket and shoulder line, then identify the jawline, eyelids, lips, nose, ears, and antler burrs. These areas contain features the taxidermist needs for a natural-looking mount.
Why throat and unnecessary chest cuts create avoidable repair work
Do not slit the throat or make unnecessary cuts across the upper chest. Extra cuts remove usable cape and can create visible seams or additional repair work.
Cut shallow and use the hide’s natural separation plane
Skin separates from underlying tissue more easily in some areas than others. Keep the blade shallow and let the hide guide the cut instead of digging deeply into muscle or facial structures.
Mark the intended cut path before starting
Use a washable marker or visualize the planned path first. If your taxidermist gave you a specific body-cut location, follow that instruction rather than relying on a generic measurement.
How to Cape a Deer for a Shoulder Mount
Position and stabilize the carcass
Place the deer on a stable, clean surface with the head supported. Keep the neck accessible and make sure the carcass cannot roll toward your knife. Wear gloves and protect your eyes from splashes or debris.
Make the body cut at the taxidermist’s requested shoulder location
Make the initial circular body cut where your taxidermist requested, generally behind the shoulder area for a shoulder mount. The correct location varies with the mount and the taxidermist’s preferred pattern, so ask first.
Peel the cape forward while leaving meat on the carcass where practical
Begin separating the hide from the neck and work toward the head. Use short strokes and pull the hide gently rather than making long, deep cuts. Leaving unnecessary meat on the carcass is usually preferable to cutting the cape.
Work carefully over the neck and around the ears
As you approach the head, slow down around the ears. Follow the cartilage and skin carefully, avoiding cuts through the ear edges or excessive removal of ear tissue.
Free the skin around the eyes without cutting eyelids
The eyes are one of the easiest areas to damage. Keep the knife directed away from the eyelids and work gradually around the eye socket. Do not pull hard on thin skin.
Separate the lips and nose with minimal facial damage
Open the mouth only as needed and follow the natural line where the skin meets the gums. Preserve the lips and nose attached to the cape. Facial cuts can be difficult or impossible to conceal completely.
Release the cape around the antler bases
Work slowly around each antler burr. Separate the cape from the skull and antler bases with controlled cuts, keeping the blade away from the hide. Rotate the head or improve your access rather than forcing the knife.
Finish the final cuts and inspect the cape inside and out
Once the cape is free, inspect both sides for remaining meat, dirt, holes, thin areas, or accidental cuts. Do not aggressively thin or flesh the cape unless your taxidermist specifically instructs you to do so.
Full Cape and Backcountry Options
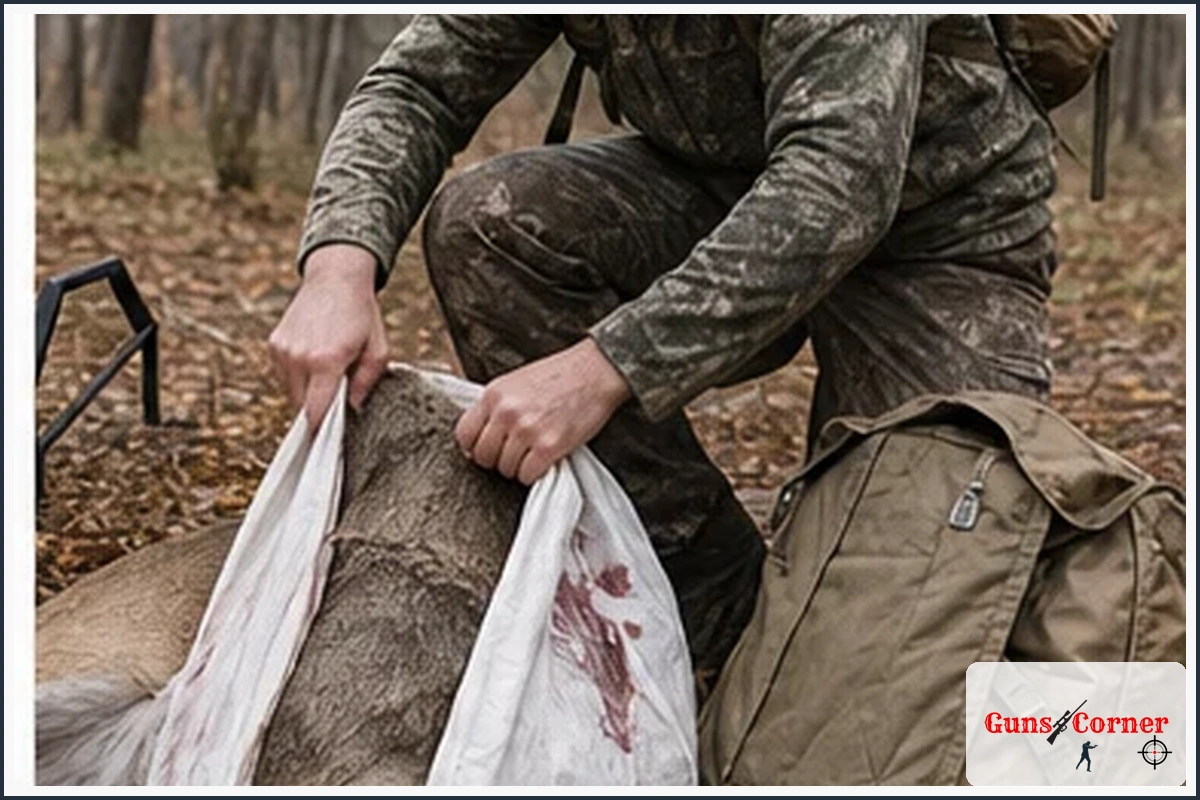
How a full cape differs from a shoulder-mount cape
A full cape contains substantially more hide than a shoulder-mount cape. It may be needed for certain full-body projects, rugs, or tanning work, but it is more difficult to remove and preserve correctly.
Why full caping is more demanding around the legs and belly
Full caping involves longer cuts and more complex work around the legs, belly, and body openings. Mistakes are more likely when the hide is warm, dirty, or difficult to stabilize.
Use a professional or taxidermist when facial anatomy is unfamiliar
If you are confident removing the body portion but uncertain around the face, stop before reaching the eyes, lips, ears, or nose. A taxidermist may be able to complete the critical work.
Do not attempt a skull or antler separation without understanding local rules and the intended mount
Skull and antler preparation can involve regulated carcass parts and different preservation goals. Confirm local requirements and speak with the receiving taxidermist before separating anything further.
What to Do Immediately After Removal
Remove excess flesh only as instructed by the taxidermist
Some taxidermists want the cape fleshed, while others prefer to do that work themselves. Ask before scraping, trimming, or removing tissue. Overworking thin areas can create damage.
Cool the cape promptly; avoid sealing a warm, wet cape in plastic
Heat and trapped moisture can contribute to hair slip and deterioration. Keep the cape cool, shaded, and spread or positioned according to your taxidermist’s instructions. Do not tightly seal a warm, wet cape in plastic.
Salt, freeze, or deliver it only according to the taxidermist’s instructions
There is no single preservation method suitable for every situation. Temperature, timing, cape condition, shipping distance, and the taxidermist’s workflow all matter. Confirm whether the cape should be delivered promptly, refrigerated, frozen, or salted.
Label the cape with hunter, harvest, date, location, and permit information
Attach a durable label with your name, contact information, harvest date, harvest location as appropriate, tag or permit information, and any details the taxidermist requests. Keep required official identification attached according to local law.
Transport it in a way that prevents heat, insects, dirt, and cross-contamination
Use clean packaging and keep the cape cool during transport. Avoid placing it with food, dirty equipment, or another animal. Follow wildlife-agency rules for transporting the head, hide, and other carcass parts.
Inspection and Troubleshooting
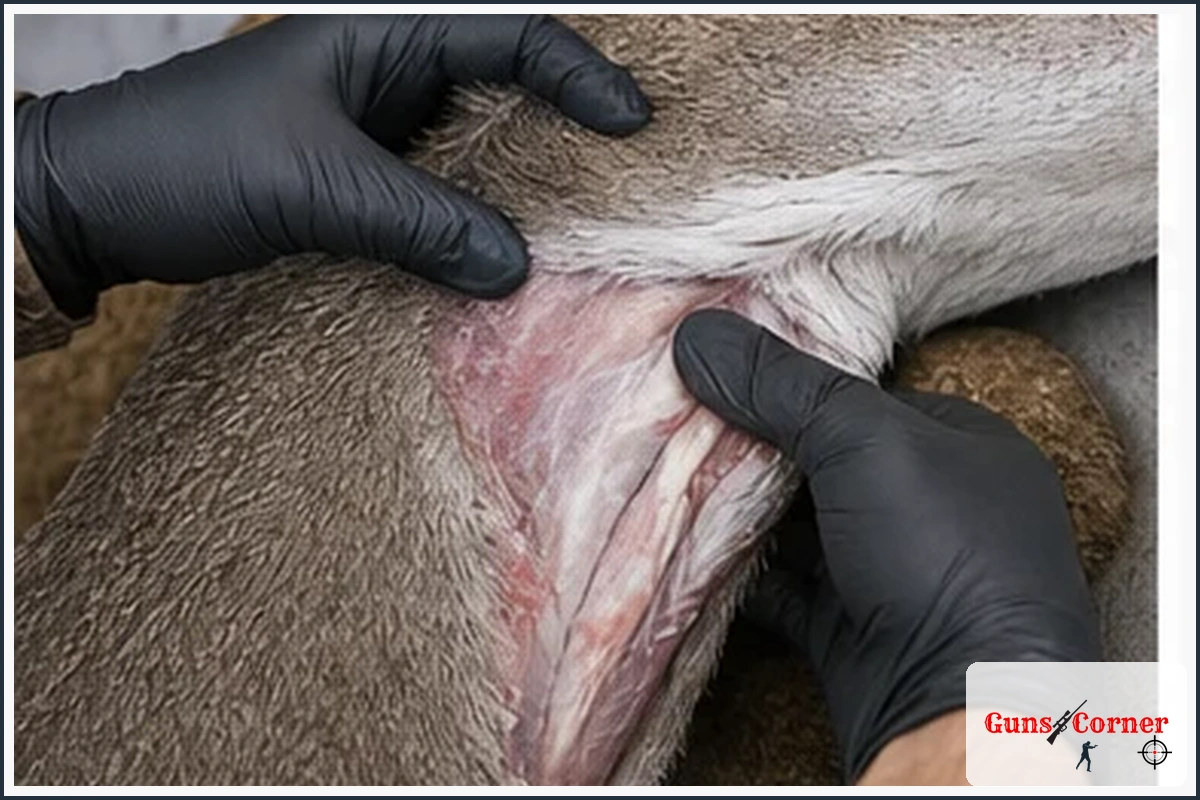
Small accidental holes, thin spots, and remaining meat
Small holes and thin spots may be repairable, but the taxidermist needs to know about them. Do not enlarge a damaged area while trying to make it look clean. Remaining meat can usually be addressed through proper fleshing, but it should not be left warm for extended periods.
What to do if an ear, eyelid, lip, nose, or antler-base cut is damaged
Stop cutting in that area, protect the cape from further tearing, and contact the taxidermist. Save any loose tissue only if the professional tells you to do so. Do not attempt improvised stitching or trimming.
Signs of overheating, hair slip, freezer damage, and decomposition
Warning signs can include loose hair, unusual odor, discoloration, slimy tissue, severe drying, or freezer burn. Do not assume a damaged cape is unusable; send clear photos to the taxidermist and follow their instructions.
When to stop cutting and call the taxidermist
Stop when you are unsure of the next cut, cannot identify the facial structure, encounter unusual tissue, or feel the cape is deteriorating. A delayed professional assessment is safer than continuing blindly.
| Problem | Possible Cause | What to Do |
|---|---|---|
| The hide will not separate easily | Deep connective tissue, poor access, or an unstable carcass | Improve support, use shorter strokes, and avoid forcing the knife. |
| You cut into thin facial tissue | Too much pressure or an incorrect angle | Stop and contact the taxidermist before making additional cuts. |
| The cape is warm and wet | Delayed cooling or sealed packaging | Open it as directed, move it to a cool location, and call the taxidermist. |
| You are unsure how to preserve it | Different taxidermists use different workflows | Ask whether to deliver, refrigerate, freeze, or salt it. |
| Property or transport rules are unclear | Jurisdiction-specific wildlife regulations | Contact the official wildlife agency before moving the animal or parts. |
Aftercare, Hygiene, and Wildlife-Health Precautions
Clean and disinfect knives, tables, gloves, and reusable equipment
Clean tools and surfaces after use according to applicable public-health or wildlife-agency guidance. Dispose of single-use gloves and contaminated materials responsibly.
Handle visibly sick animals and abnormal tissues cautiously
If the deer appeared sick or has unusual behavior or abnormal tissues, avoid unnecessary contact and follow your wildlife agency’s reporting and disposal instructions. Do not consume meat from an animal when official guidance advises against it.
Follow official chronic wasting disease and carcass-transport guidance where applicable
Chronic wasting disease rules vary by jurisdiction and may change as surveillance areas change. Consult your official wildlife agency for current testing, carcass movement, head transport, and disposal requirements. General cape-handling advice does not replace those rules.
Keep the cape separate from food and other harvested animals
Use separate containers and work areas. Do not store the cape beside food, kitchen equipment, or another harvested animal unless the receiving professional specifically directs you to do so.
Final Cape Checklist Before the Taxidermist
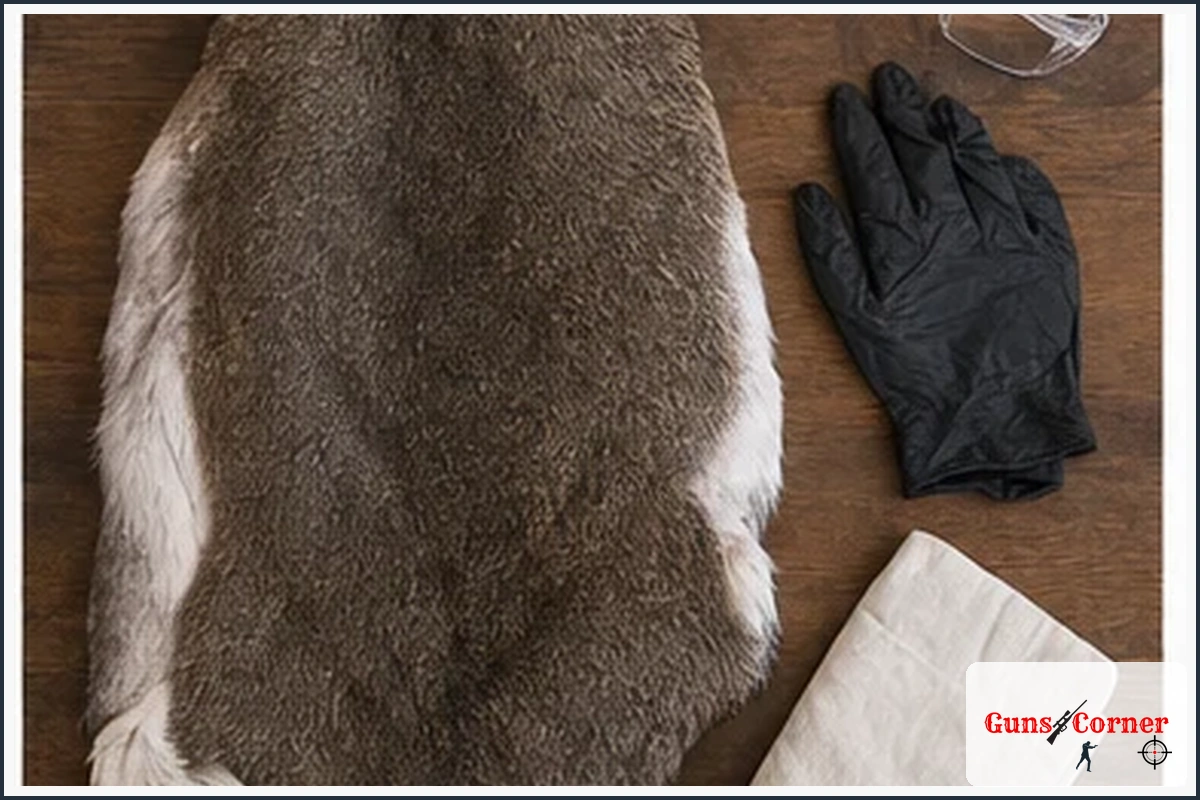
Required facial features and ear edges are intact
Confirm that the eyes, eyelids, lips, nose, ears, and antler-base areas are present and protected.
No unnecessary throat or brisket cuts were made
Check for avoidable cuts across the throat, upper sternum, or other visible areas. Tell the taxidermist about every cut rather than hiding damage.
The cape is cool, identified, and stored as instructed
Make sure the cape is cool, labeled, and preserved according to the taxidermist’s directions.
Photos and disclosure of damage help the taxidermist plan repairs
Take clear photos of cuts, thin spots, or questionable areas before delivery. Honest information helps the taxidermist choose the best repair and mounting plan.
Ethical Hunting and Conservation
Caping begins after a lawful harvest, so the same responsibilities continue through recovery and transport. Follow seasons, tags, bag limits, reporting rules, land-access requirements, and carcass regulations. Respect the animal by avoiding waste and arranging responsible use of the meat and hide.
Handle wildlife parts carefully, leave work areas clean, and support conservation through legal participation and agency requirements. If you are not confident with a knife or facial anatomy, hiring a professional is an ethical way to protect the value of the harvest.
When to Get More Training or Professional Guidance
- You have never handled a caping knife safely.
- You do not understand local tagging or carcass-transport rules.
- You are unfamiliar with eye, lip, ear, or nose anatomy.
- The cape is valuable or intended for a detailed mount.
- The animal is warm, damaged, or showing possible disease concerns.
- You need help with preservation, shipping, or meat and hide separation.
Useful sources of instruction include a qualified taxidermist, official wildlife-agency guidance, hunter education programs, and an experienced mentor.
Recommended Tools to Consider
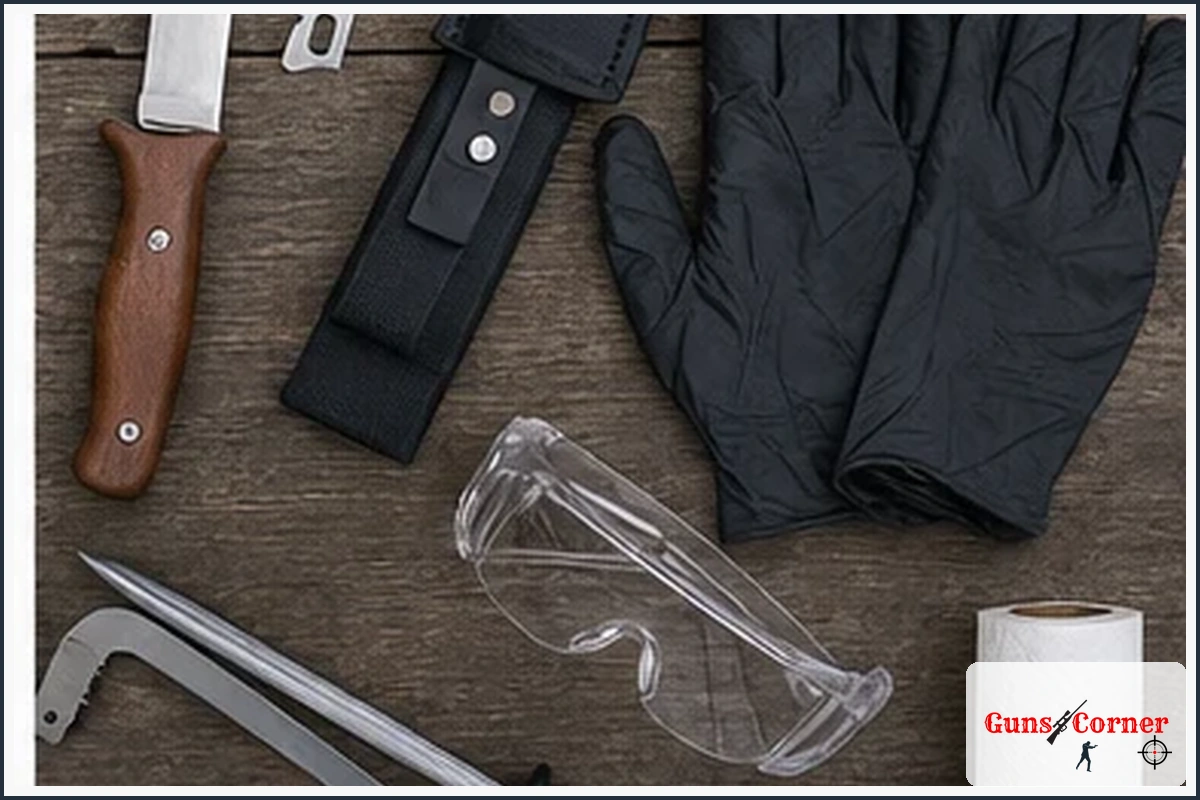
You do not need expensive equipment to begin, but every tool should support safe, controlled work.
- Sharp caping knife and spare blade
- Disposable gloves and eye protection
- Stable, washable work surface
- Clean bags, labels, marker, and absorbent material
- Cooler or other suitable cold-storage equipment
- Flashlight or work light
- Phone for contacting the taxidermist and documenting damage
Frequently Asked Questions
Can I cape a deer before taking it to the taxidermist?
Yes, if you understand the intended mount, have the proper tools, and follow the taxidermist’s instructions. Beginners should consider leaving facial work to a professional.
How far behind the shoulder should I make the body cut?
Use the location specified by your taxidermist. Shoulder forms and preferred cutting patterns differ, so a universal distance can be misleading.
Should I leave the lips, eyes, ears, and nose attached?
Yes. These features are essential to a shoulder mount and should remain attached to the cape. Work slowly around them and avoid cutting the eyelids or ear edges.
Can a cape with a cut or hole still be mounted?
Often, some damage can be repaired, but the result depends on its location, size, and the condition of the surrounding hide. Tell the taxidermist about all damage.
Should I salt, freeze, or refrigerate a fresh cape?
Ask your taxidermist. The correct choice depends on timing, temperature, condition, shipping, and the professional’s preservation process. Do not seal a warm, wet cape in plastic.
What is the difference between caping and skinning a deer?
Skinning generally removes hide for meat processing or tanning. Caping preserves the head, facial features, ears, lips, nose, and neck for taxidermy, especially a shoulder mount.
Final Thoughts
How to cape a deer safely comes down to planning, controlled cuts, facial care, prompt cooling, and communication with a qualified taxidermist. Confirm your mount and local regulations first, preserve the important anatomy, and stop when you are uncertain. Legal, patient, and careful handling gives the cape its best chance of becoming a successful mount.