
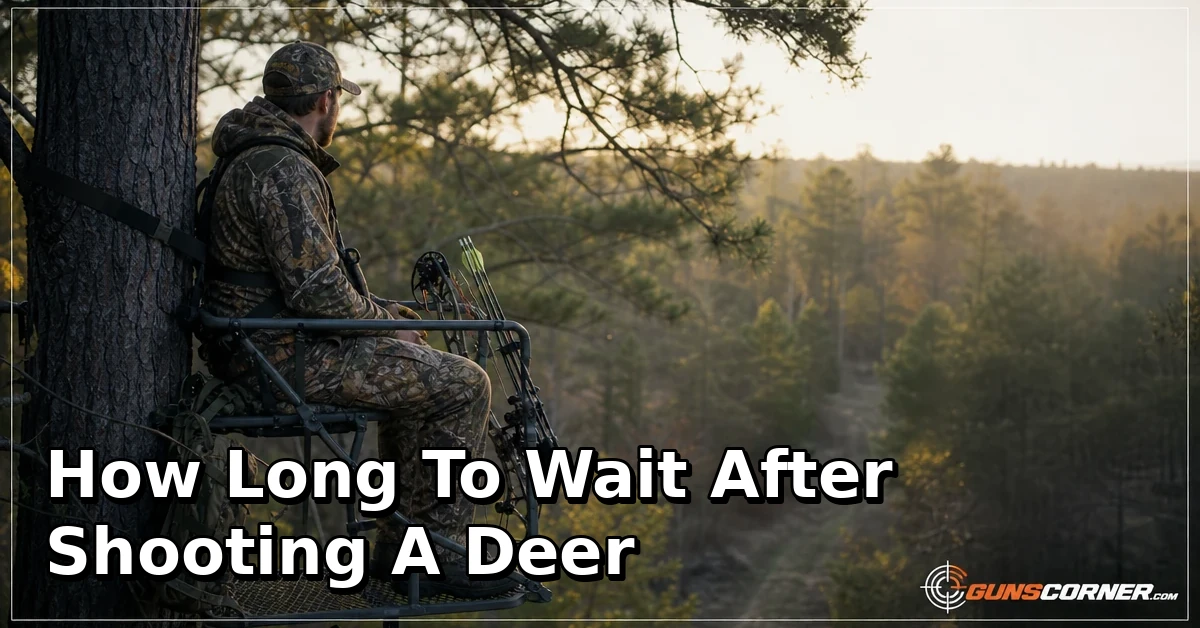

Knowing how long to wait after shooting a deer can prevent a rushed recovery attempt and reduce the chance of pushing a wounded animal farther. The right wait depends mainly on shot placement, the deer’s behavior, available cover, weather, and whether you can clearly confirm the animal is down. This beginner-friendly guide explains what to do immediately after the shot, how to read sign, and how to track ethically and legally.
After shooting a deer, wait quietly and observe before leaving your stand or blind. A deer hit cleanly through both lungs may require roughly 30 minutes, while a suspected liver, muscle, or gut hit may require several hours before tracking. If the shot is uncertain, wait longer, mark the last known location, and seek help from an experienced tracker rather than rushing in. Always follow local regulations, use safe firearm or bow practices, and make every reasonable effort to recover the deer.
Important Legal and Safety Notice Before You Track
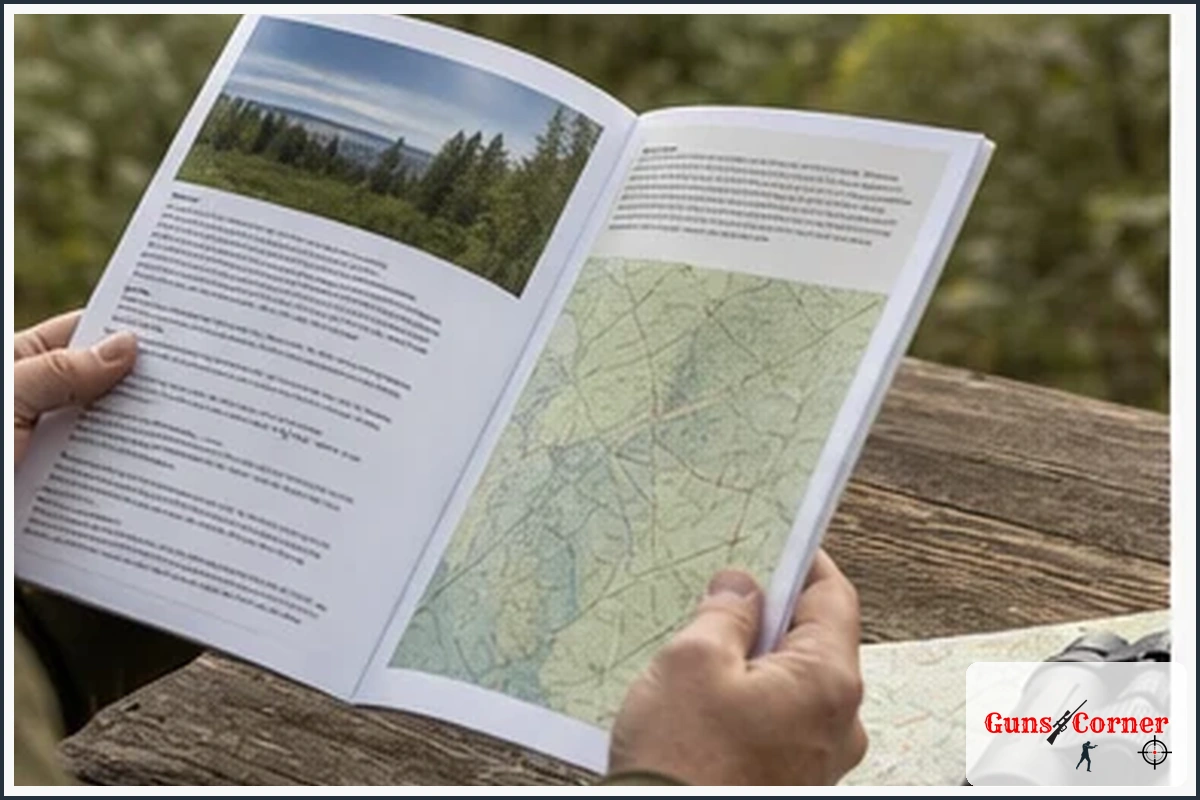
Hunting and recovery rules vary by state, province, county, season, land type, and weapon. Before hunting, check your official wildlife agency for current requirements covering licenses, tags, legal hours, weapon restrictions, harvest reporting, transport, access, and recovery of wounded game.
- Carry the required license, tag, and permits.
- Know the legal season, hunting hours, bag limit, and reporting rules.
- Unload or safely secure your firearm when climbing down or moving through difficult terrain.
- Keep a bow pointed safely and broadheads protected during recovery.
- Wear required hunter-orange or visibility clothing.
- Use a headlamp, map, compass, GPS, phone, water, and first aid supplies.
- Never continue shooting unless the target and what lies beyond it are clearly identified.
- Respect property boundaries and obtain permission before crossing private land.
Why Waiting Matters After the Shot
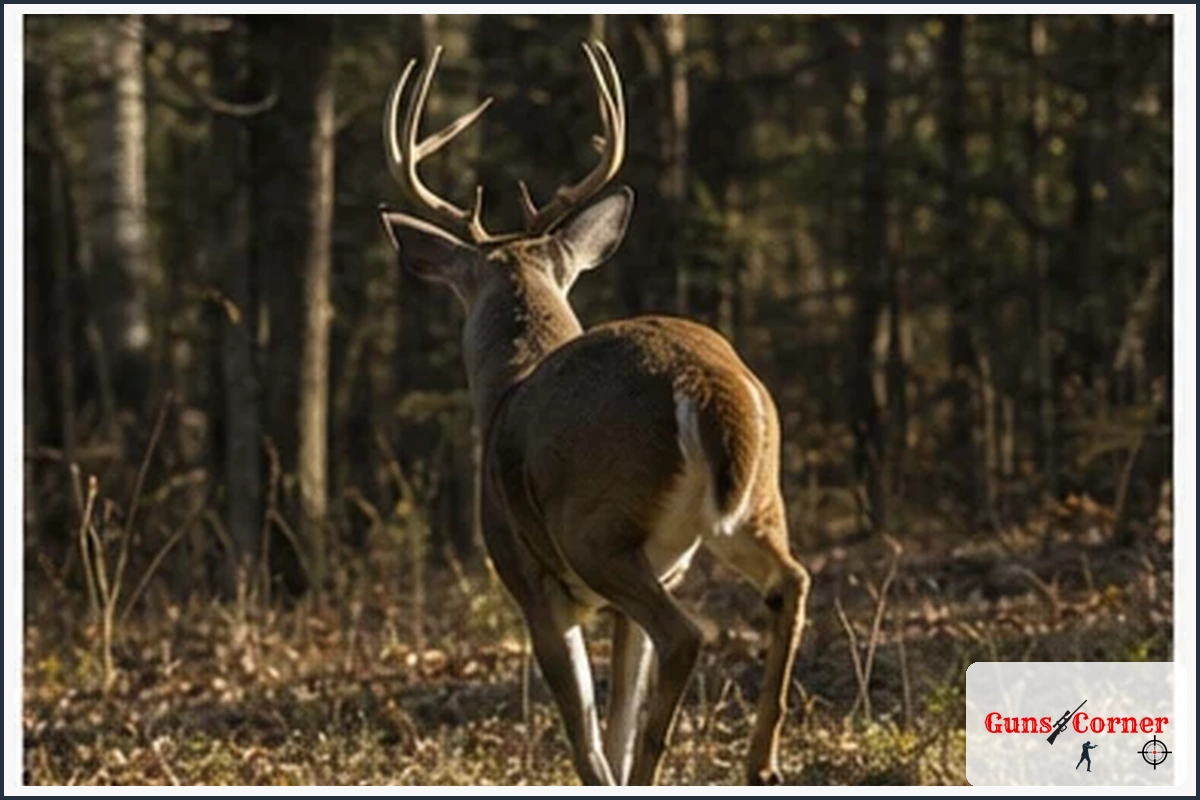
A deer may remain on its feet after a lethal hit and travel a considerable distance before bedding down. Entering too soon can cause it to flee, making recovery more difficult. Waiting gives the animal time to expire and allows you to approach with less noise and pressure.
Waiting also gives you time to reconstruct the event. Note the deer’s direction, body position, reaction, last visible location, and any sound you heard. These details are often more useful than immediately walking into the area.
How Long to Wait After Shooting a Deer by Suspected Hit
| Suspected hit | General waiting approach | Important caution |
|---|---|---|
| Clear double-lung hit | Often wait about 30 minutes before carefully checking the site. | Wait longer if the deer disappeared into thick cover or you are uncertain. |
| Possible single-lung or chest hit | Consider waiting 45–60 minutes or more. | These deer can travel farther than expected. |
| Suspected liver hit | Wait several hours before tracking. | A short wait may push the deer beyond recovery. |
| Suspected gut hit | Wait many hours, sometimes until the next suitable tracking period. | Avoid contaminating the trail with noise, scent, or unnecessary movement. |
| Muscle or superficial hit | Pause and assess carefully before following. | Contact an experienced tracker if the deer is wounded but mobile. |
| Unknown shot placement | Choose the longer, more conservative wait. | Do not assume a quick recovery just because there is little visible sign. |
These are general field guidelines, not guarantees. Deer behavior, shot angle, terrain, temperature, and individual variation can change the outcome.
What to Do Immediately After the Shot
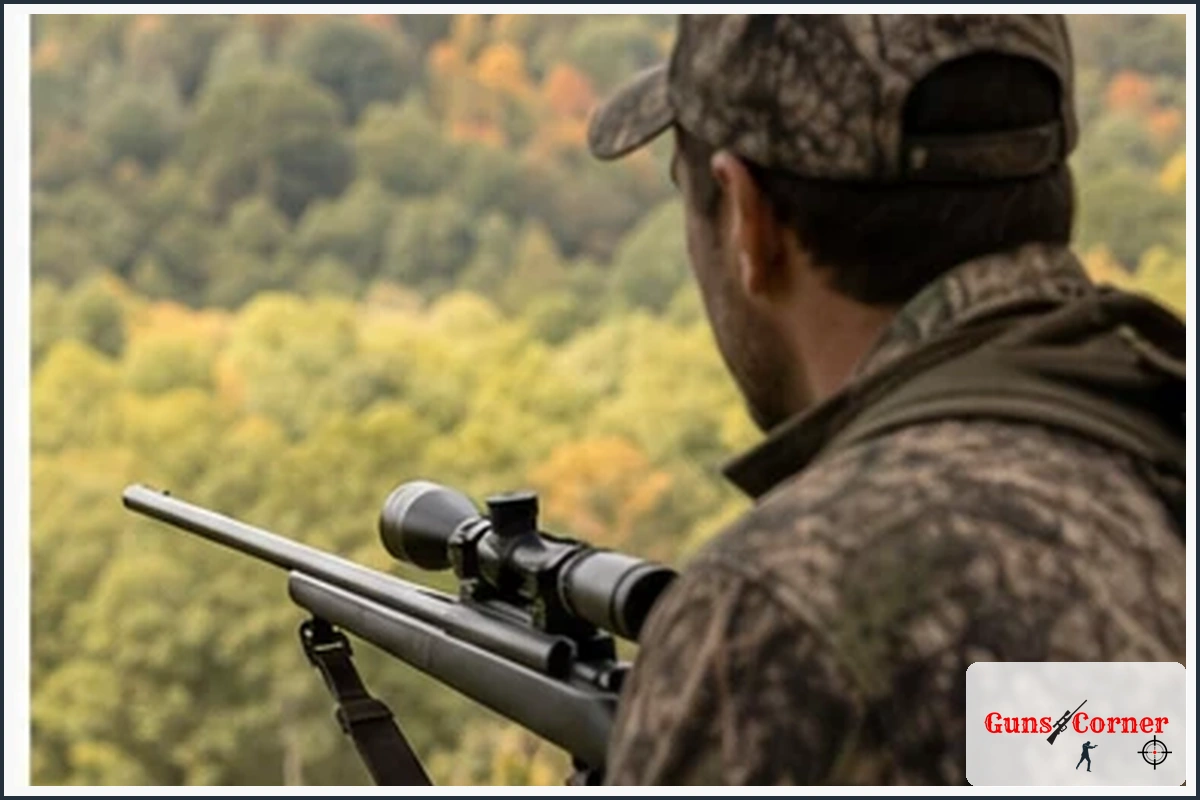
1. Keep Watching the Deer
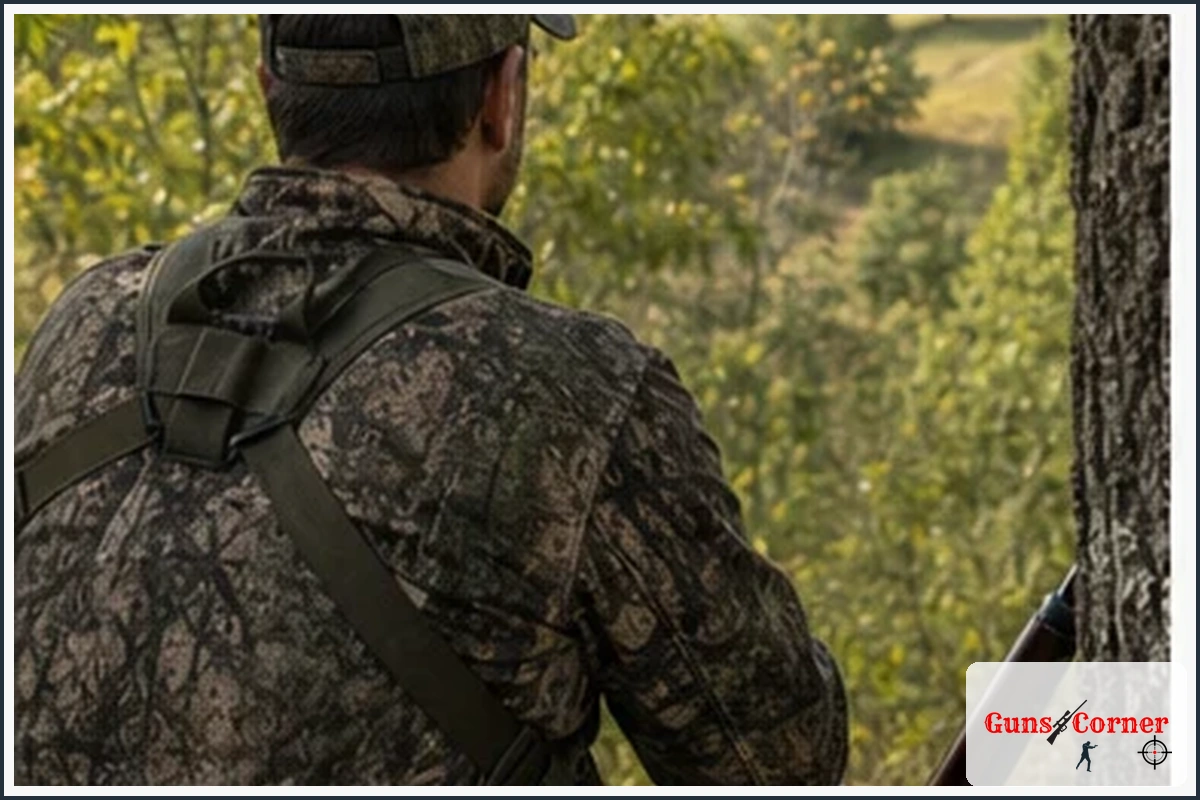
Stay in position and watch as long as visibility allows. Follow the deer with your eyes rather than immediately climbing down or walking after it. Record the direction it took and the last place you saw it.
2. Listen Carefully
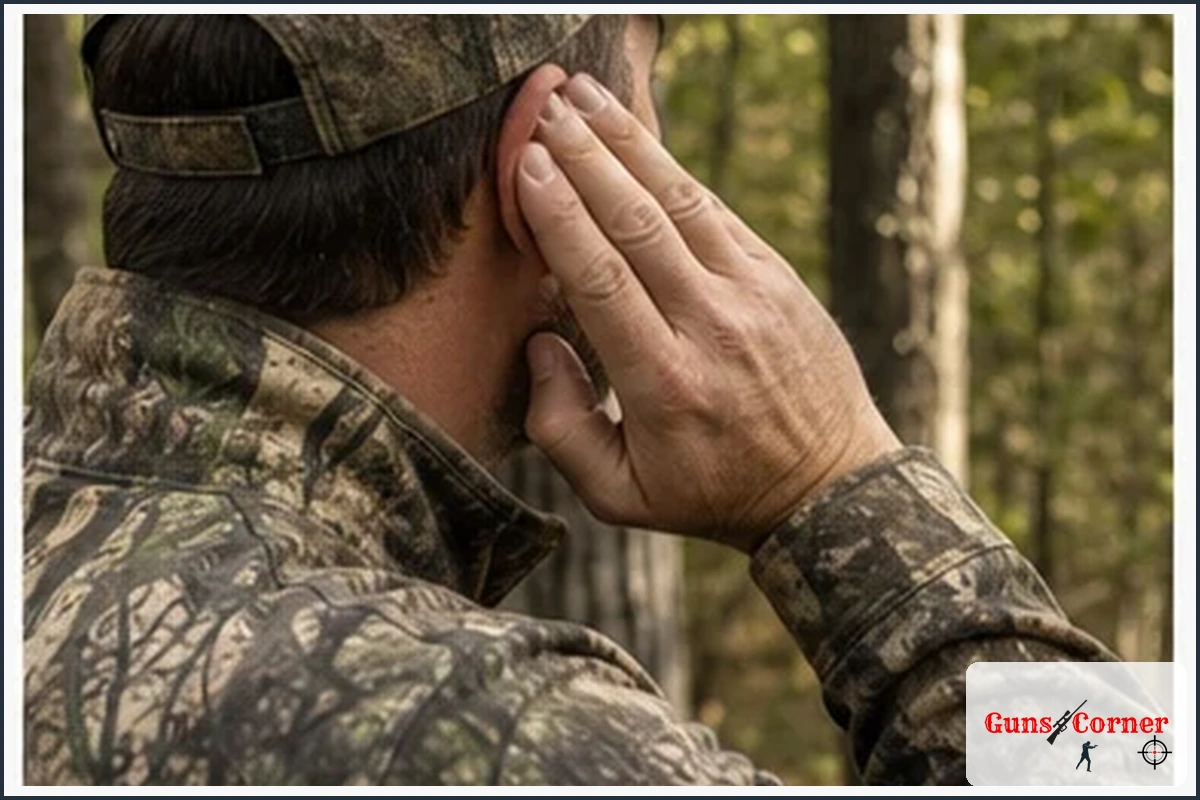
Listen for a crash, repeated steps, a fall, or movement in nearby cover. Silence is not proof that the deer is down, so avoid assuming the result based only on sound.
3. Mark Key Locations
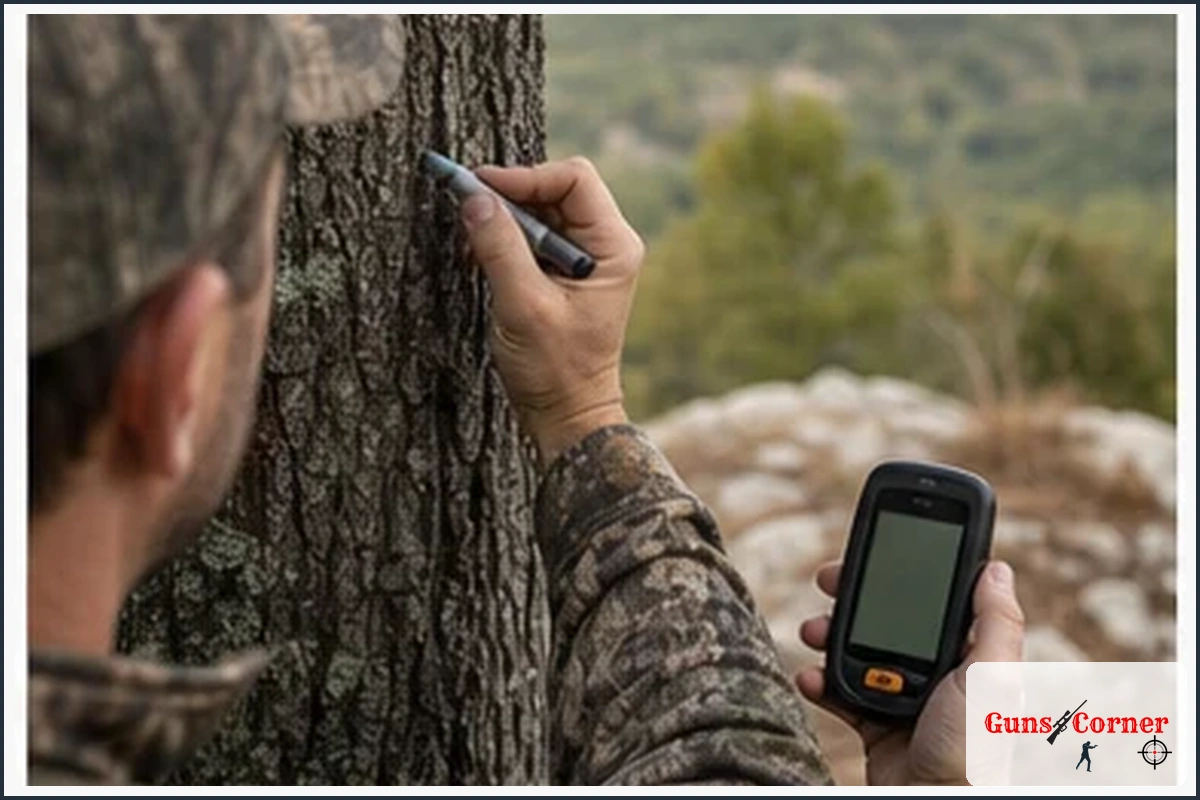
Use natural landmarks, a tree, rock, fence post, or GPS waypoint to mark the shooting position, the place where the deer stood, and the last location where you saw it. Marking these points prevents confusion once you begin tracking.
4. Review the Shot
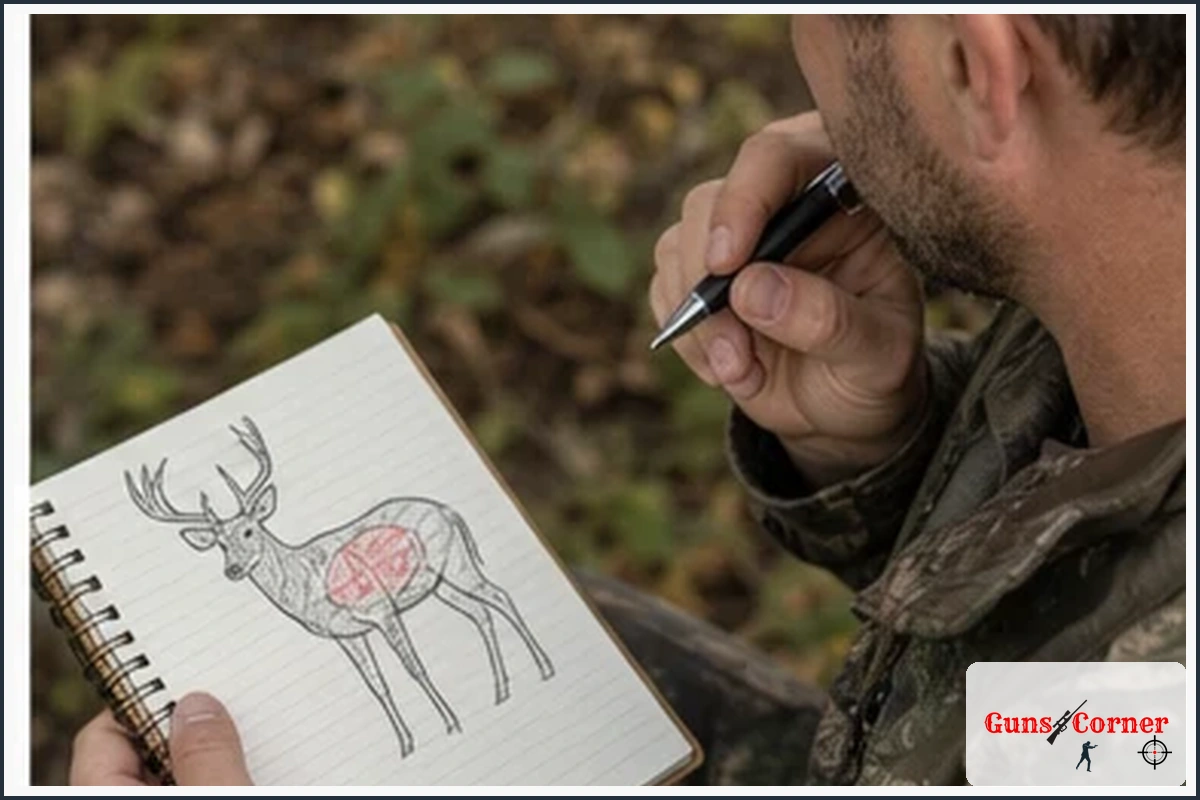
Ask yourself where the deer was facing, where the projectile entered if visible, what angle it presented, and how it reacted. Do not exaggerate the quality of the shot. Honest assessment leads to better recovery decisions.
5. Wait Quietly
Remain still, keep noise low, and avoid unnecessary movement. If you are in a tree stand, use a full-body harness and descend only when it is safe. If you are hunting with a firearm, follow safe unloading and transport procedures before moving.
How to Read Deer Sign After the Wait
Blood Trail Characteristics
Blood color and pattern can offer clues, but they are not perfect evidence. Bright red blood may suggest a fresh bleeding source, while darker blood can indicate older or deeper bleeding. Bubbles or froth may indicate air mixing with blood, but a lack of bubbles does not rule out a chest hit.
Look for blood on leaves, grass, branches, snow, soil, or the deer’s travel path. Mark each confirmed sign rather than walking randomly ahead.
Hair and Disturbed Vegetation
Hair color, length, and texture may help identify where contact occurred, but hair alone rarely proves shot placement. Broken stems, kicked leaves, tracks, and flattened vegetation can show the deer’s direction.
Behavior and Bedding Areas
A deer that beds quickly may be close, but approaching too aggressively can cause it to leave. If you find a bed with fresh sign and the deer is not visible, back out and give it more time unless safety or legal requirements demand otherwise.
Step-by-Step Deer Recovery Process
Step 1: Confirm That It Is Safe to Leave Your Position
Unload or secure your firearm according to safe field practice, protect your broadhead if bowhunting, and check your surroundings. Never climb down a stand while distracted or carrying loose equipment.
Step 2: Go to the Last Known Location
Walk slowly to the exact place where the deer stood. Avoid trampling sign. Take photographs or make notes if useful, especially when the trail is difficult to see.
Step 3: Search in a Small Area First
Look for blood, hair, tracks, broken vegetation, and the direction of travel. If you find no sign, do not immediately widen the search. Recheck the shooting location and consider whether the deer moved along a different line.
Step 4: Mark Every Confirmed Sign
Use small biodegradable markers or visible natural references. Marking the trail helps reveal direction and prevents losing the last confirmed evidence.
Step 5: Follow Slowly
Move quietly and inspect the ground from different angles. Avoid walking directly through the strongest sign. Keep your flashlight pointed close to the ground at night and use a tracking light only where legal and appropriate.
Step 6: Stop When the Trail Becomes Unclear
If sign fades, stop and reassess. Walking farther without evidence can make the trail harder to recover. Return to the last confirmed sign and search outward carefully.
Step 7: Ask for Help When Needed
An experienced hunter, trained tracking dog handler where legal, landowner, or wildlife professional may improve the chance of recovery. Verify that any tracking assistance follows local law.
Step 8: Tag, Report, and Handle the Deer Legally
After recovery, follow current tagging, harvest reporting, transport, and meat-care requirements. Keep the process respectful, clean, and as prompt as conditions require.
When You Should Wait Longer
- You suspect a gut or liver hit.
- The deer ran slowly or appeared weak but did not fall.
- You heard the deer bed down but cannot see it.
- The trail leads into thick cover where pushing the deer would be easy.
- You are unsure where the projectile struck.
- The weather is warm and you need to balance waiting with responsible meat care once the deer is recovered.
- You cannot safely track because of darkness, steep terrain, flooding, or poor visibility.
When You May Begin Checking Earlier
An earlier check may be reasonable when you clearly saw the deer fall and remain motionless, or when immediate safety, nearby roads, private property, water, or other hazards create an urgent concern. Even then, approach cautiously and do not assume the deer is dead until you can safely confirm it.
Common Mistakes to Avoid
- Leaving the stand immediately after the shot.
- Following a deer without first identifying the last known location.
- Assuming no visible blood means no hit.
- Walking through the strongest part of the trail.
- Continuing after the trail becomes uncertain instead of backing out.
- Ignoring wind, noise, rain, snow, or darkness.
- Crossing private property without permission.
- Using a vehicle or artificial light in a way prohibited by local law.
- Failing to plan for tagging, reporting, cooling, and transporting the harvest.
- Taking another shot without clearly identifying the target and background.
Troubleshooting Common Recovery Problems
| Problem | Possible cause | What to do |
|---|---|---|
| No blood at the shooting location | The deer moved before bleeding externally, or the shot may have missed. | Recheck the exact location, search for hair and disturbed vegetation, and avoid assuming either outcome. |
| The blood trail suddenly stops | The deer changed direction, crossed hard ground, or bleeding became less visible. | Return to the last sign and search in a small circle before expanding. |
| You think the hit was poor | The deer may be wounded but mobile. | Back out, wait longer, and contact an experienced tracker. |
| Rain or snow is reducing sign | Weather is washing away or covering evidence. | Mark known points, work carefully, and request help promptly. |
| You lose the trail near a property line | The deer crossed onto land you cannot legally enter. | Stop and obtain permission or contact the landowner. |
| It is becoming dark | Visibility and navigation are deteriorating. | Use safe navigation, follow legal requirements, and do not create a safety emergency. |
Ethical Hunting and Conservation
Ethical hunting means making a genuine effort to recover wounded game, even when the outcome is uncertain. It also means passing on shots beyond your practiced ability, avoiding unsafe angles, and respecting wildlife, landowners, other hunters, and the land.
Legal licenses and harvest reports support wildlife management in many jurisdictions. Use harvested meat responsibly, follow local waste rules, and leave your hunting area cleaner than you found it.
Preparation Before Deer Season
- Complete a hunter education course if required or if you are new to hunting.
- Practice with your firearm or bow from realistic field positions.
- Learn your effective range and commit to staying within it.
- Scout legal access routes, game trails, bedding areas, food sources, and safe recovery paths.
- Carry a small recovery kit with flagging markers, gloves, flashlight, water, phone, and first aid supplies.
- Review land boundaries and obtain written permission where appropriate.
- Plan how you will cool, transport, tag, and report the harvest.
Recommended Hunting Gear and Tools to Consider
You do not need expensive equipment to recover a deer responsibly. Choose tools based on local law, terrain, weather, hunting method, skill level, and safety needs.
- Legal firearm or bow with properly maintained equipment
- Required hunter-orange or visibility clothing
- Weather-appropriate boots and layered clothing
- Headlamp with spare batteries
- Map, compass, GPS, or phone with offline mapping
- Gloves and basic game-care supplies
- Water, snacks, first aid kit, and emergency communication
- Charged phone or other legal communication device
When to Get More Training or Professional Guidance
Seek help if you have never handled a firearm or bow, are uncertain about local laws, cannot identify safe shot angles, are unfamiliar with the terrain, or do not understand recovery and meat-care responsibilities.
Good sources of instruction include official hunter education courses, wildlife agencies, certified instructors, experienced ethical mentors, conservation organizations, and reputable hunting clubs.
After the Hunt: Learn From the Recovery
Record the weather, location, shot angle, deer reaction, waiting time, sign found, and what helped or failed. Clean and store equipment safely, review your map, and update your recovery kit. Honest notes improve future decisions without encouraging risky shortcuts.
Final Thoughts
How long to wait after shooting a deer depends on the suspected hit, the deer’s behavior, and the conditions around the shot. When uncertain, waiting longer and tracking carefully is usually safer than rushing. Prepare before the season, practice ethical shot discipline, follow local regulations, and seek experienced help when the trail becomes difficult.
Frequently Asked Questions
How long should I wait after shooting a deer?
A clear lung hit may justify waiting around 30 minutes, while a suspected liver or gut hit generally requires several hours. If uncertain, choose the longer wait.
Should I wait if I saw the deer fall?
Yes. Observe quietly before approaching, and confirm the area is safe. A fallen deer may still move, so approach with appropriate caution.
What if the deer ran out of sight?
Mark the last known location, wait based on the suspected hit, and begin at the exact place where the deer stood.
What if I hear the deer crash?
A crash can be encouraging but is not proof of recovery. Wait, approach carefully, and verify the result.
How long should I wait after a lung shot?
Many hunters wait roughly 30 minutes for a clear double-lung hit. Wait longer if the shot placement or trail is uncertain.
How long should I wait after a liver hit?
A suspected liver hit commonly calls for several hours of waiting. Tracking too soon may push the deer farther.
How long should I wait after a gut shot?
A suspected gut hit usually requires a long wait, often many hours. Leave the area quietly and seek experienced tracking advice.
What should I do if I do not know where I hit the deer?
Treat the situation conservatively. Wait longer, inspect the sign carefully, and contact an experienced tracker rather than rushing ahead.
What does bright red blood mean?
Bright red blood may indicate fresh bleeding, but color alone cannot reliably identify shot placement. Use all available sign and behavior.
What does dark blood mean?
Darker blood may indicate a deeper bleeding source, but it is not conclusive. Track slowly and avoid making assumptions.
What if there is no blood?
Recheck the exact shooting location for hair, disturbed vegetation, and tracks. No visible blood does not automatically prove a miss.
Should I follow a blood trail immediately?
Not always. First determine the likely hit and allow enough time for the deer to bed or expire.
Can I use a flashlight to track a deer?
Use lighting only as permitted by local law and primarily for safe navigation and recovery. Do not use prohibited artificial light to hunt.
Should I use a tracking dog?
A trained tracking dog may help where legal. Confirm local rules and use a qualified handler.
What if it starts raining?
Rain can erase sign quickly. Mark known locations, track carefully, and obtain help while maintaining safe navigation.
What if it starts snowing?
Snow may cover blood but can sometimes preserve tracks. Recheck the last confirmed sign and avoid wandering away from it.
What if the deer crosses onto private land?
Stop at the boundary and obtain permission before entering. Never trespass, even during a recovery attempt.
Can I use a vehicle to recover a deer?
Only where permitted and safe. Follow access rules, respect property, and never use a vehicle for prohibited hunting activity.
Should I take another shot at a wounded deer?
Only if the target, background, and shot are clearly safe and legal, and the action is within your practiced ability.
What is the most important recovery mistake?
Rushing after an uncertain shot is one of the most common mistakes. Premature pressure can make recovery harder.
How do I mark the last place I saw the deer?
Use a natural landmark, biodegradable marker, GPS waypoint, or photograph. Mark the shooting location and the place where the deer stood as well.
Should I walk directly on the blood trail?
Avoid doing so when possible. Preserve the strongest sign and walk beside the trail.
How far can a wounded deer travel?
Distance varies widely with shot placement, terrain, stress, and individual behavior. Never assume a short distance.
Can a deer survive a poor shot?
Some wounds are survivable, while others are not. Make a serious recovery effort and involve experienced help when needed.
What should I carry for tracking?
Carry a headlamp, spare batteries, gloves, navigation tools, phone, water, first aid supplies, and legal game-care equipment.
Do I need hunter education to recover a deer?
Requirements vary, but hunter education is strongly recommended for beginners and may be mandatory in your area.
What should I do after finding the deer?
Confirm the animal is no longer a danger, tag and report it as required, and begin responsible cooling and transport according to local rules.
How quickly should I cool the meat?
Cool the meat as conditions and local practice require, especially in warm weather. Follow safe meat-handling guidance and transport rules.
Do I have to report a harvested deer?
Reporting requirements vary by jurisdiction. Check your current wildlife regulations before hunting.
What if I cannot find the deer?
Revisit the last confirmed sign, search systematically, contact experienced help, and comply with any reporting or tagging duties.
Is it ethical to stop tracking?
Stopping temporarily may be ethical when darkness, weather, safety, or uncertain sign makes continued tracking dangerous. Make a reasonable recovery effort and seek help.
What is the best way to prepare for deer recovery?
Practice accurate shooting, learn local terrain, scout legal access, carry recovery supplies, and plan for tagging, reporting, and meat care.
Should beginners hunt with a mentor?
Yes. An experienced and ethical mentor can improve safety, legal awareness, tracking skills, and decision-making.
Read more: