
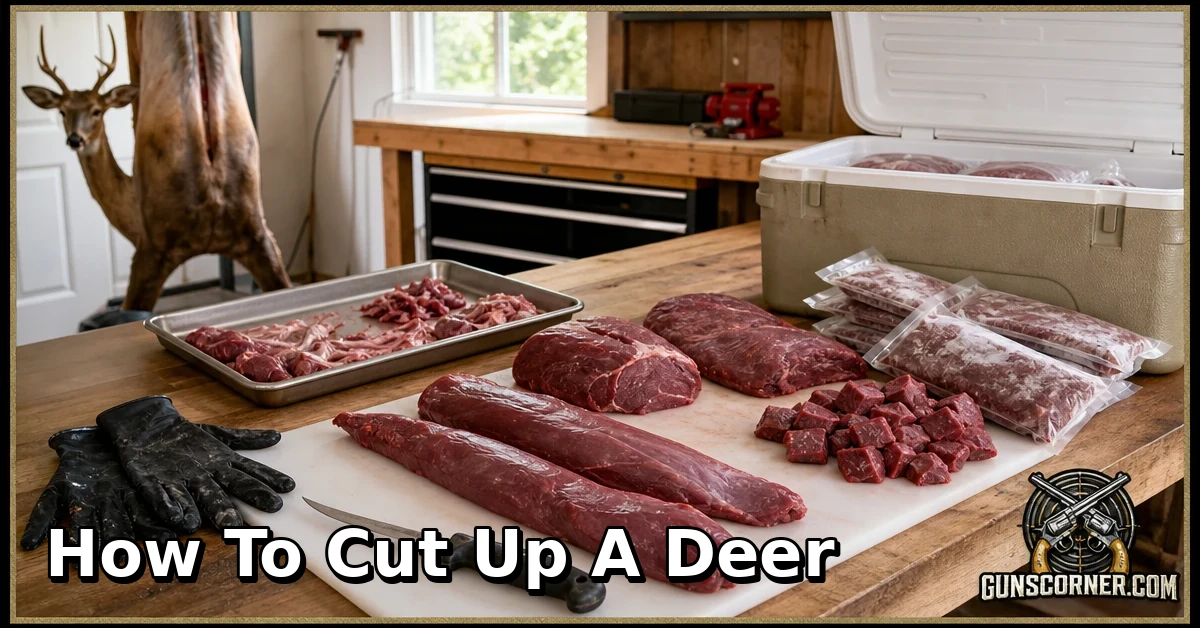

Learning how to cut up a deer helps you turn a legal harvest into clean, usable meat while reducing waste. This guide explains the preparation, tools, basic cuts, safe handling, cooling, packaging, and legal responsibilities involved in home deer processing.
To cut up a deer, first confirm your local tagging and processing rules, keep the carcass clean and cold, and use a sharp knife with a stable work area. Separate the major muscle groups by following natural seams rather than cutting through bone whenever possible. Label and chill the meat promptly, and contact an experienced processor or mentor if you are unsure about safe handling or identification.
Important Legal and Safety Notice Before You Process a Deer
Regulations vary by state, province, county, season, and land type. Before hunting or processing, check your official wildlife agency for current license, tag, season, legal hunting hours, reporting, transport, carcass movement, and meat-handling requirements.
- Attach and validate the required tag according to local rules.
- Complete harvest reporting within the required timeframe.
- Follow local rules for transporting the carcass or moving animal parts.
- Use a clean work surface, clean gloves, and sanitized tools.
- Keep knives sharp and cut away from your body.
- Wear eye protection when using saws or cutting tools.
- Keep meat cold and protected from insects, dirt, pets, and cross-contamination.
- Never process meat that appears spoiled or has an unusual odor, color, or texture.
What “Cutting Up a Deer” Usually Means
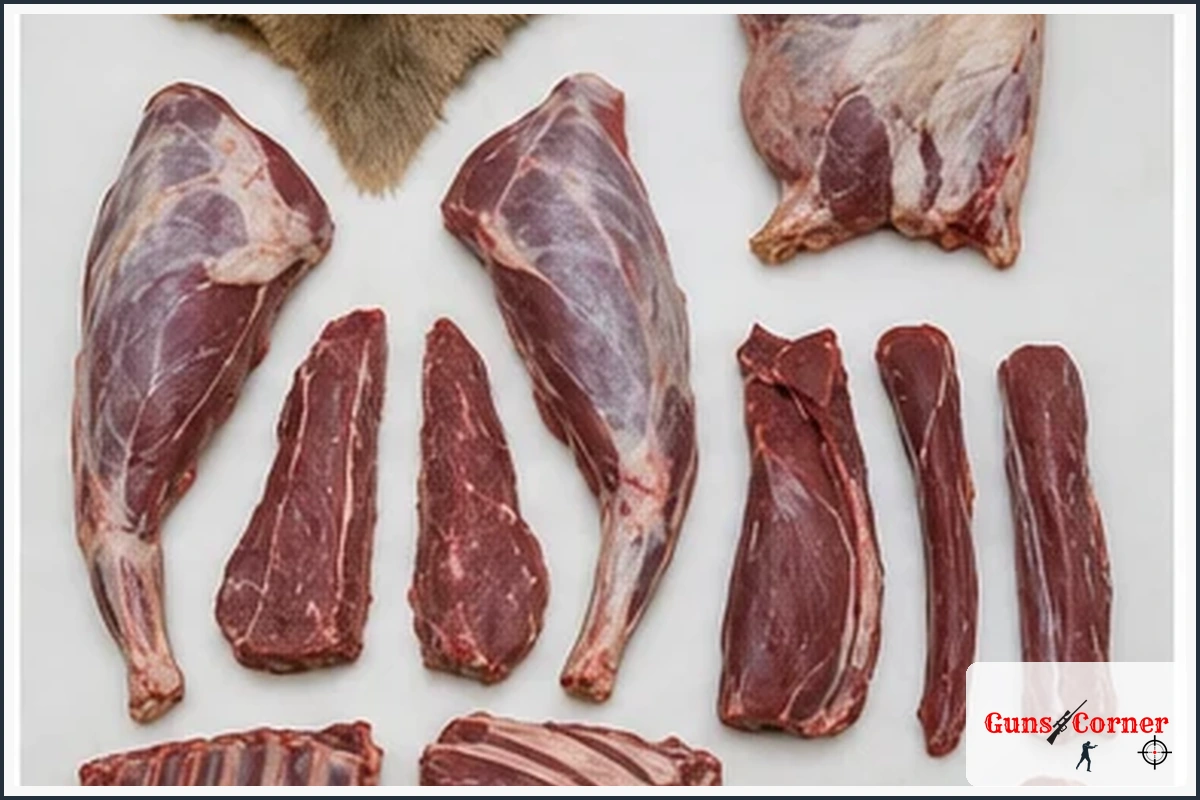
Home deer processing generally includes removing the hide, separating the front shoulders and hindquarters, trimming backstraps and tenderloins, cutting neck and rib meat, and preparing portions for steaks, roasts, stew, grinding, or other lawful uses.
You do not need to make every cut perfectly. The goal is clean, safe, efficient meat recovery with as little waste as practical.
What You Need Before Starting
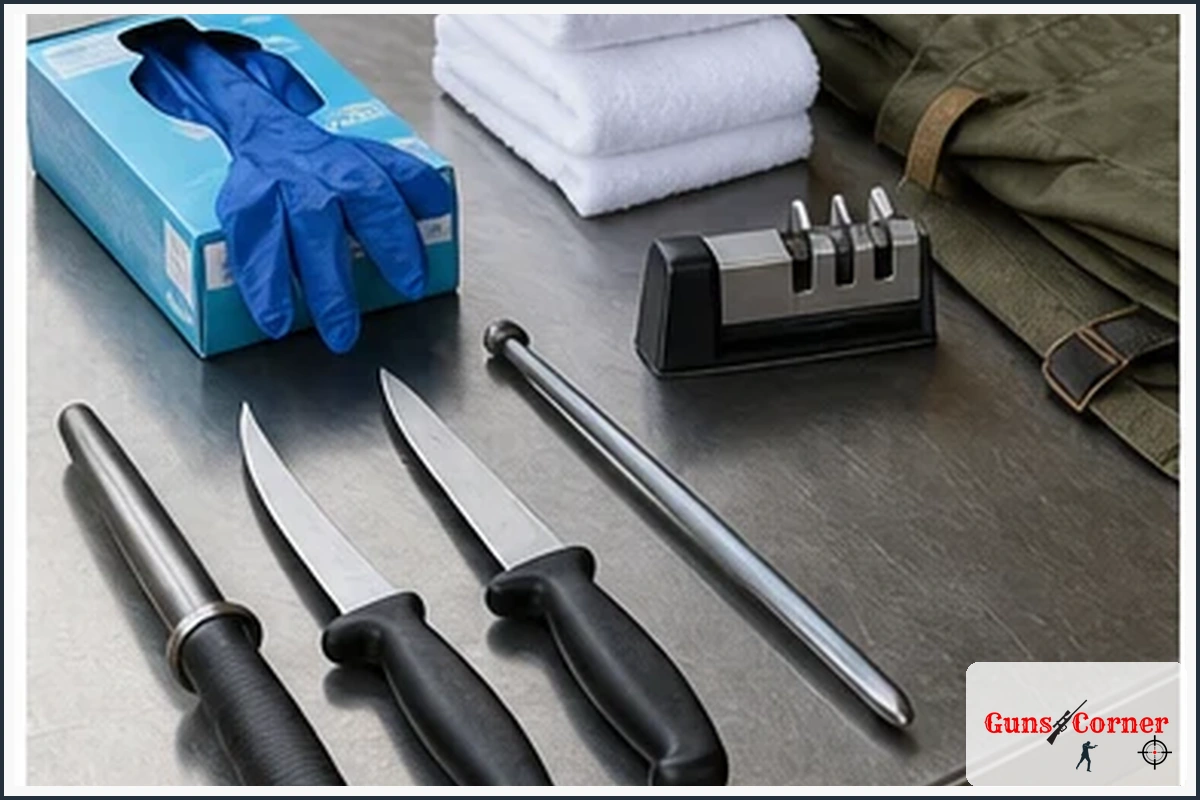
- Sharp boning or skinning knives
- Knife sharpener or honing tool
- Food-safe cutting table or clean work surface
- Disposable gloves and washable protective clothing
- Clean towels or disposable paper towels
- Hand-washing supplies and food-safe sanitizer
- Meat saw, if needed for selected bone cuts
- Food-grade bags, freezer paper, or vacuum-sealing supplies
- Labels and a permanent marker
- Coolers, ice, or refrigerator space
- Waste containers and a way to clean the work area
A grinder, vacuum sealer, and commercial cutting table can be useful, but they are not essential for basic processing. Cleanliness, temperature control, and safe knife handling matter more than expensive equipment.
How to Cut Up a Deer Step by Step
Step 1: Confirm the Deer Is Legally Tagged and Reported
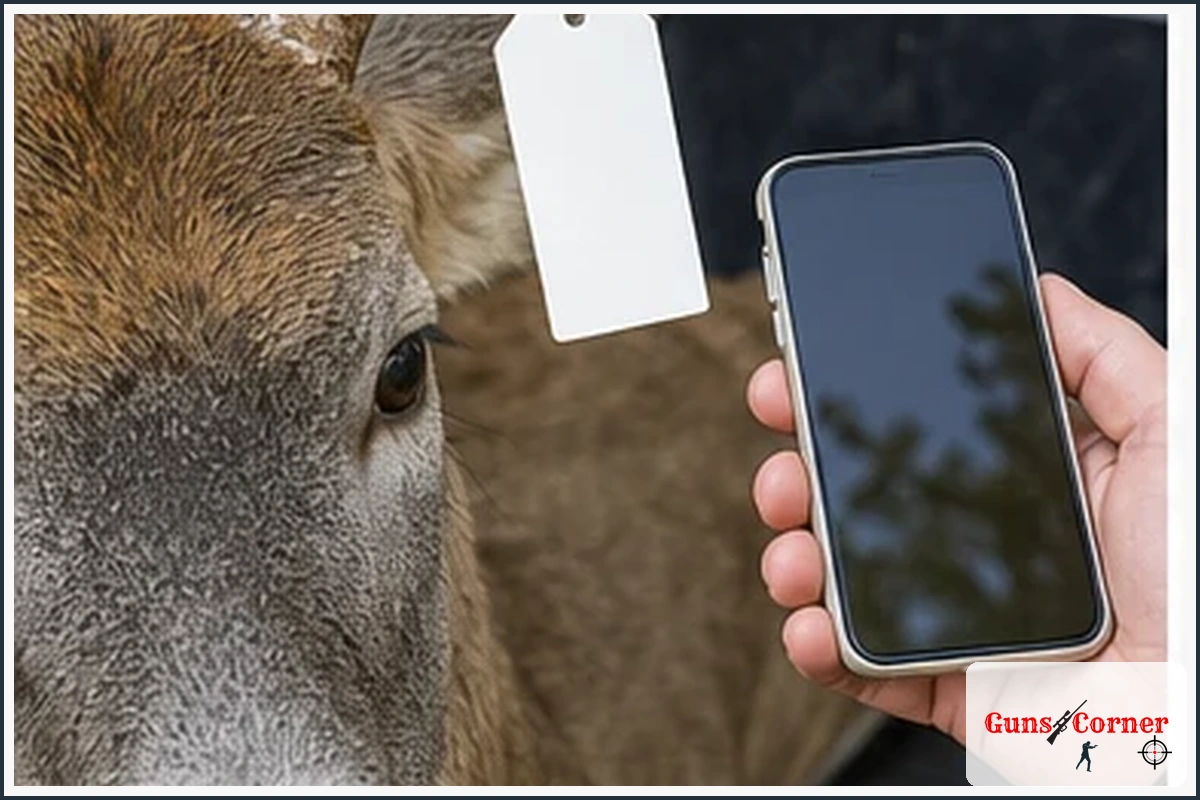
Before beginning, verify that the deer is properly tagged and that any required harvest report has been completed or can be completed within the legal timeframe. Keep documentation with the carcass or meat as required by local regulations.
Step 2: Choose a Clean, Stable Work Area
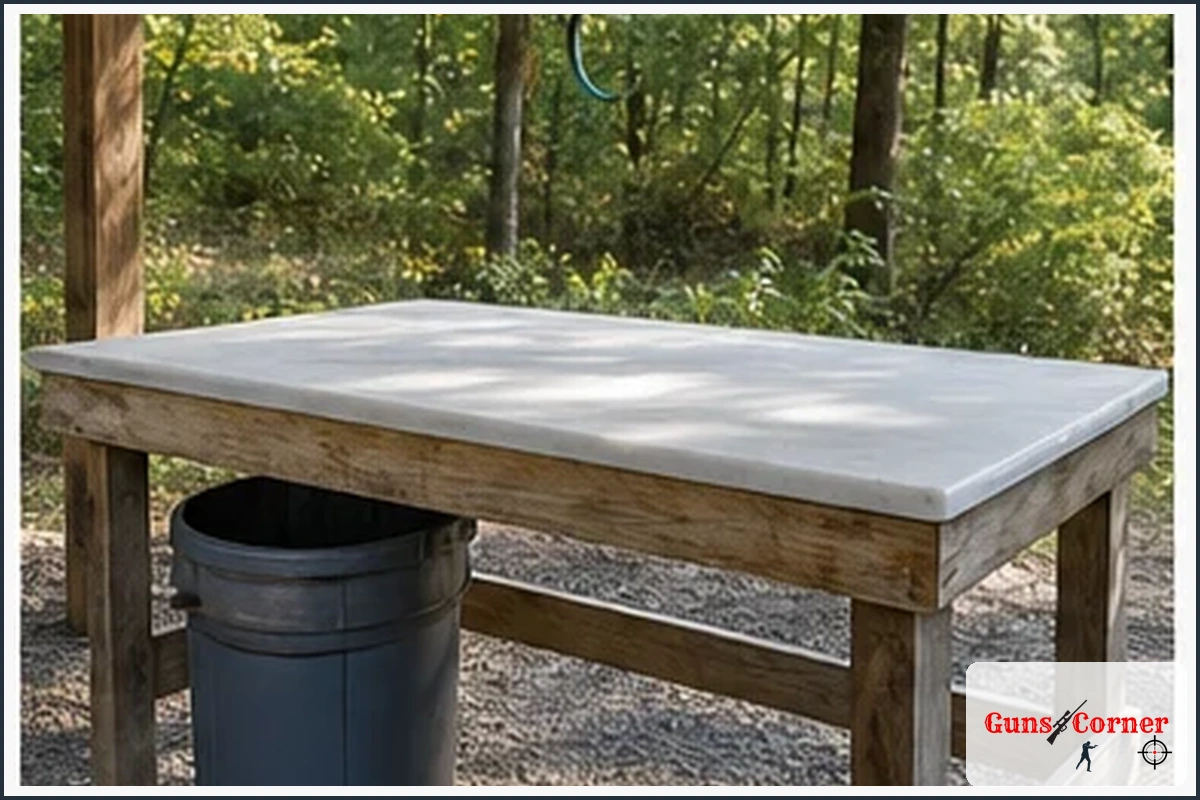
Work in a cool, shaded, well-ventilated location protected from rain, dust, insects, pets, and direct sunlight. A sturdy table at a comfortable height reduces fatigue and makes knife control easier.
Wash your hands and sanitize the table, knives, handles, and other equipment before starting. Keep raw meat away from foods that will be eaten without cooking.
Step 3: Keep the Meat Cold
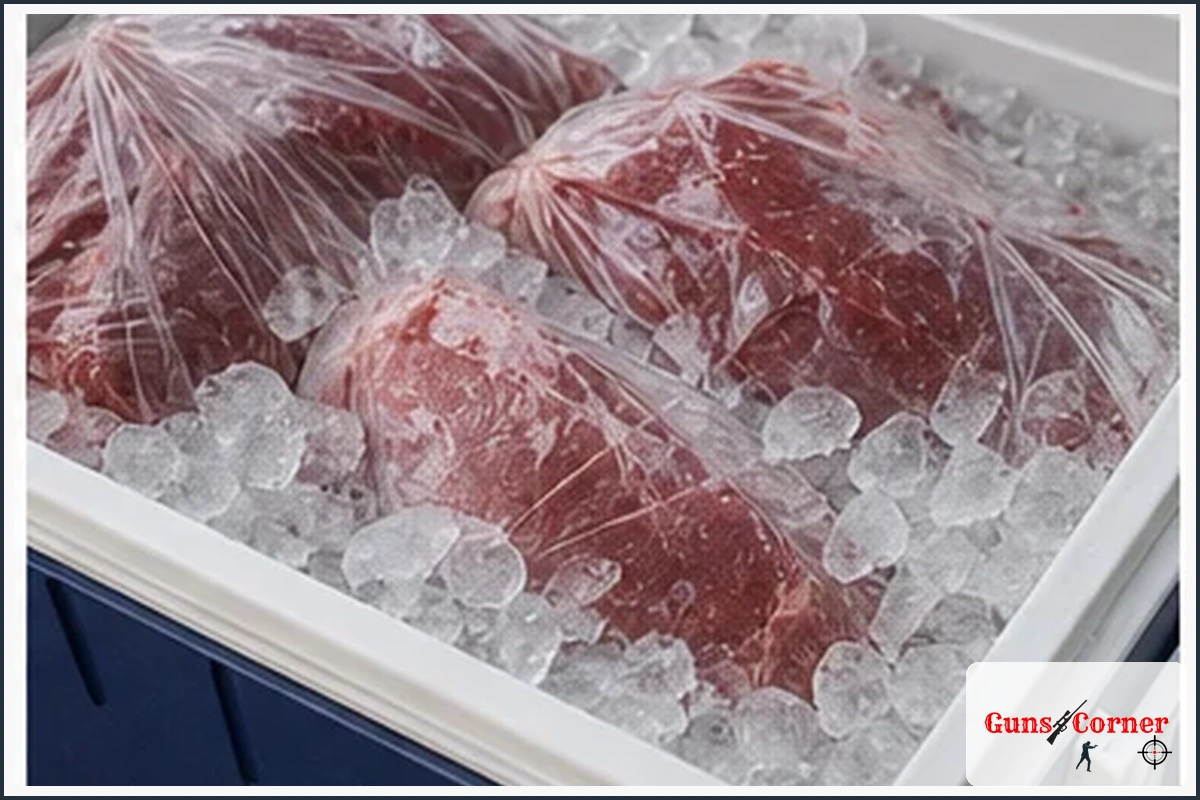
Meat quality declines quickly when a carcass stays warm. Process the deer as soon as practical, use refrigeration or ice, and avoid sealing warm meat tightly in containers where heat can remain trapped.
If you cannot maintain safe temperatures or complete the work promptly, use a reputable licensed processor or seek guidance from an experienced hunter.
Step 4: Remove the Hide Carefully
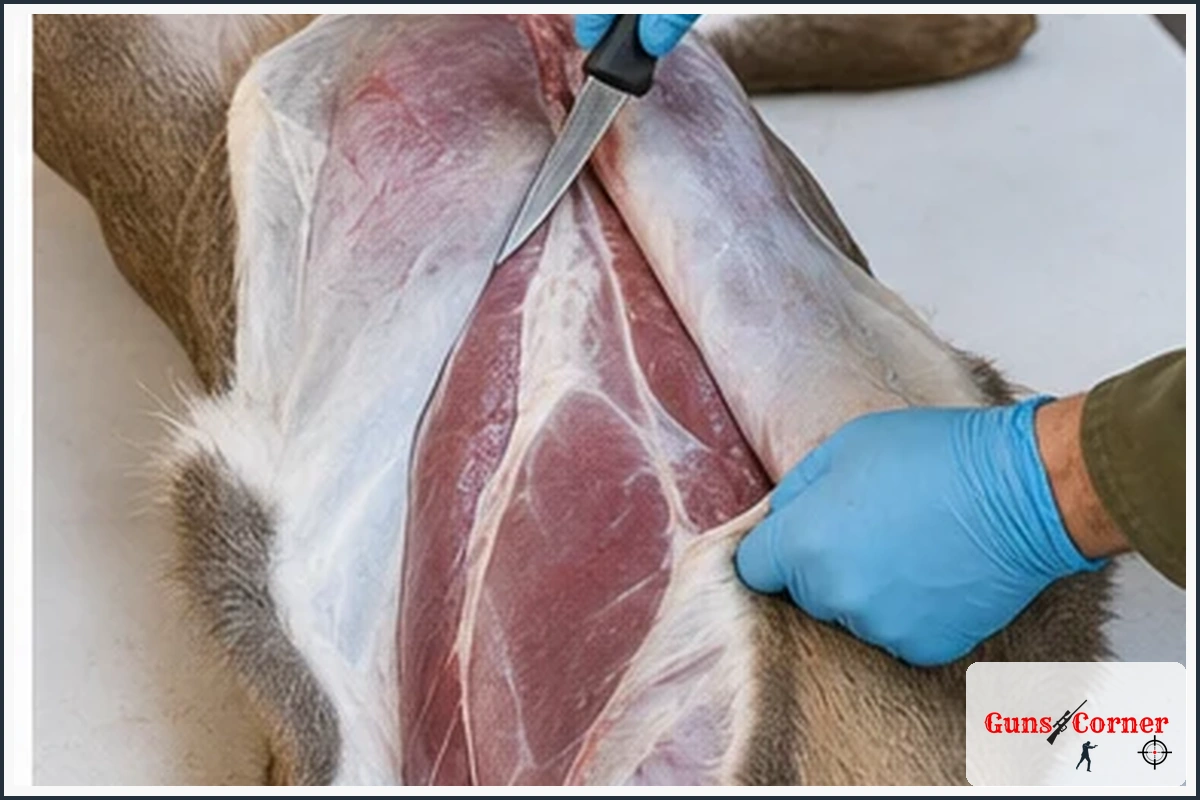
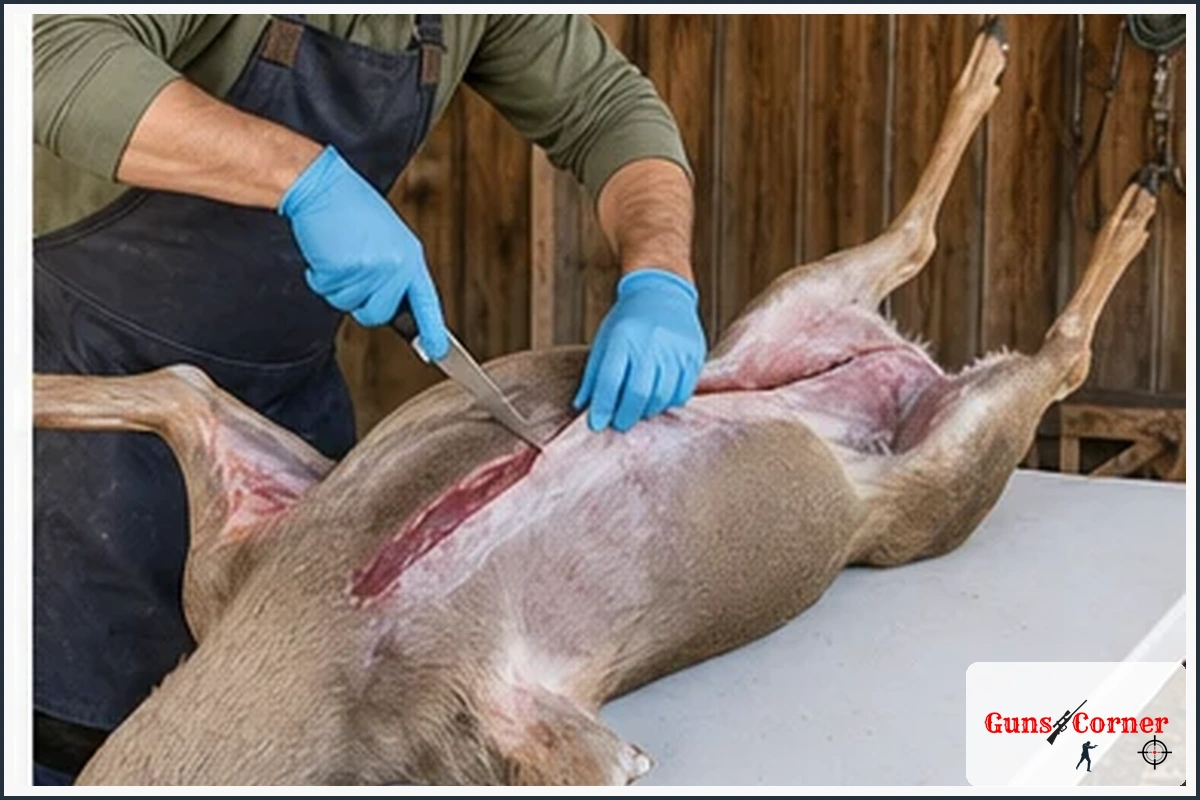
Place the deer securely on its back or side. Make shallow cuts through the hide rather than deep cuts into the muscle. Peel the hide back gradually while using the knife only where connective tissue holds it to the meat.
Keep the outside of the hide from dragging across exposed meat. If dirt or hair gets onto the surface, trim the affected area rather than spreading contamination with a wet cloth.
Step 5: Remove the Front Shoulders
The front shoulder is attached primarily by muscle rather than a large ball-and-socket joint. Follow the natural seam between the shoulder and the rib cage, using short controlled cuts to separate the whole shoulder.
Front shoulders are useful for roasts, stew meat, braising, or grinding. Remove visible connective tissue and excess fat according to how you plan to cook the meat.
Step 6: Remove the Backstraps
Backstraps run along both sides of the backbone beneath the hide. Make a lengthwise cut beside the spine, then angle the knife outward and follow the rib bones to release the long muscle.
Use smooth strokes and avoid cutting into the backbone. Backstraps can be divided into steaks or kept as larger portions for roasting.
Step 7: Remove the Tenderloins
Tenderloins are smaller muscles located inside the body cavity along the underside of the backbone. If the cavity is accessible, use a clean knife to separate them carefully.
Because tenderloins are relatively small, handle them gently and place them directly into a clean chilled container.
Step 8: Separate the Hindquarters
The hindquarter contains several major muscle groups that can be separated by following the natural seams. Begin near the hip and work around the joint and pelvic area with controlled cuts.
Common portions include the top round, bottom round, eye of round, and sirloin-area muscles. Keep each muscle whole until you decide whether to make steaks, roasts, or smaller portions.
Step 9: Trim and Portion the Neck, Rib, and Lower-Cut Meat
Neck meat can be trimmed for slow cooking, sausage, or grinding. Rib and brisket-area meat may also be used when it can be removed cleanly and safely.
Trim away hair, dirt, bruised tissue, and unwanted connective tissue. Do not wash raw meat unnecessarily, because splashing can spread contamination around the work area.
Step 10: Decide What to Grind
Trimmings, neck meat, and tougher pieces are often suitable for grinding. Keep grinding meat cold, remove excessive connective tissue, and combine it only with ingredients you can identify and handle safely.
If adding domestic pork or another ingredient, follow safe food-handling practices and label the mixture clearly.
Step 11: Package and Label the Meat
Package meat in meal-sized portions using freezer paper, food-grade bags, or a vacuum sealer. Remove excess air where practical, but do not seal meat while it is still warm.
Label every package with the cut, quantity, and date. Good labels make it easier to rotate older packages and choose the correct cut later.
Step 12: Chill or Freeze Promptly
Move packaged meat into a refrigerator, freezer, or properly iced cooler as soon as possible. Keep raw meat separate from ready-to-eat foods and monitor cooler drainage so packages do not sit in dirty water.
Follow current food-safety guidance for storage temperatures and freezing practices. When in doubt, ask a food-safety professional or reputable processor.
Understanding the Main Deer Cuts
| Cut | Location | Common Uses |
|---|---|---|
| Backstrap | Along each side of the backbone | Steaks, medallions, or roasts |
| Tenderloin | Inside the body cavity below the backbone | Small tender portions |
| Hindquarter muscles | Rear legs | Roasts, steaks, and stir-fry portions |
| Front shoulder | Between the front leg and rib cage | Roasts, stew, braising, and grind |
| Neck meat | Neck and upper shoulder area | Slow cooking, sausage, and ground meat |
| Trim | Clean leftover muscle pieces | Ground meat or small cooking portions |
How to Keep Deer Meat Clean and Safe
- Wash hands before and during processing.
- Change gloves when they become dirty or torn.
- Use separate clean areas for tools, packaging, and finished meat.
- Keep meat away from hair, dirt, soil, insects, and animal waste.
- Sanitize surfaces after processing.
- Keep meat cold throughout cutting and packaging.
- Do not taste raw ground meat or uncooked trim.
- Cook venison thoroughly according to reliable food-safety guidance.
Common Mistakes to Avoid
- Starting without checking tagging, reporting, or transport requirements.
- Working in a warm, dirty, or poorly lit area.
- Using a dull knife that requires excessive force.
- Cutting through bone unnecessarily.
- Allowing hide, hair, or dirt to contact exposed meat.
- Leaving meat warm while taking long breaks.
- Failing to label packages.
- Sealing meat before it has cooled adequately.
- Trying to process more meat than your refrigerator or freezer can safely hold.
- Ignoring unusual odors, discoloration, contamination, or signs of spoilage.
Troubleshooting Common Processing Problems
| Problem | Possible Cause | What to Do |
|---|---|---|
| The knife will not cut cleanly | Dull edge or poor cutting angle | Stop and sharpen the knife safely before continuing. |
| Hair or dirt gets on the meat | Hide contact or an unclean work area | Trim contaminated portions and clean the workspace before proceeding. |
| The meat feels warm | Delayed processing or inadequate cooling | Pause, separate portions, and cool them promptly. Seek professional advice if safety is uncertain. |
| You cannot identify a muscle | Unfamiliar anatomy or an awkward cutting angle | Keep the piece intact and consult a processing guide, mentor, or professional processor. |
| You run out of refrigerator or freezer space | Poor preparation or too much meat at once | Arrange storage or processor capacity before continuing. |
| The meat has an unusual smell or appearance | Possible contamination, spoilage, or tissue damage | Do not taste it. Separate it and consult a qualified food-safety professional. |
Ethical Hunting and Conservation
Responsible deer hunting continues after the shot. Make every effort to recover the animal, follow tagging and harvest-reporting rules, and use the edible meat. Avoid waste, respect private property and public land, and leave the processing area clean.
Hunting licenses and related conservation fees often support wildlife management, habitat work, research, and hunter education. Ethical processing honors that responsibility by treating the harvest with care.
When to Get More Training or Professional Guidance
Ask for help if you are processing a deer for the first time, are uncertain about safe temperatures, cannot identify a cut, or lack suitable refrigeration and sanitation equipment.
- Official hunter education programs
- State or provincial wildlife agencies
- Experienced ethical hunting mentors
- Reputable wild-game processors
- Food-safety educators or local extension services
After Processing: Clean Up and Improve
Wash and sanitize knives, tables, coolers, and reusable equipment. Dispose of waste according to local rules, store knives safely, and inspect packaging for leaks before freezing.
Make notes about which cuts worked well, how much freezer space you needed, and what tools would improve your next deer-processing session. Preparation becomes easier when you plan storage and processing time before the hunt.
Recommended Deer Processing Tools to Consider
You do not need expensive equipment to process a deer responsibly. Choose tools based on your experience, workspace, sanitation needs, and budget.
- Sharp boning and skinning knives
- Knife sharpener or honing tool
- Food-safe cutting surface
- Disposable gloves and protective apron
- Food-grade packaging or vacuum sealer
- Labels and permanent marker
- Cooler with clean ice
- Freezer thermometer and storage containers
Final Thoughts
Learning how to cut up a deer is mainly about preparation, patience, cleanliness, and safe temperature control. Follow the natural seams, keep your knife sharp, package meat carefully, and comply with all current wildlife and food-safety rules. If you are uncertain, a reputable processor or experienced mentor can help protect both the quality of the meat and your safety.
Frequently Asked Questions
Is it legal to cut up a deer at home?
In many places it is allowed, but rules vary. Check your official wildlife agency for carcass transport, tagging, reporting, and processing requirements.
How soon should a deer be processed?
Process it as soon as practical while keeping the meat cold. Warm conditions require faster action and more careful temperature control.
What is the best knife for cutting up a deer?
A sharp, sturdy boning or skinning knife is usually the most useful. The exact style matters less than sharpness, control, and safe handling.
Do I need a meat saw?
Not always. Many cuts can be separated by following muscle seams. A saw may be useful for selected bone cuts, but use it carefully and clean it thoroughly.
Should I wash deer meat before packaging?
Avoid unnecessary washing because splashing can spread contamination. Trim away hair or dirt and keep the work area clean.
How do I keep venison from tasting strong?
Prompt cooling, clean processing, careful trimming, and proper packaging help protect flavor. Cooking methods also affect the final result.
What cuts come from a deer hindquarter?
The hindquarter contains several individual muscles commonly used for roasts, steaks, and smaller portions. Separate them by following natural seams.
What should I do with the front shoulders?
Front shoulders work well for slow cooking, stew, roasts, sausage, or ground venison.
Are deer tenderloins inside or outside the body cavity?
The tenderloins are inside the body cavity along the underside of the backbone. The backstraps are outside the cavity along the back.
How are backstraps different from tenderloins?
Backstraps are long muscles along the outside of the backbone. Tenderloins are smaller muscles located inside the body cavity.
Can I cut steaks from every part of a deer?
No. Some muscles are better suited to slow cooking or grinding because of connective tissue and texture.
Should venison be aged before cutting?
Aging practices depend on temperature control, sanitation, time, and local guidance. Do not age meat unless you can maintain safe conditions.
How cold should deer meat be kept?
Keep it properly chilled according to current food-safety guidance. If the meat has stayed warm or you are unsure about its condition, seek professional advice.
Can I freeze deer meat immediately?
You can freeze properly chilled meat, but avoid sealing warm meat tightly. Package clean portions and cool them promptly before long-term storage.
How should I label venison packages?
Record the cut, quantity, and packaging date. Clear labels help with organization and safe rotation.
What packaging works best for venison?
Food-grade freezer bags, freezer paper, or vacuum-sealed packages can work when used correctly and kept cold.
How long does frozen venison last?
Storage life depends on packaging, freezer temperature, and handling. Follow reliable food-storage guidance and use older packages first.
Can I grind all the trim together?
You can grind clean, suitable trim together, but remove excess connective tissue and keep the meat cold. Label mixtures clearly.
Should I add pork to ground venison?
That is a personal cooking choice. If you add another meat, identify it clearly and follow safe handling practices.
What if the deer has hair on the meat?
Remove the affected portion with a clean knife and prevent further contact between the hide and exposed meat.
What if dirt gets on the meat?
Trim away contaminated portions and clean the work area. Do not spread dirt with a wet cloth or rinse water.
Can I process a deer outdoors?
Yes, if the area is clean, shaded, protected from insects and animals, and suitable for maintaining safe temperatures.
Can I process deer in a garage?
A garage may work if it is clean, cool, well lit, protected from pests, and equipped with a washable food-safe work surface.
How do I avoid cutting myself?
Use a sharp knife, keep your non-cutting hand behind the blade, cut away from your body, and stop when tired or distracted.
Should I wear gloves while cutting up a deer?
Disposable gloves are useful for cleanliness and protecting your hands, but they do not replace hand washing or safe knife control.
What should I do if I cut through bone?
Remove bone fragments and inspect the cut carefully. Use a clean saw when a bone cut is necessary.
What should I do if I cannot separate the muscles?
Stop forcing the knife and look for the natural seam. A processing guide, mentor, or professional processor can help.
How do I deal with a damaged or bruised area?
Trim away damaged or contaminated tissue and keep usable meat separate. If the condition is unusual, seek professional advice.
Can I process a deer without removing the hide first?
Some hunters use different legal processing methods, but removing the hide carefully usually makes home cutting and cleanliness easier.
Do I need to remove all fat?
Trim according to your taste and intended use. Venison fat can have a strong flavor, while connective tissue affects tenderness.
What should I do with the bones and hide?
Follow local disposal, transport, and carcass-waste rules. Do not leave remains where they could create conflicts, attract hazards, or violate regulations.
Can I donate venison?
Donation programs have specific inspection, packaging, and transport requirements. Contact an approved local program before donating.
How do I transport processed venison legally?
Keep required tags or documentation with the meat and follow your wildlife agency’s carcass and meat transport rules.
What if I do not have enough freezer space?
Plan storage before hunting, use a reputable processor, or arrange additional freezer capacity. Do not allow meat to remain warm while solving the problem.
Is home deer processing cheaper than using a processor?
It can reduce processing fees, but you must account for tools, packaging, storage, time, sanitation, and your skill level.
Is it better to use a professional deer processor?
A professional processor is a good option when you lack equipment, time, refrigeration, or confidence in safe handling.
How can I learn deer anatomy before processing?
Use reputable wild-game processing guides, hunter education resources, extension publications, or hands-on instruction from an experienced mentor.
What is the biggest beginner mistake?
Failing to plan for cleanliness, cooling, storage, and time. Have your tools and freezer space ready before starting.
What should I do if I suspect the meat is spoiled?
Do not taste it. Separate it and consult a qualified food-safety professional or reputable processor.
How does ethical hunting relate to processing?
Ethical hunting includes making a responsible effort to recover, legally report, safely handle, and responsibly use the harvest.
Where can I verify current deer regulations?
Use your state, provincial, or territorial official wildlife agency website or office. Regulations can change by season and location.